
Outdoor showers are the best way to shed the grime and sweat before entering your home after a long day outside. Cleaning up outside spares your indoor drains from all the dirt and sand outside, and outdoor showers add a refreshing and functional experience to every home, cabin and beach house.
From privacy, draining systems, to the piping and overall design of your outdoor shower there are many things to consider. Hopefully, you’re lucky enough to discover that you can extend your indoor piping to the outside of your home to create an outdoor shower. While that is a common method to install an outdoor shower system, these 10 ideas and DIY projects will show you that there are no limits to the concept. So no matter the size of your space, if there is a will, there is a way! Plus, some of our outdoor shower ideas can be installed in as little as one hour.
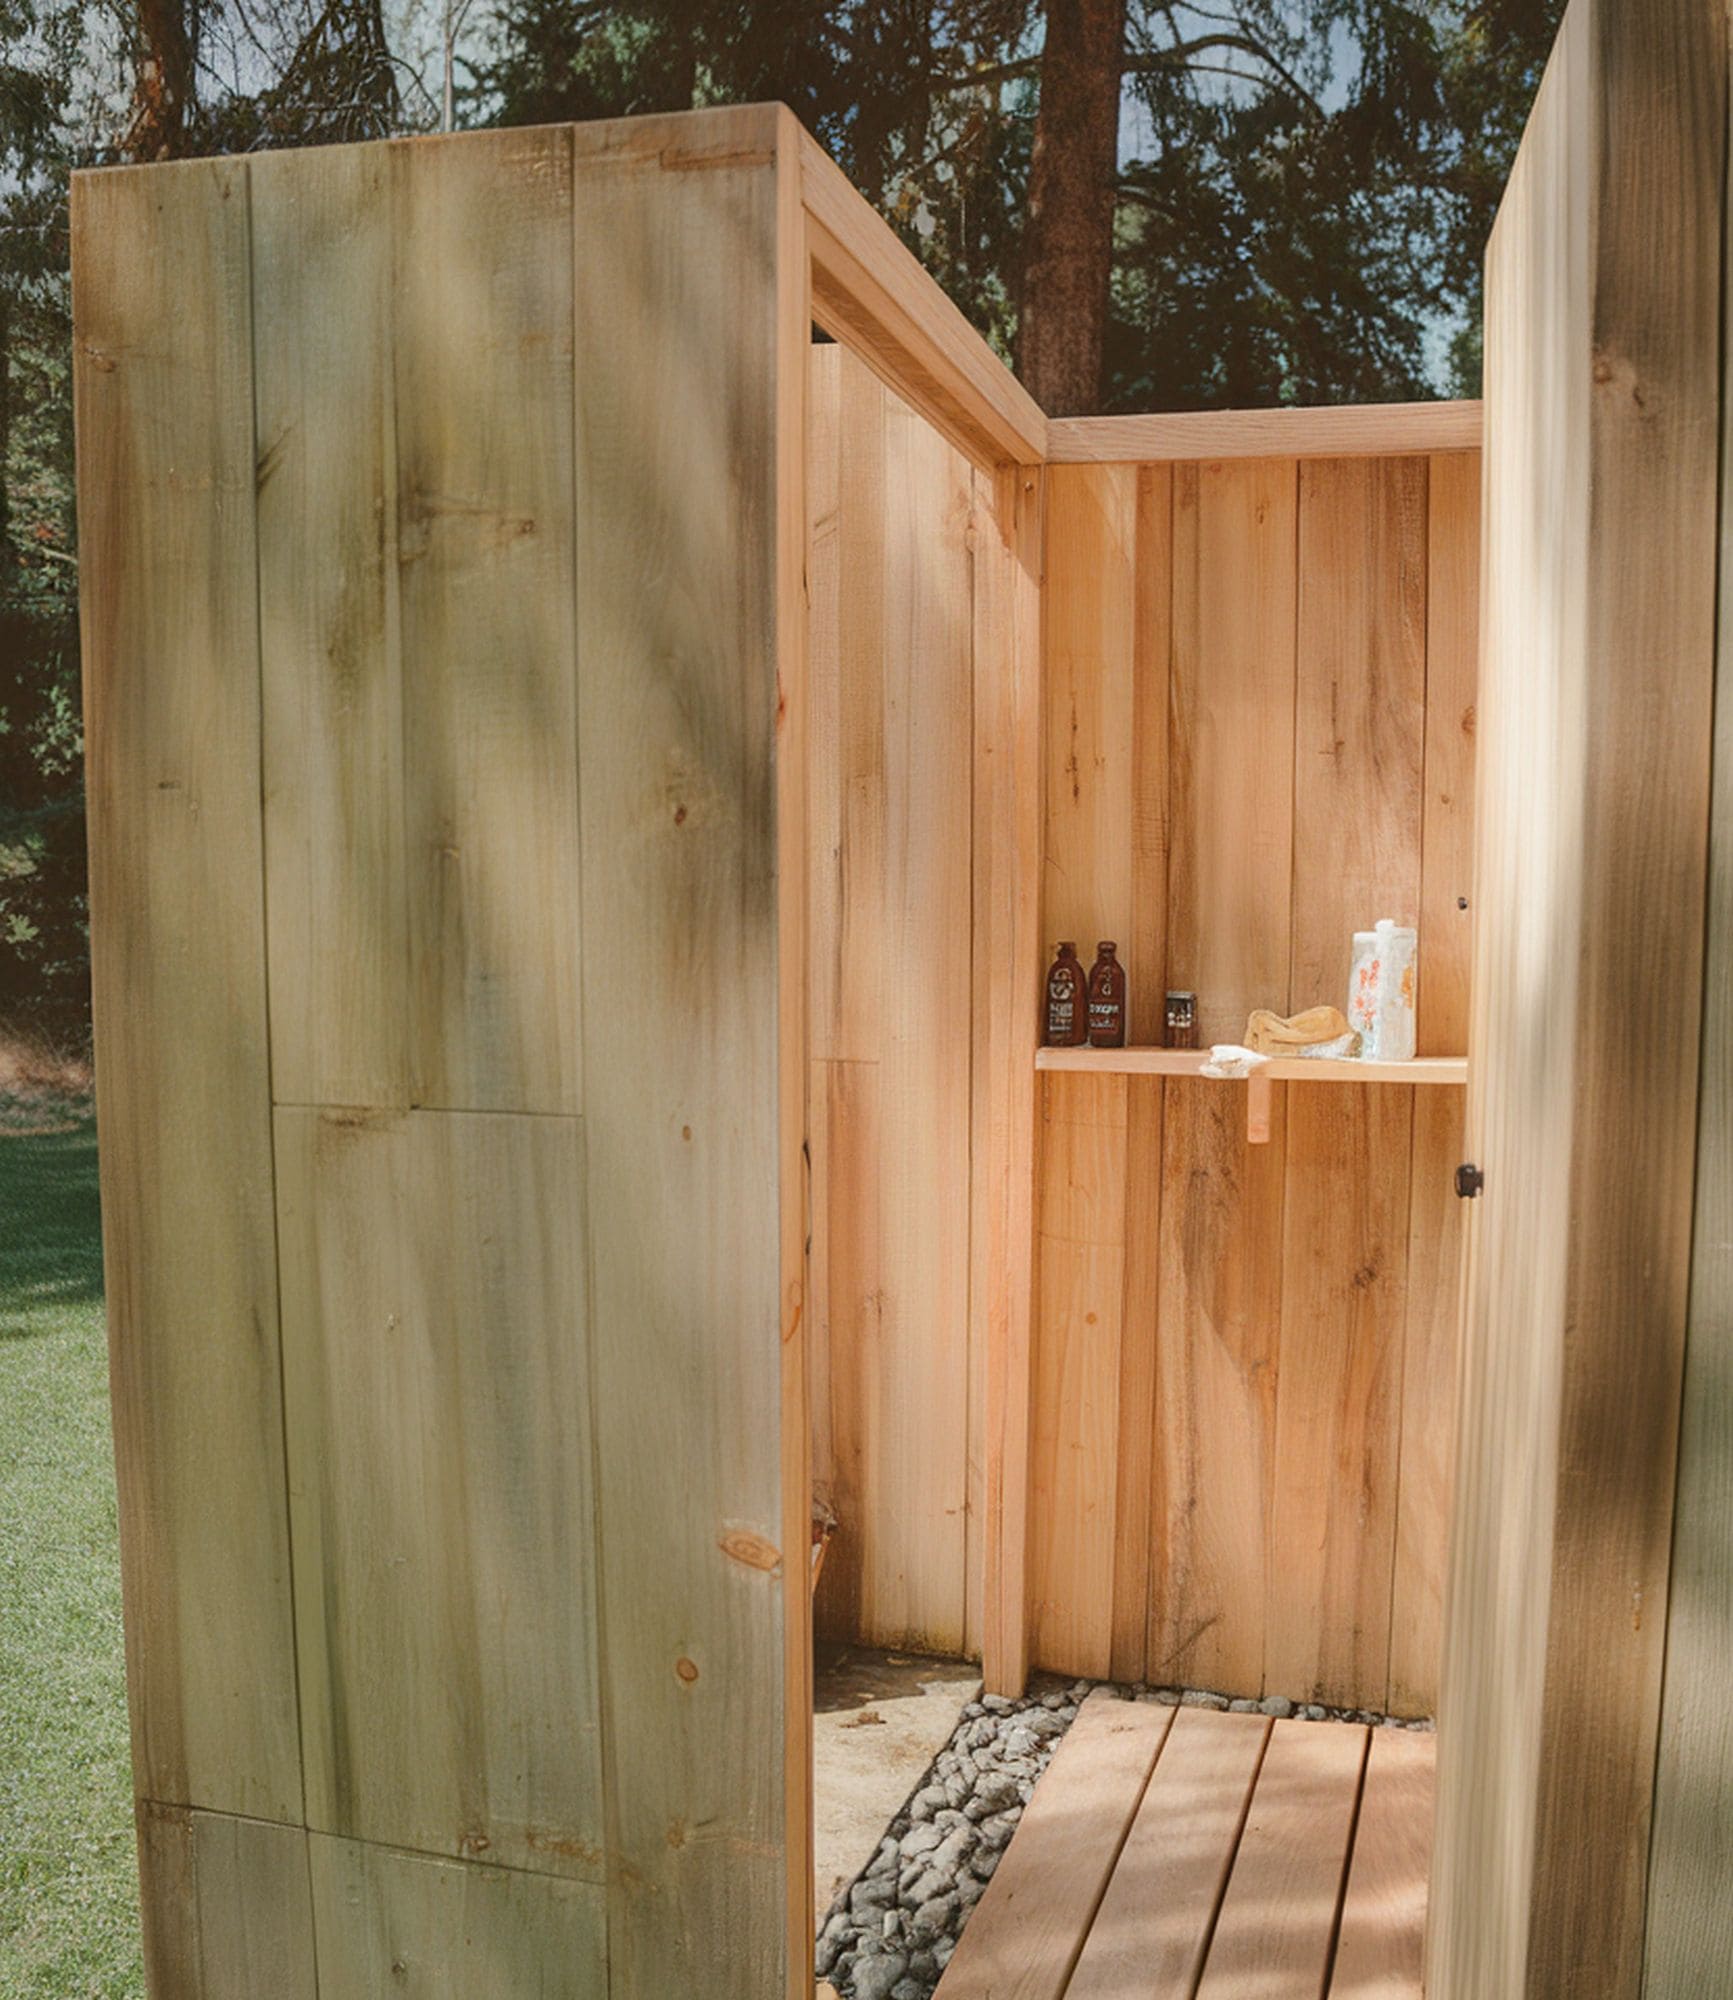
1. Create a Rustic Outdoor Cabin Shower
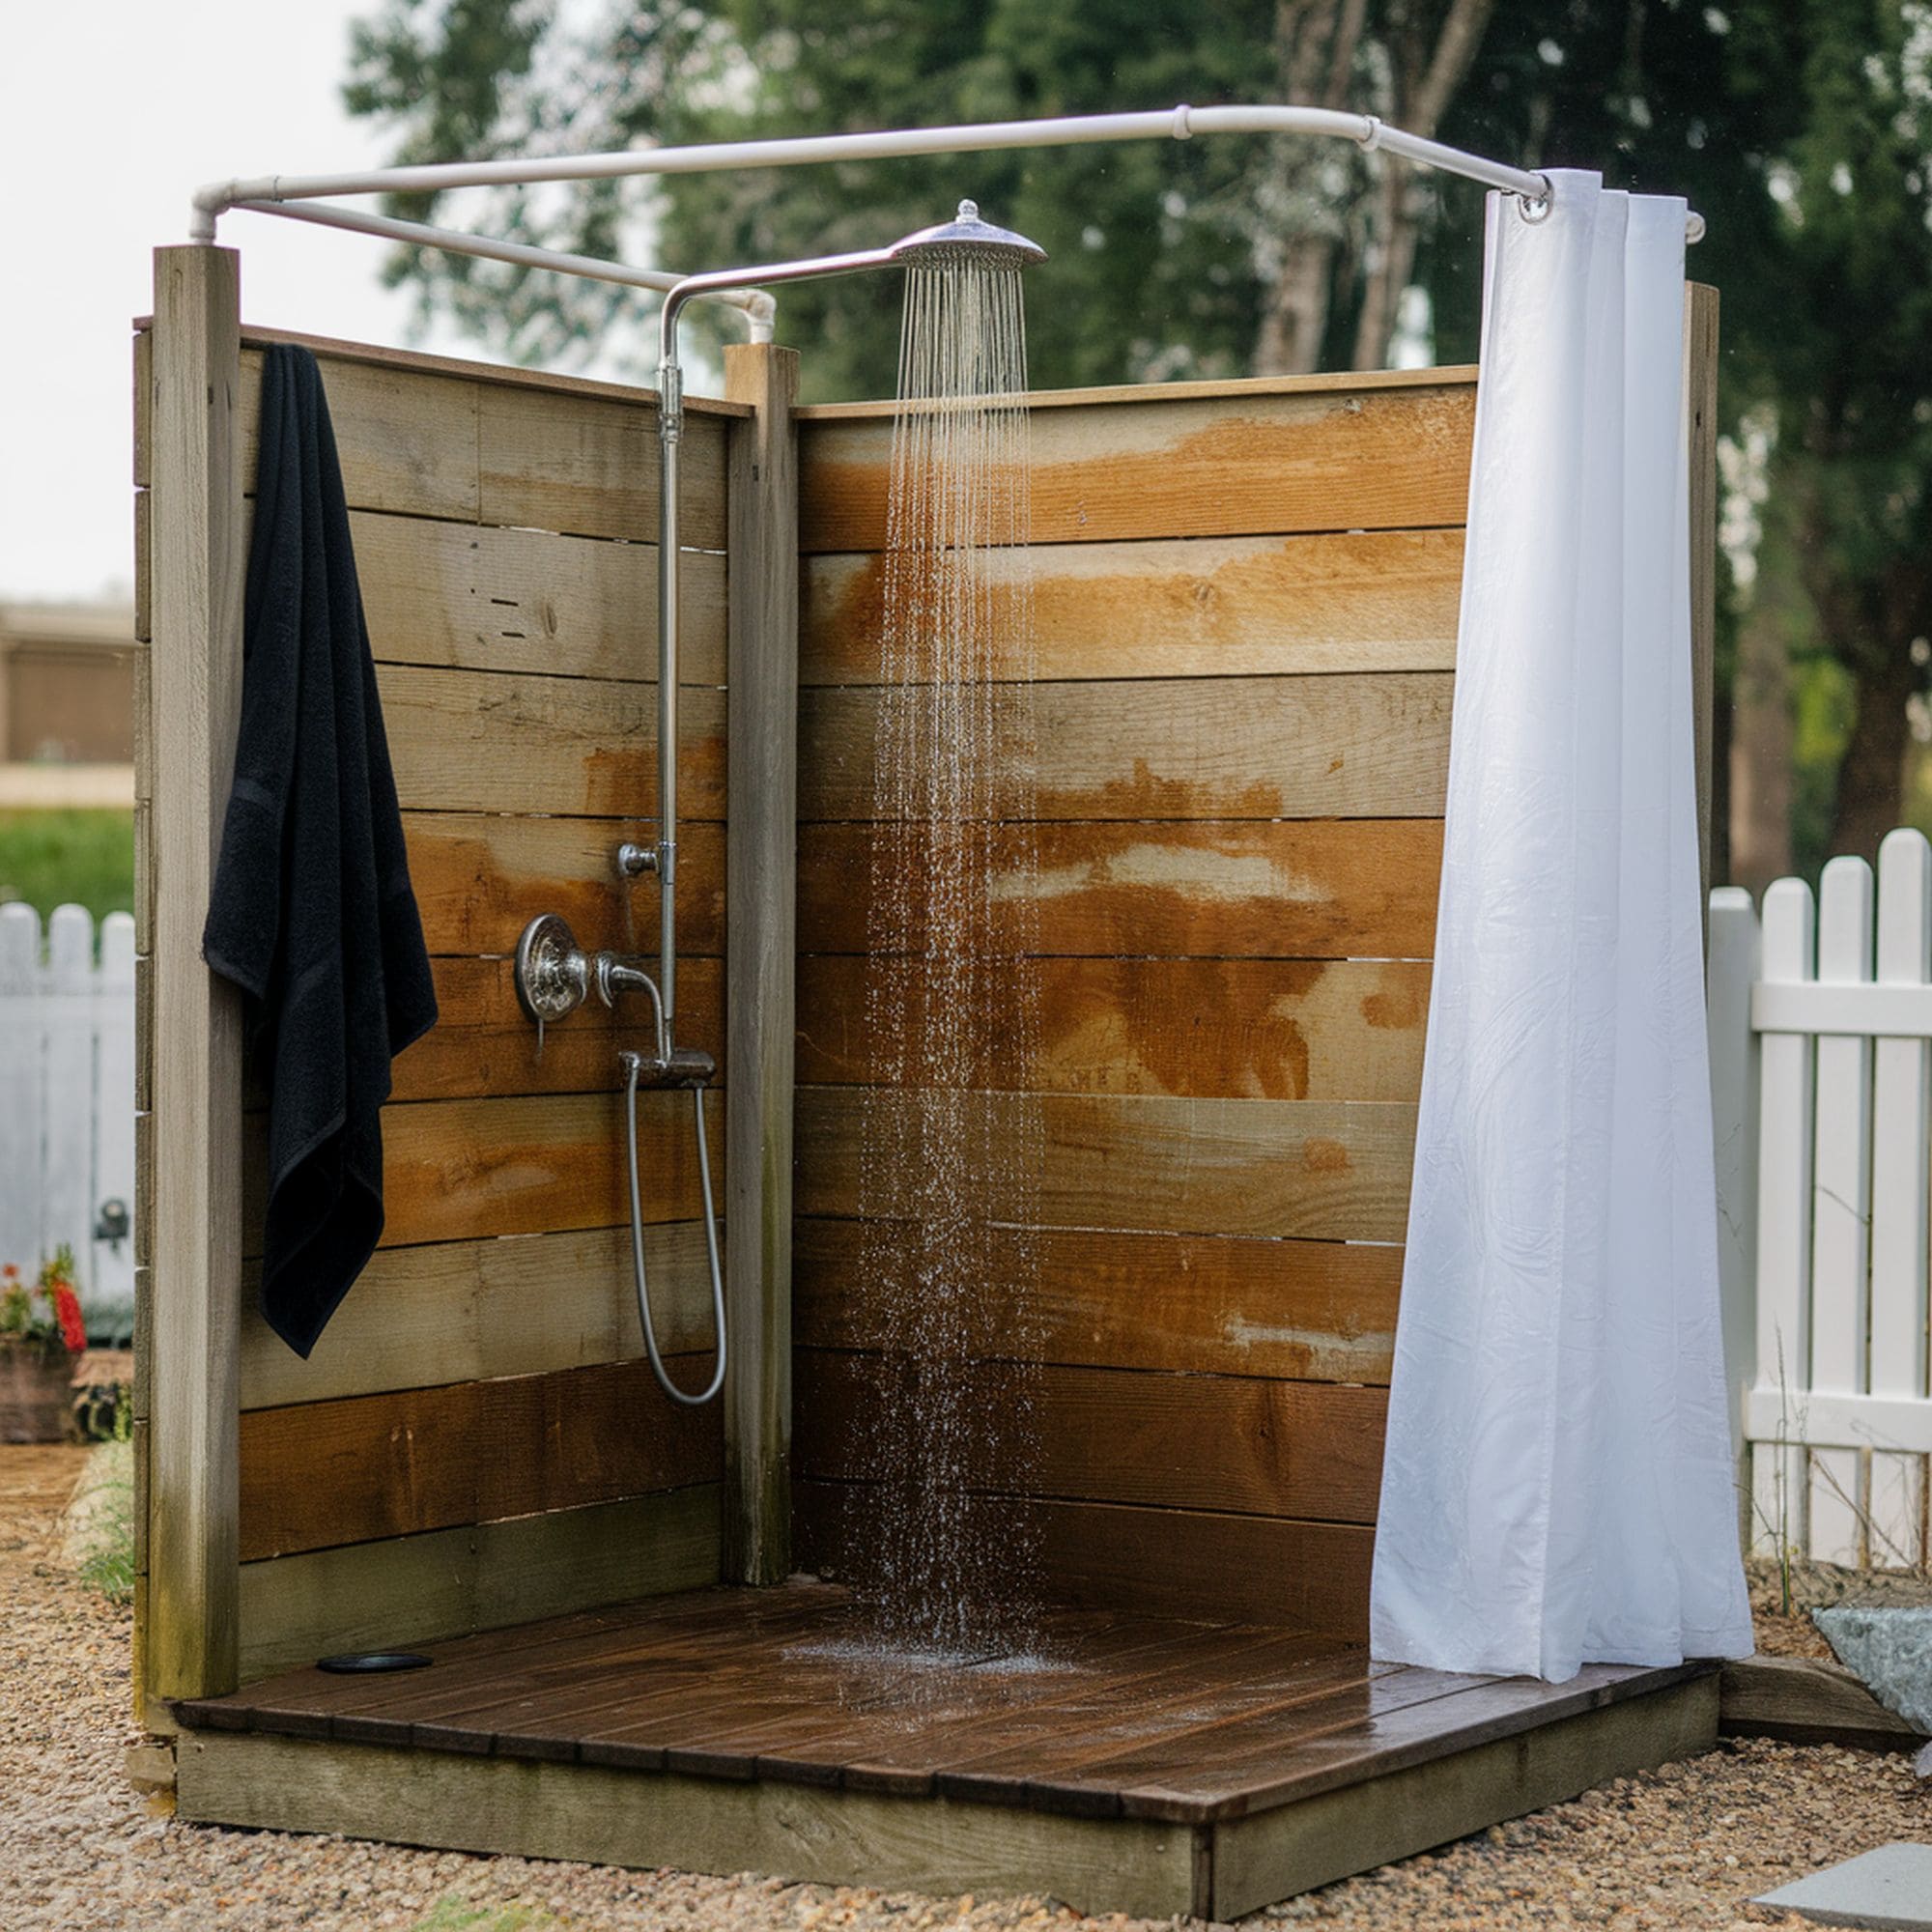
Combine elements of stressed wood, non-polished hinges, and towel hooks to create a rustic style outdoor shower. This theme best fits alongside homes made of wood or that feature wooden accents, but it can be installed anywhere to create a refreshing getaway. The idea is to build a small box with a swinging door for privacy. If you want the shower connected to your home, we recommend using a side of your house as one of the walls.
Start off by installing wooden beams into the ground. Make sure to use treated wood to help protect the shower from the weather, and connect the side panels to the wooden beams. Keep the side panels about mid-calf length so that the water can drain properly and finish the bottom surface with wooden slats. For added aesthetic, hang a fixture of your choice on the outside door and enjoy the camping shower vibe!
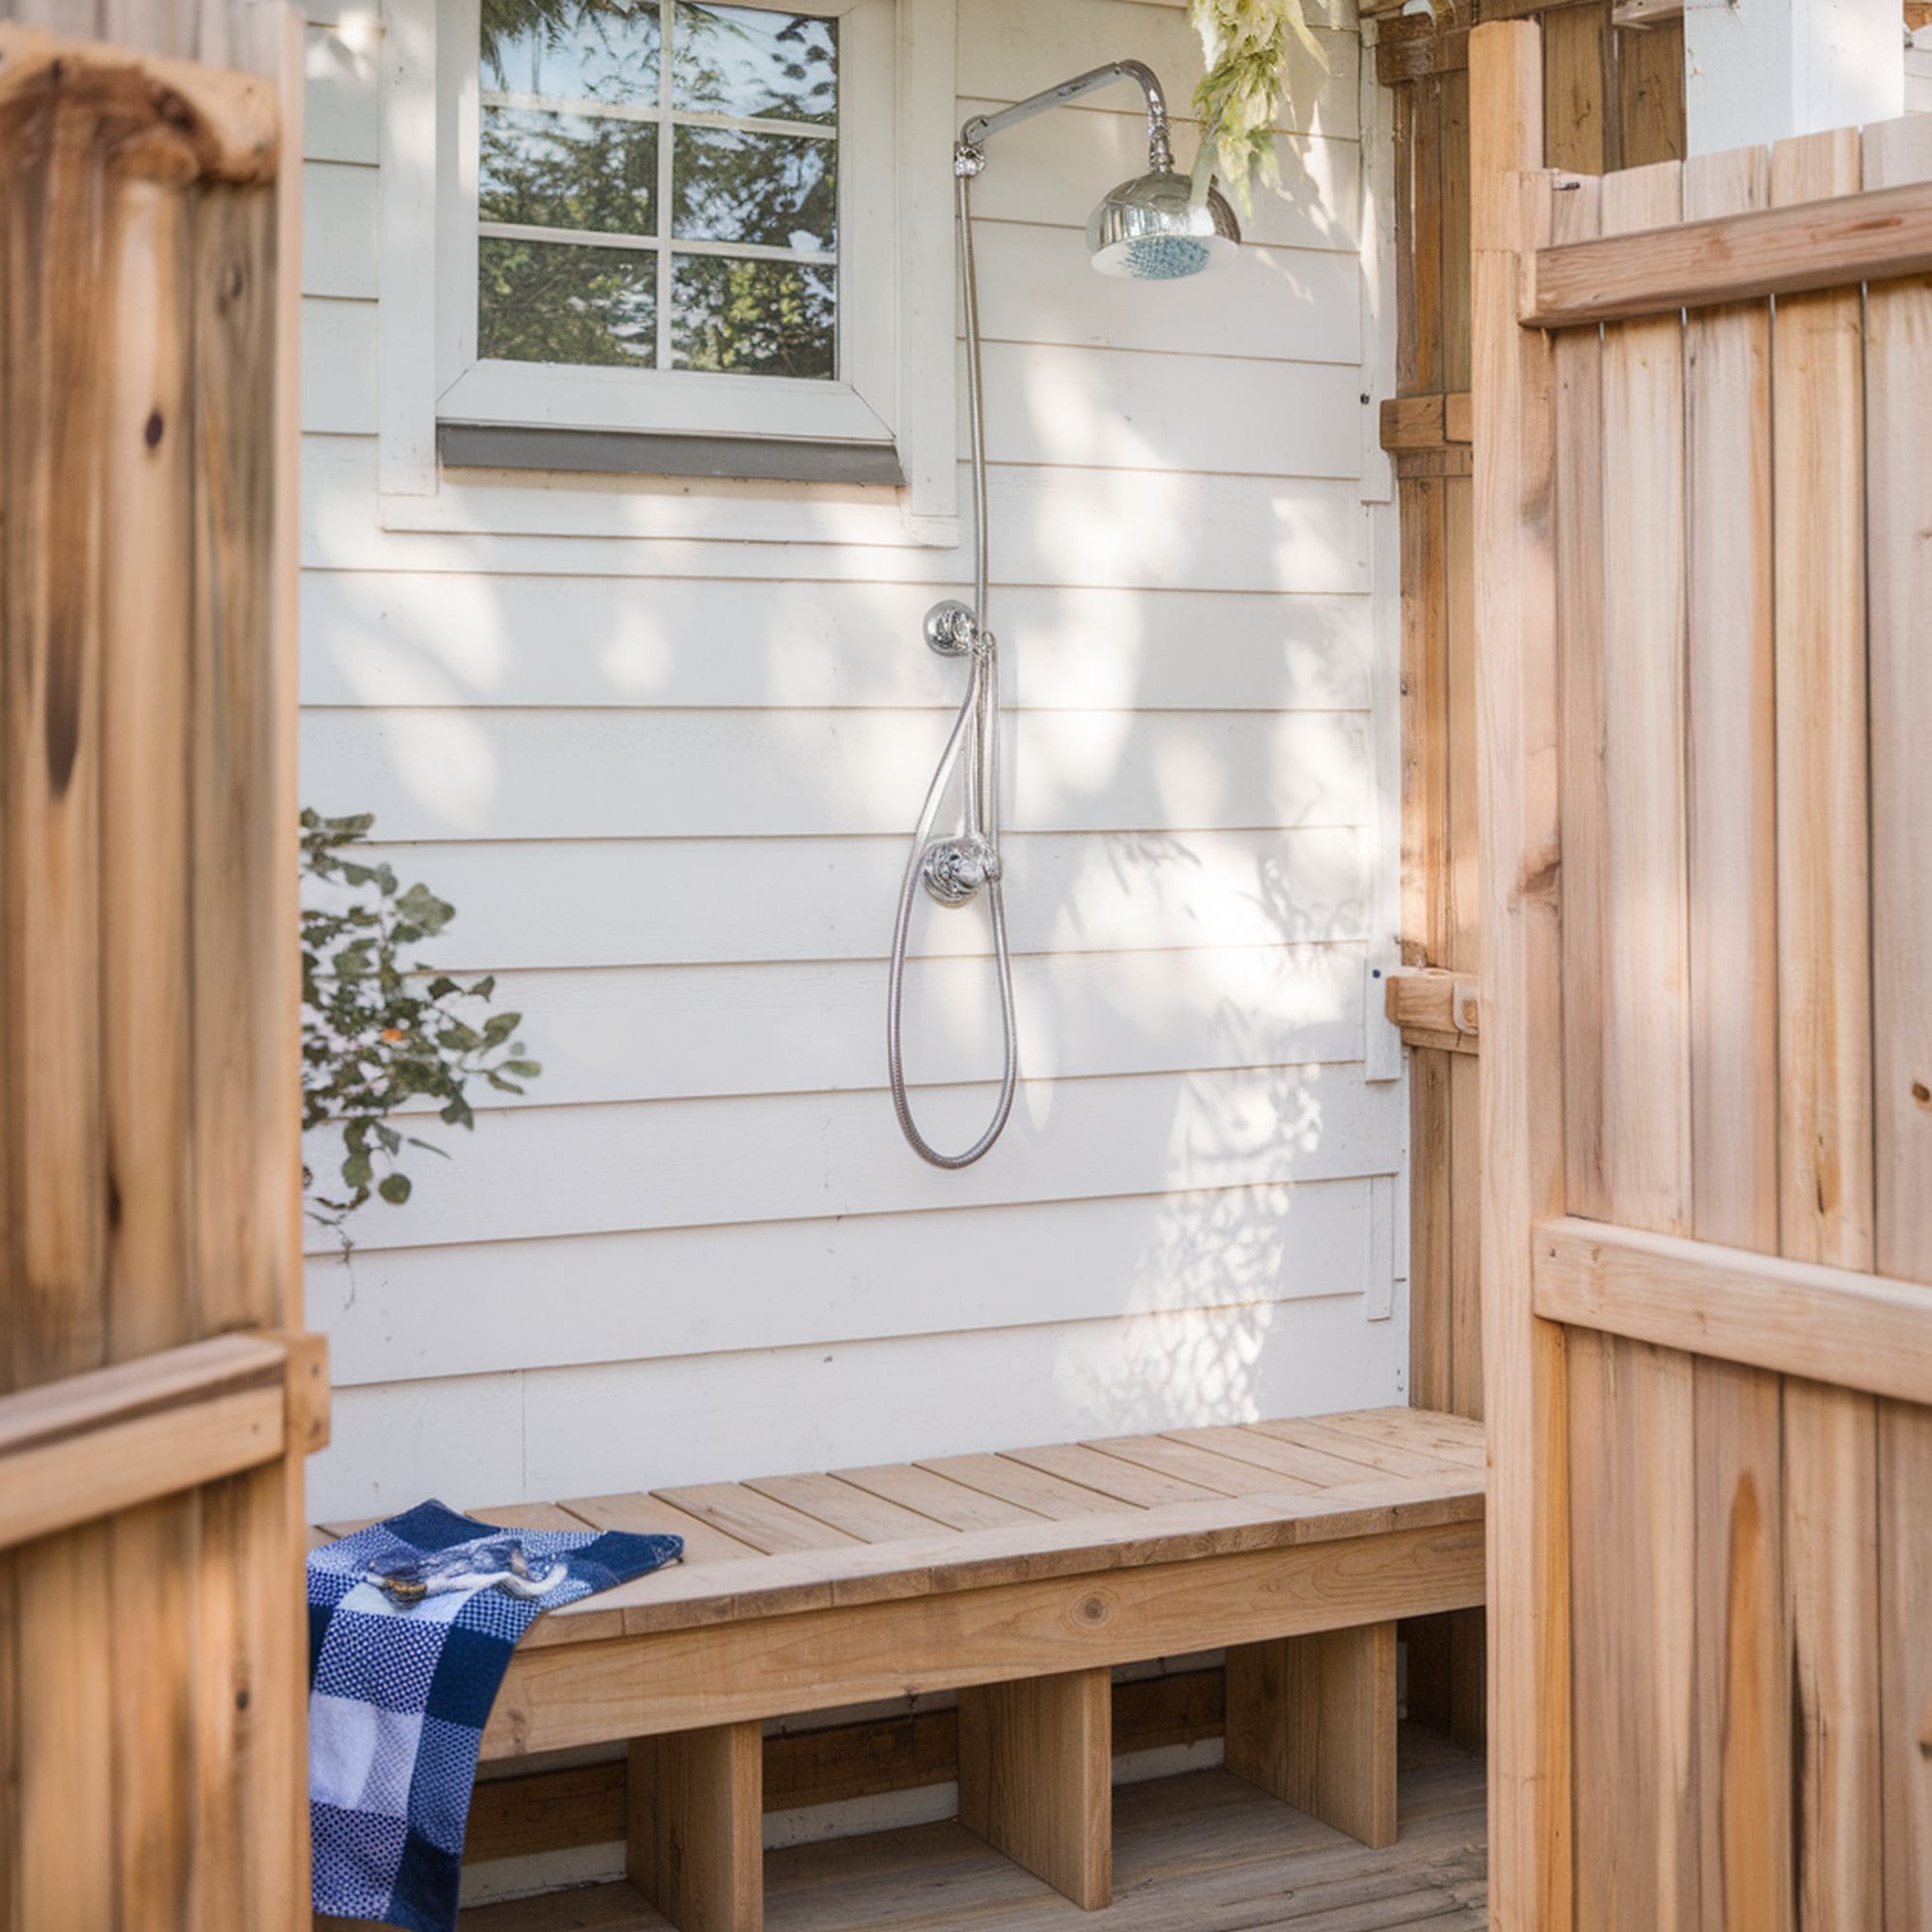
2. Go for a Country Style Shower

Use golden colored shower fixtures with light white woods to create a country style shower that shines beautifully under the blue sky. To avoid rust and corrosion, avoid using fixtures made of brass, especially if you live near the salt water. Install planks of white painted wood, separated by tiny gaps to allow the breeze to pass through. This is a standalone architecture concept that brings a completely new dimension of romance to your home, which means it requires a slightly larger budget and more time to finish. Another design trick to embrace the country style is to use white picket fencing for the enclosure, combined with a quaint door.
3. Go Wild with Botanicals
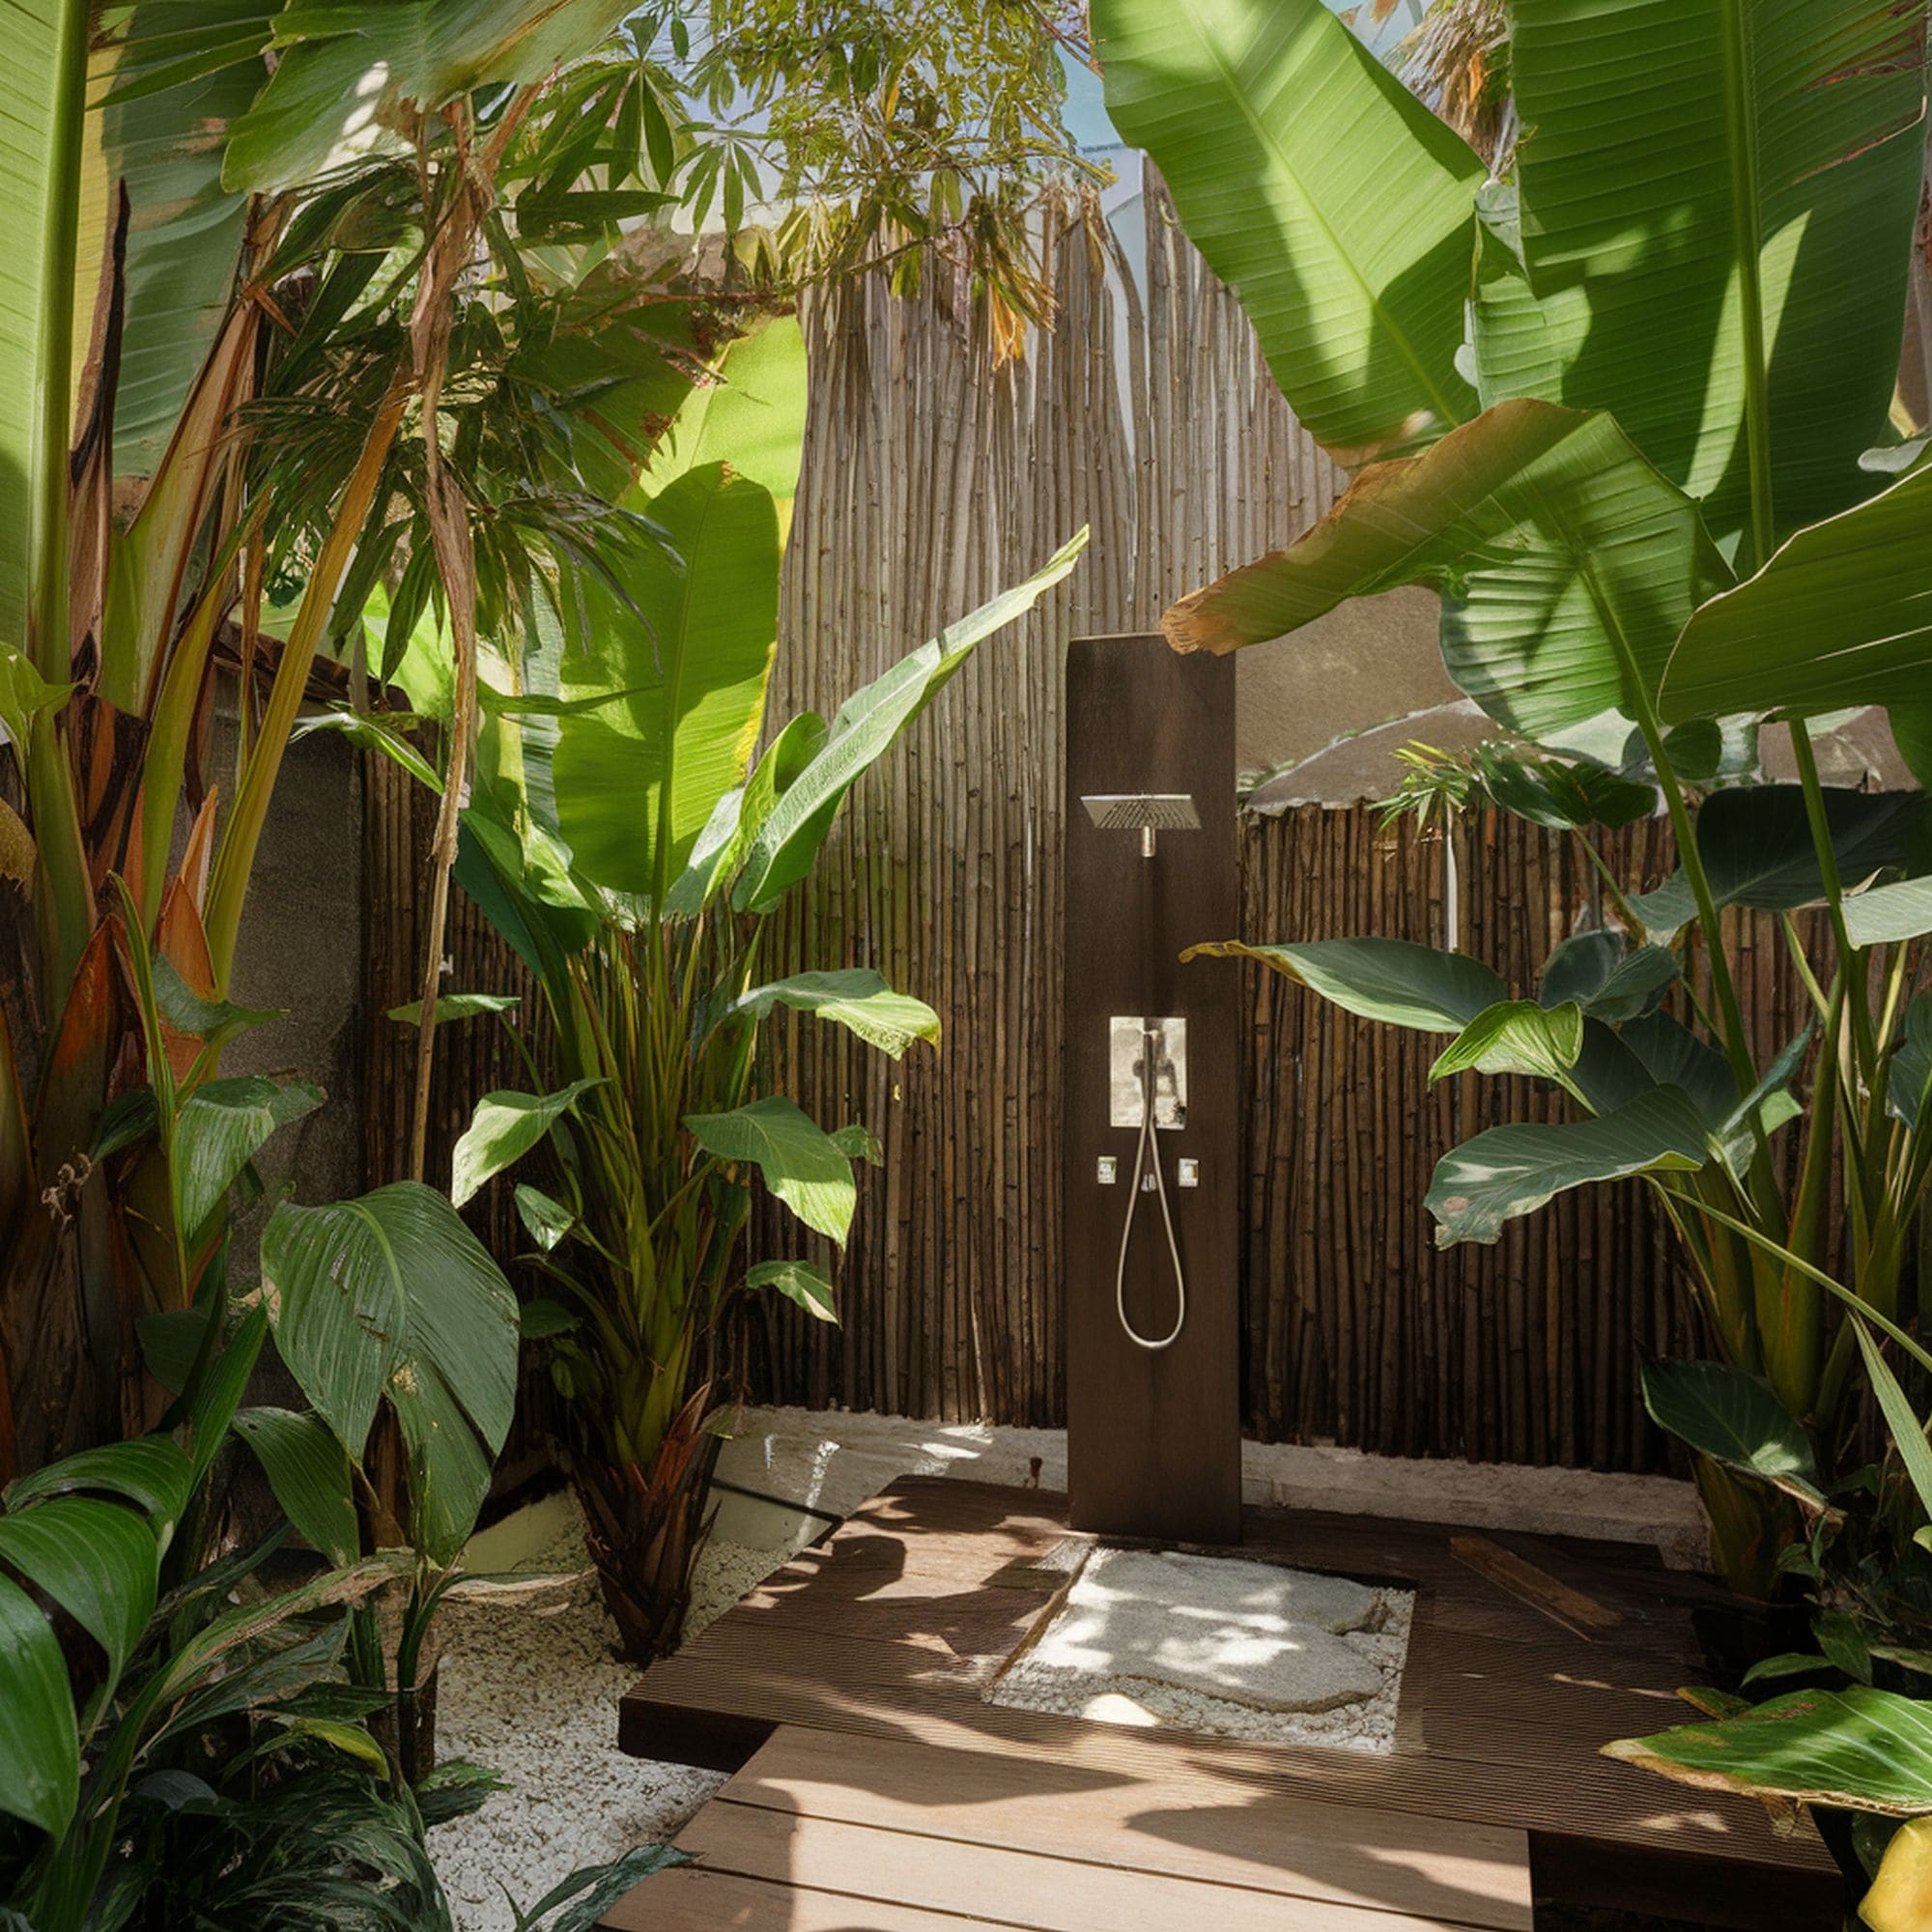
You’re already outside. So you may as well take advantage of all of the pretty botanicals you can! Integrate your outdoor shower into the natural landscape, allowing the plants and vines to do the decorating. Hang flower baskets around the perimeter, but try not to build the shower on top of a grassy area as this will lead to a flooding puddle of mud.
4. Lakefront Outdoor Shower
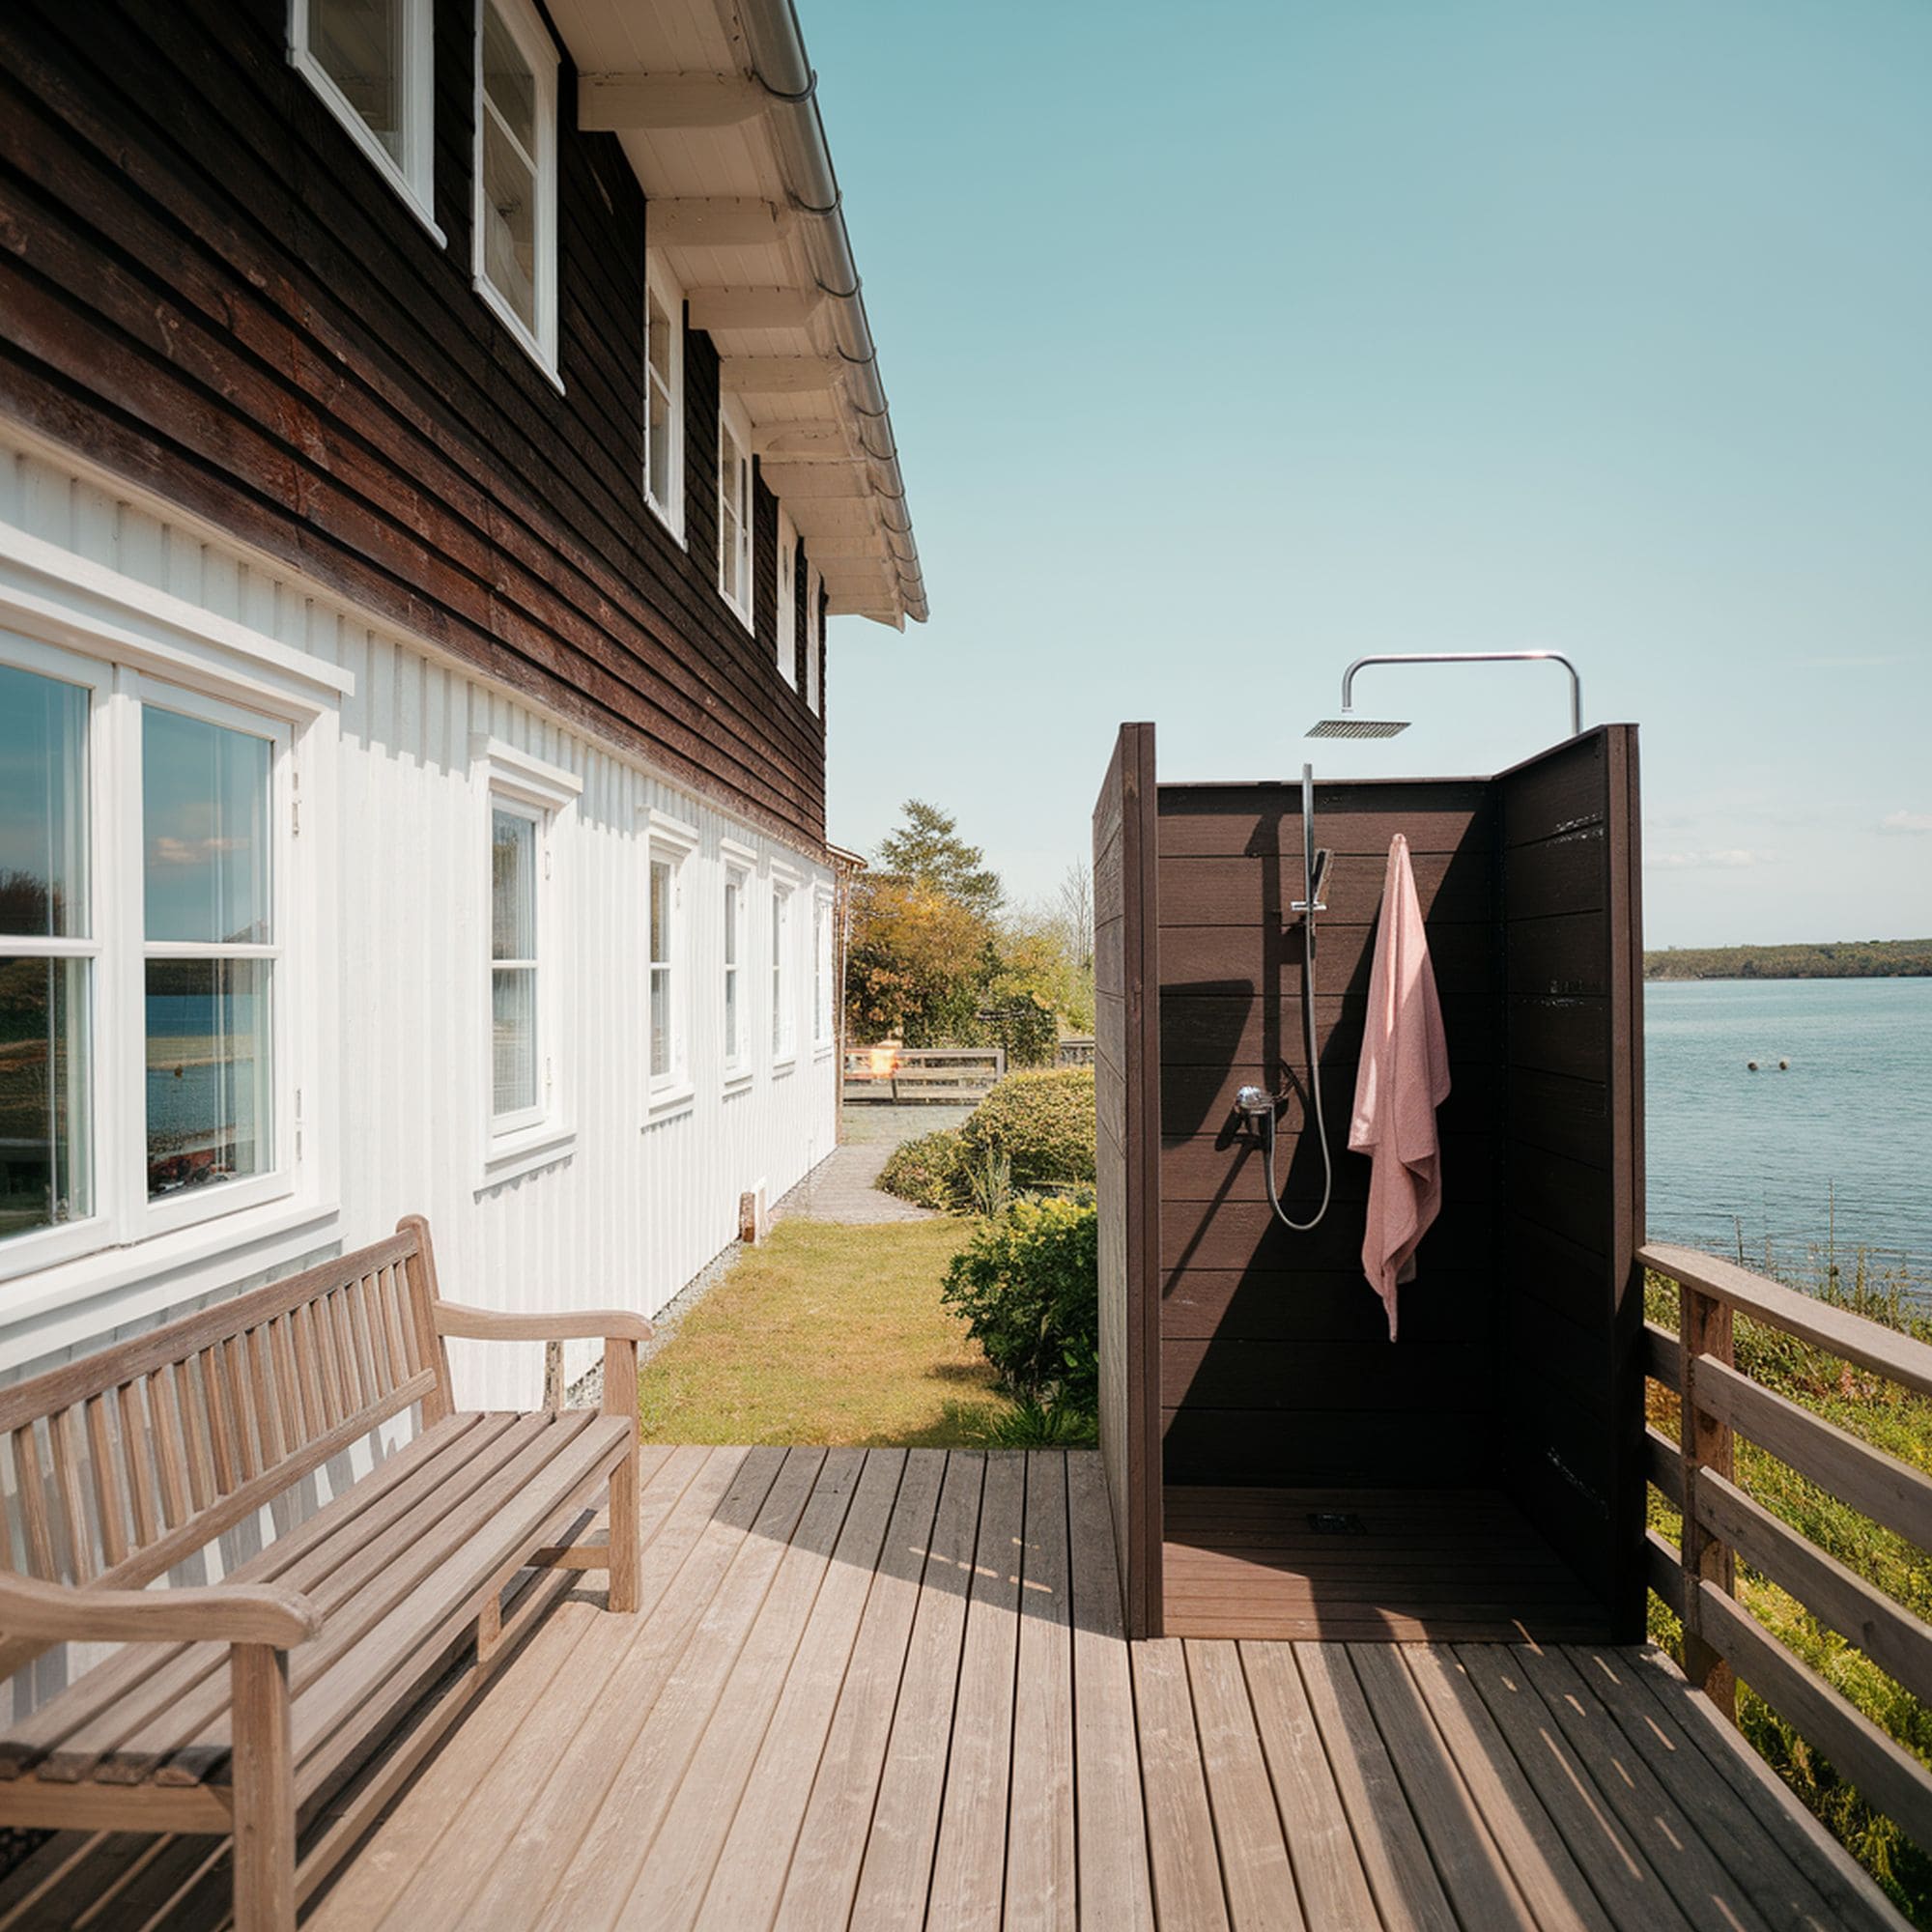
This is a great DIY project to improve your lake house in just a few days. Go with a wooden shower enclosure for an inexpensive way to give off a fabulous and natural look that matches the scenery. Make sure to use a high-quality sealer to protect the wooden structure from the weather and water. If you have ample space around your lakehouse, go for a complete plumbing makeover for a shower with warm water. On the other hand, try extending a hose from a water source and build the shower enclosure down on the dock.
5. Enjoy Warm Baths on Cool Summer Nights
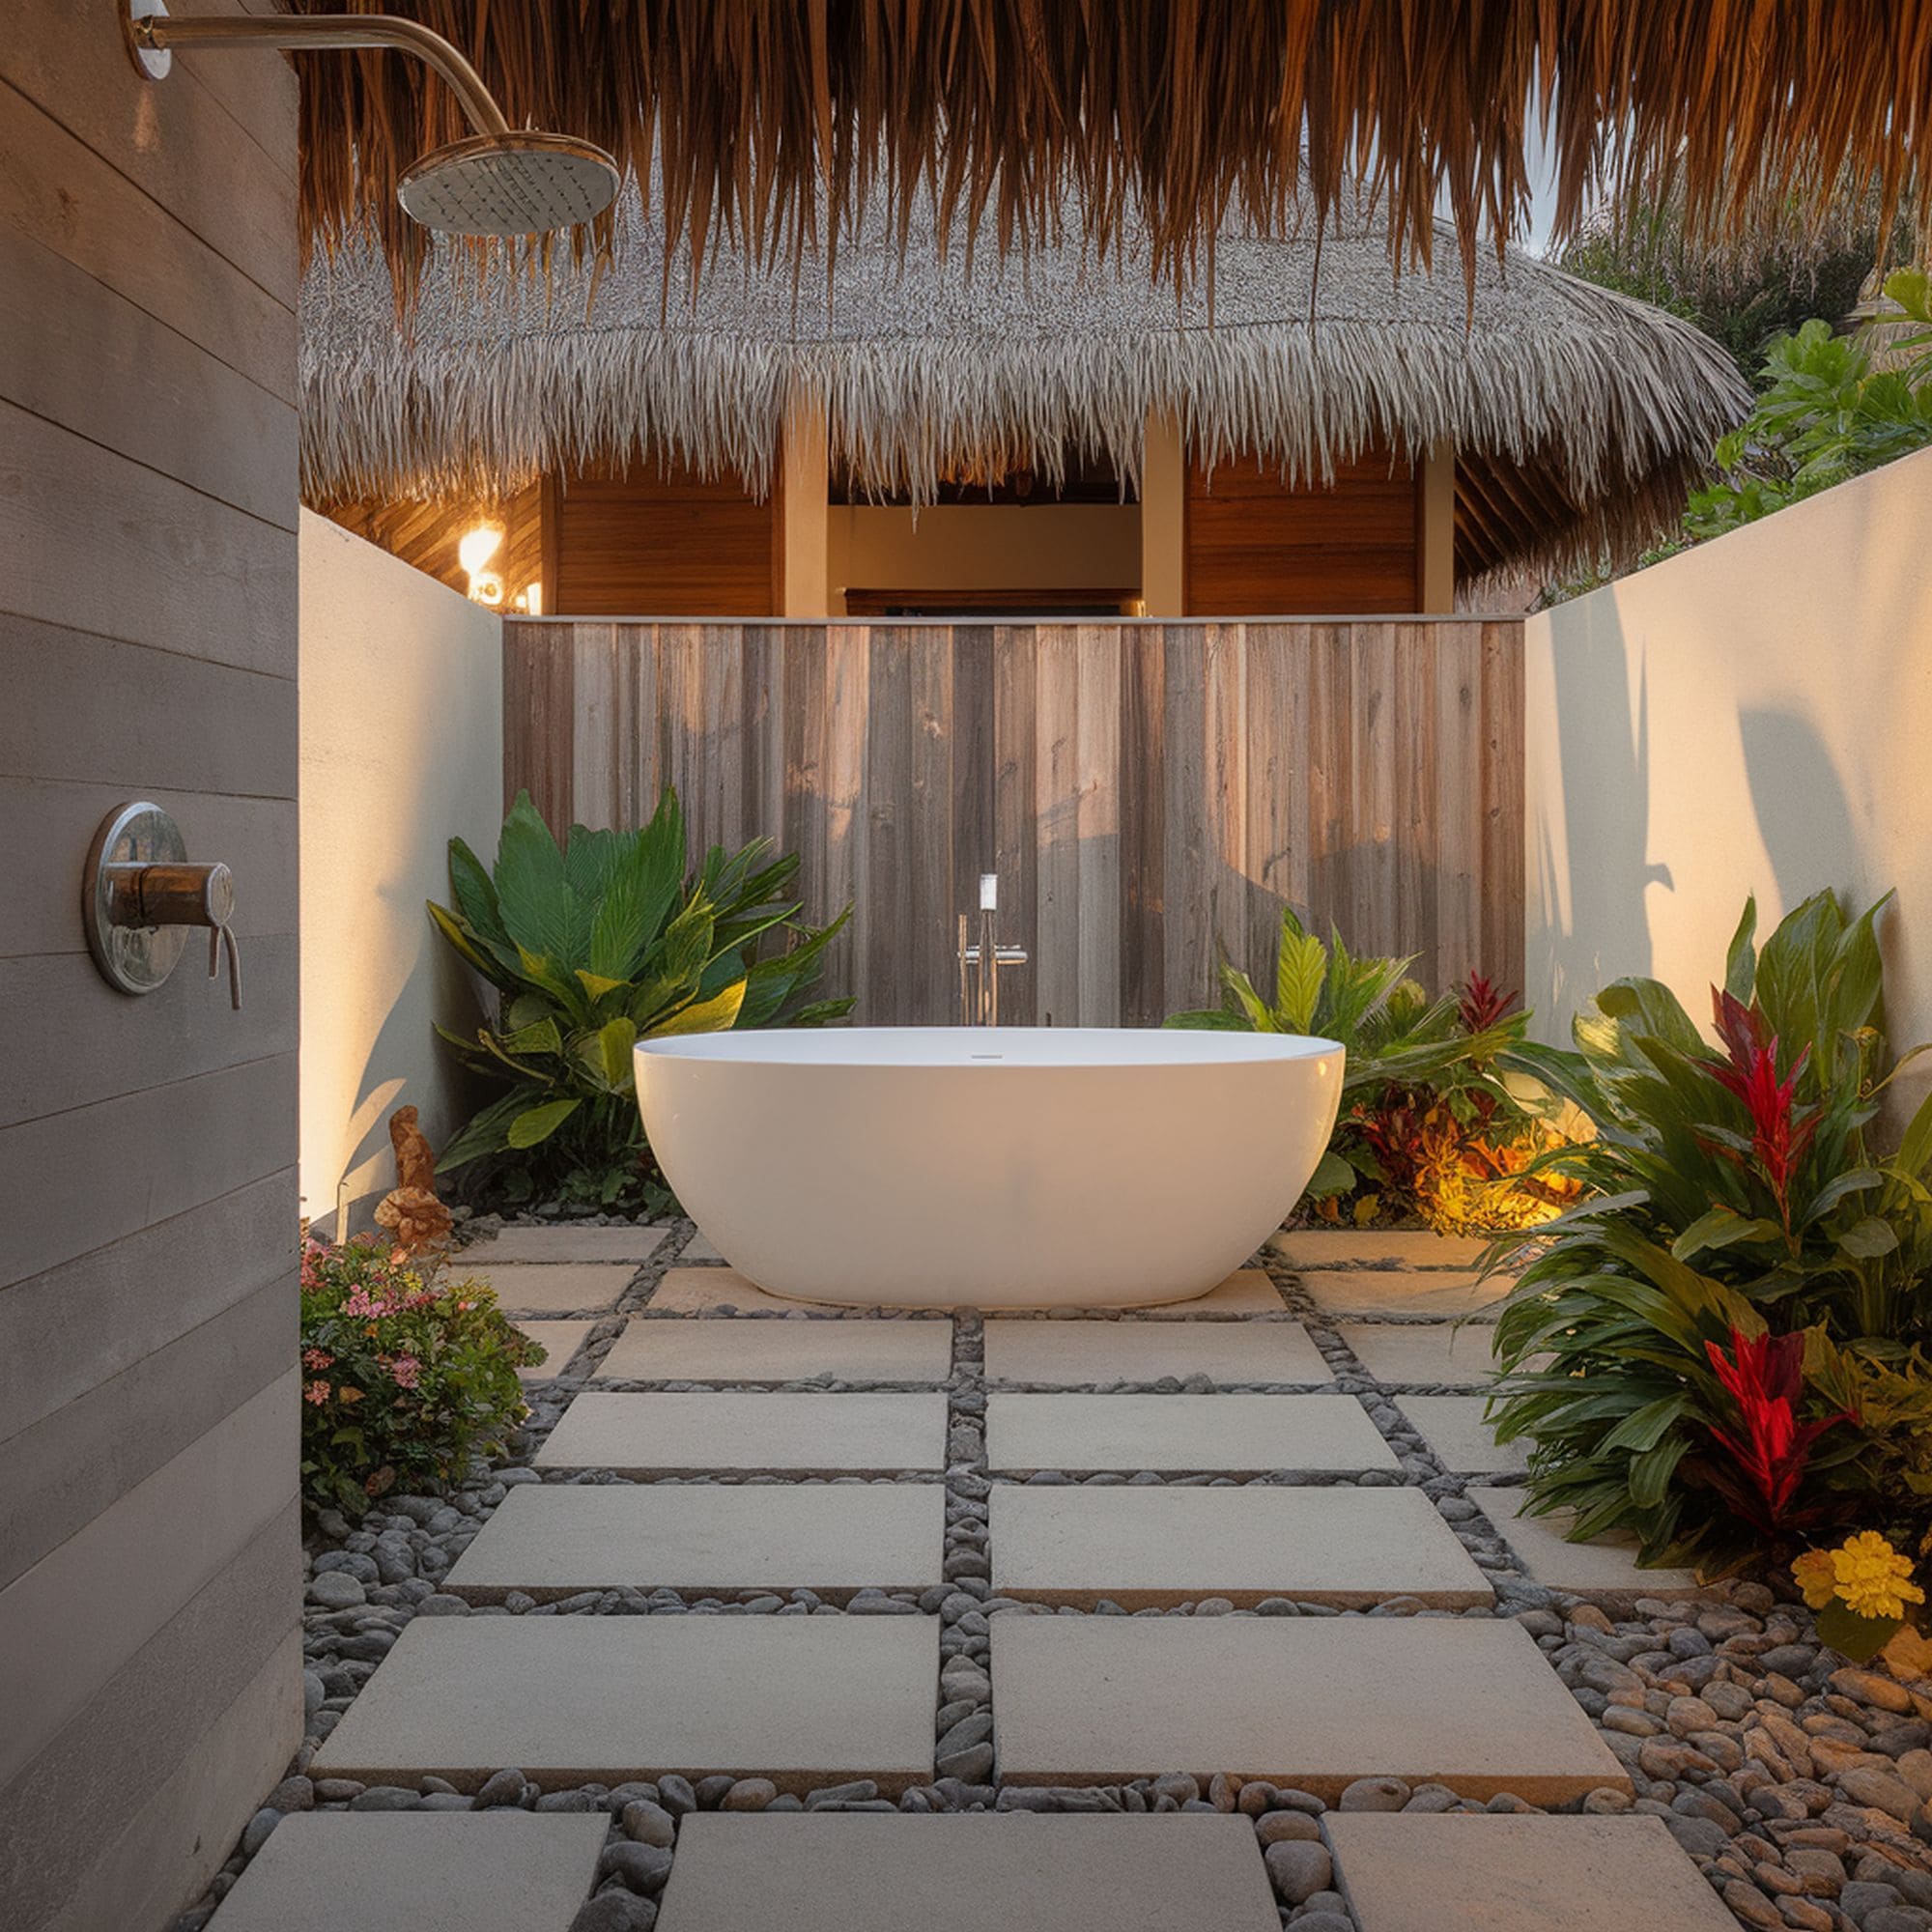
Why settle for just a shower when you can build a complete outdoor bathroom to stargaze on cool summer evenings? Go for a shower and tub combination that is outfitted with mirrors and decorated with Edison lights for a finishing touch. As this is an investment in a space to use all year round, make sure to use the proper piping and bathtub materials that will prevent cracking and freezing during the winter months. It’s a far less expensive option than a hot tub which gives you the option to either clean up quickly with a shower or relax in the bath.
6. Install Pebble Flooring in Your Outdoor Shower
Get creative with your shower flooring to build a space that stands out and makes a statement. Use pebble flooring of the same color as the home exterior to give a natural connection to your landscape. Pebble flooring can be installed using prefabricated tiles, but for a more natural look we recommend investing in a complete cement structure that features real stone work and pebbles on the surface.
7. Incorporate Tiles to Section Off Space
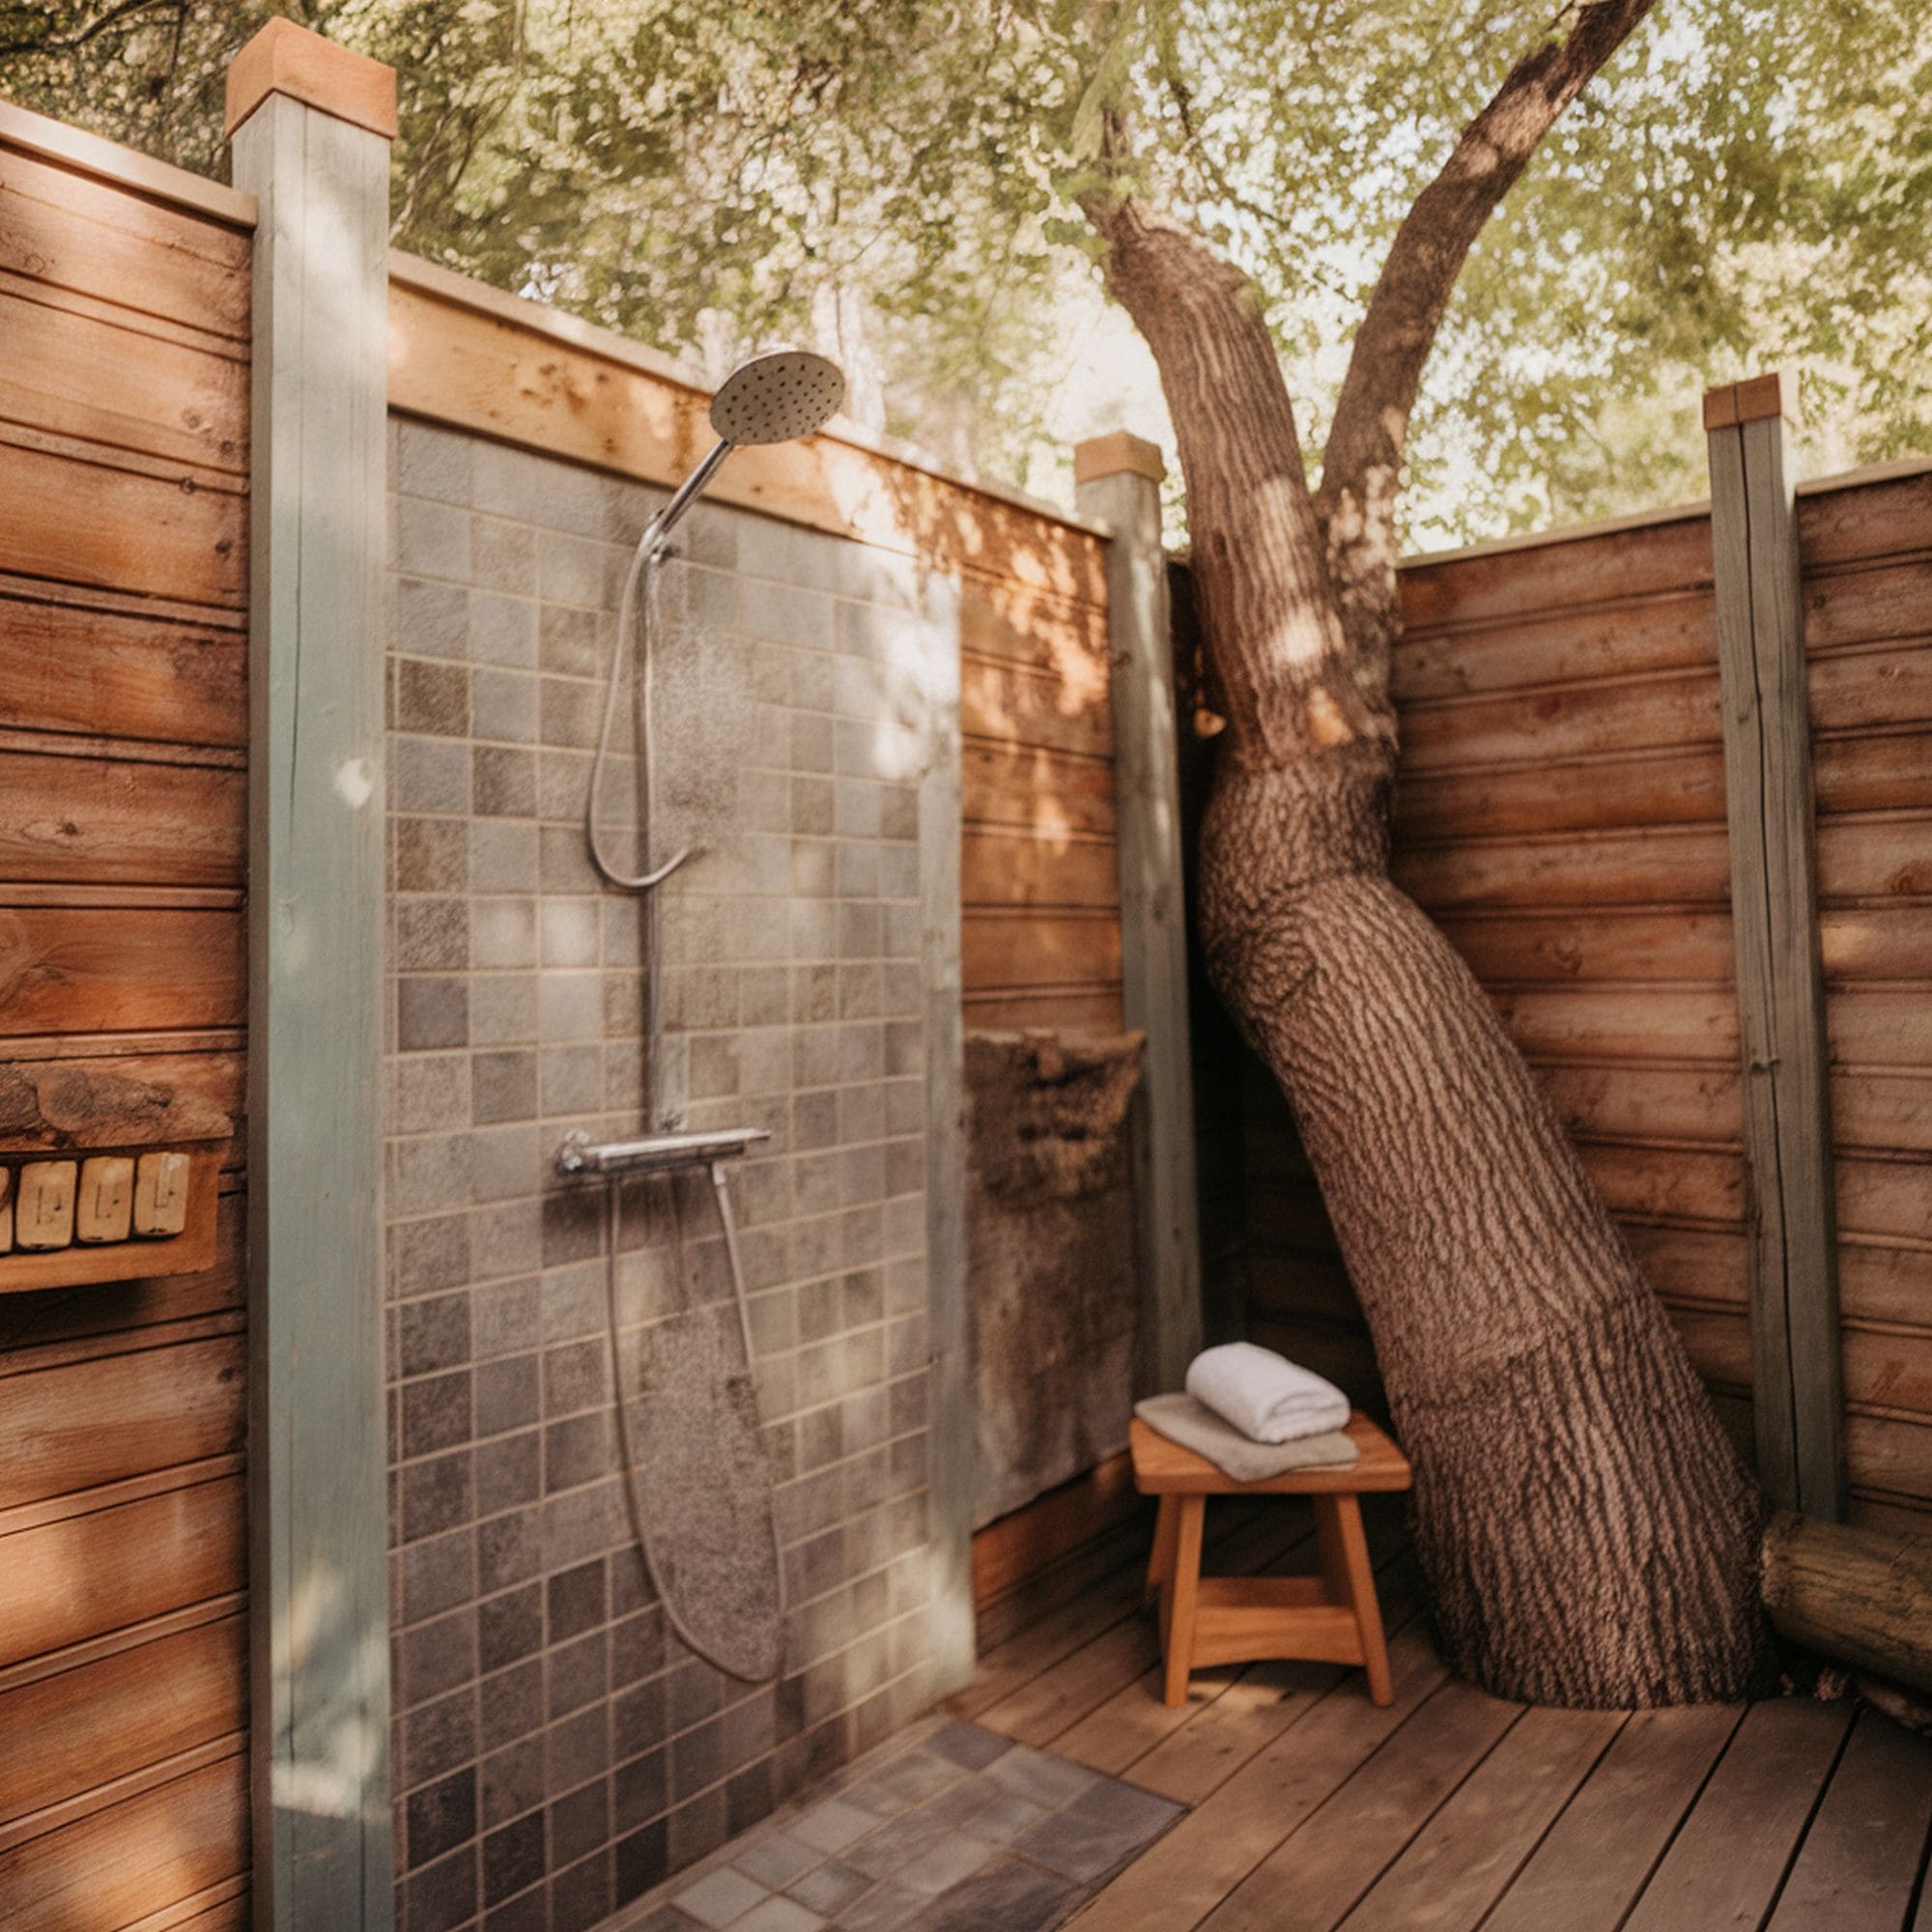
A showerhead that protrudes from the side of your home is not a natural fit. Use tiles to section off an area on a side of your home to make your shower area stand out. Not only does this add visual interest, but it transforms the shower space into an architectural feature, rather than a random addition. Tiles should be installed alongside the vertical length of the wall, positioned beneath the shower head. Remember to install the water works prior to the tile installation to ensure proper alignment of the overall design. There are a variety of outdoor tile shapes and sizes that can be used to match your home, or you can get creative with classic patterns and colors.
8. DIY With These Two Natural Outdoor Showers
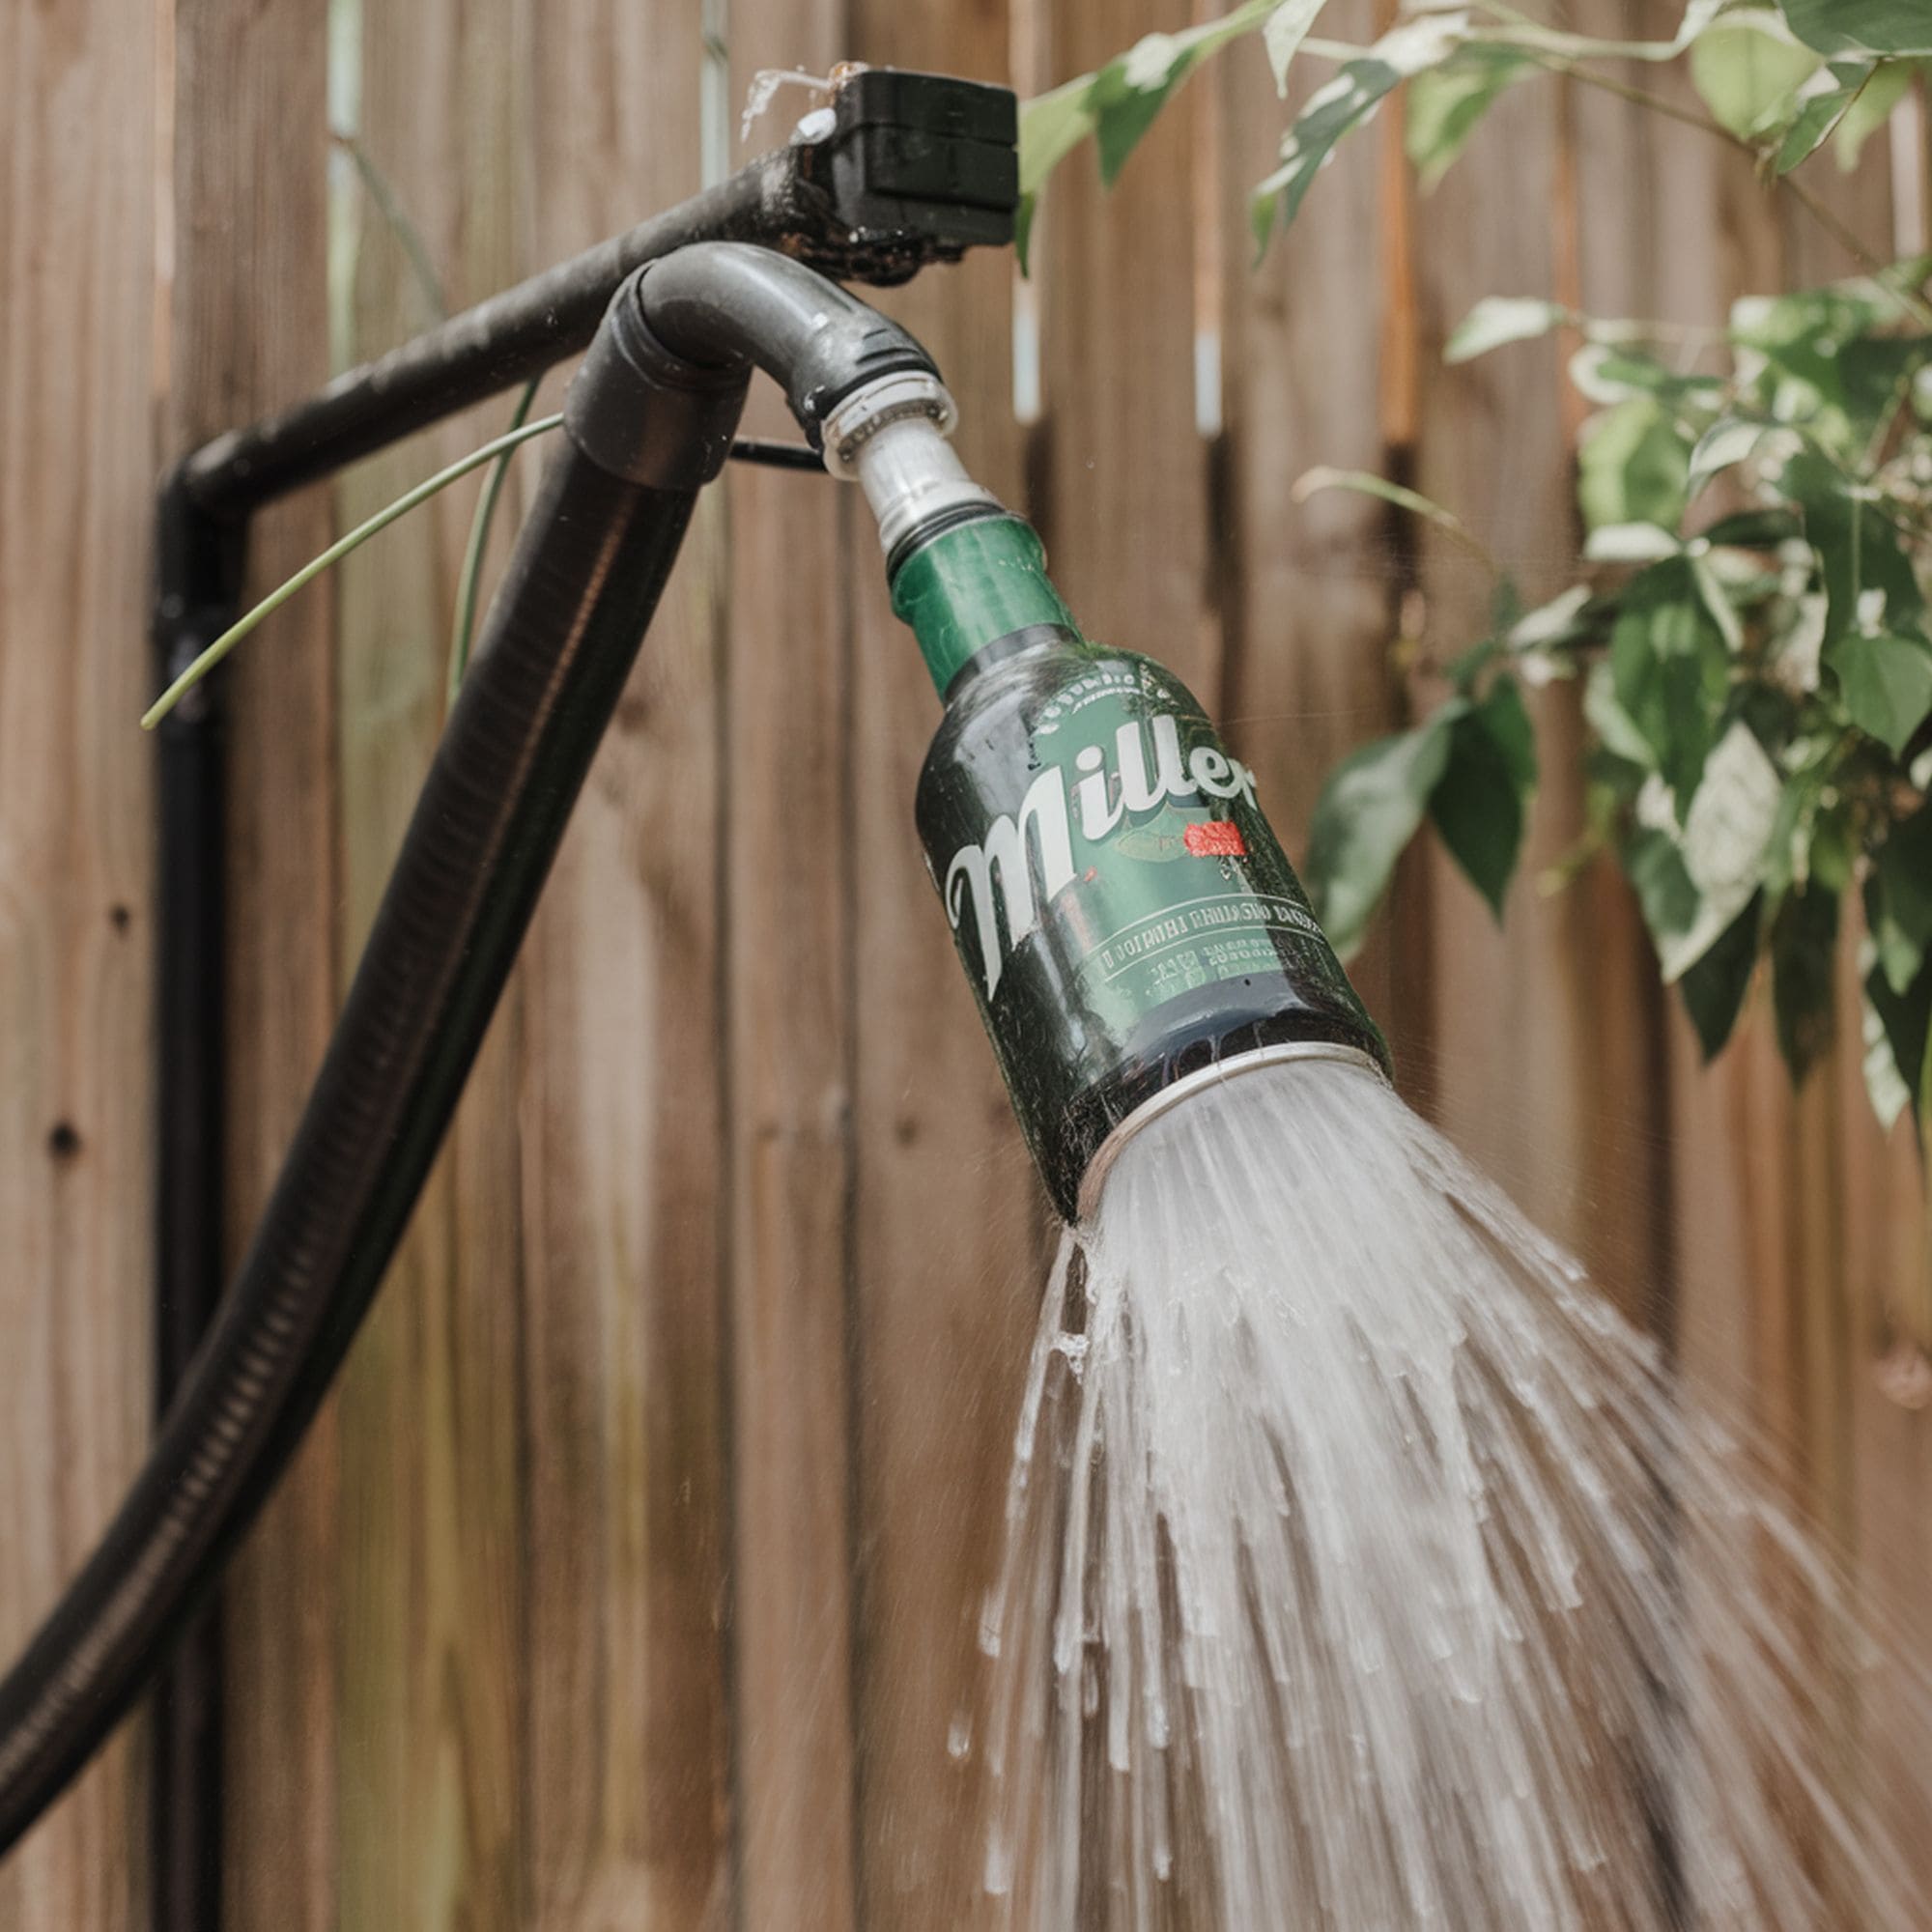
It doesn’t get any more creative than this! Convert a soda can into a unique shower fixture by drilling a few holes into the bottom and removing the top. This concept will take a bit of trial and error to achieve the desired stream of water, but you can go through as many cans as you need. Insert a garden hose through the open side and use an L-shaped bracket to install the device to a wooden fence. Another great DIY alternative is by converting a wooden bucket into a shower head, using the same L-shaped bracket. Just poke tiny holes into the bottom of the bucket, hang it up and extend a hose into the top!
9. Create a Wooden and Tin Shower
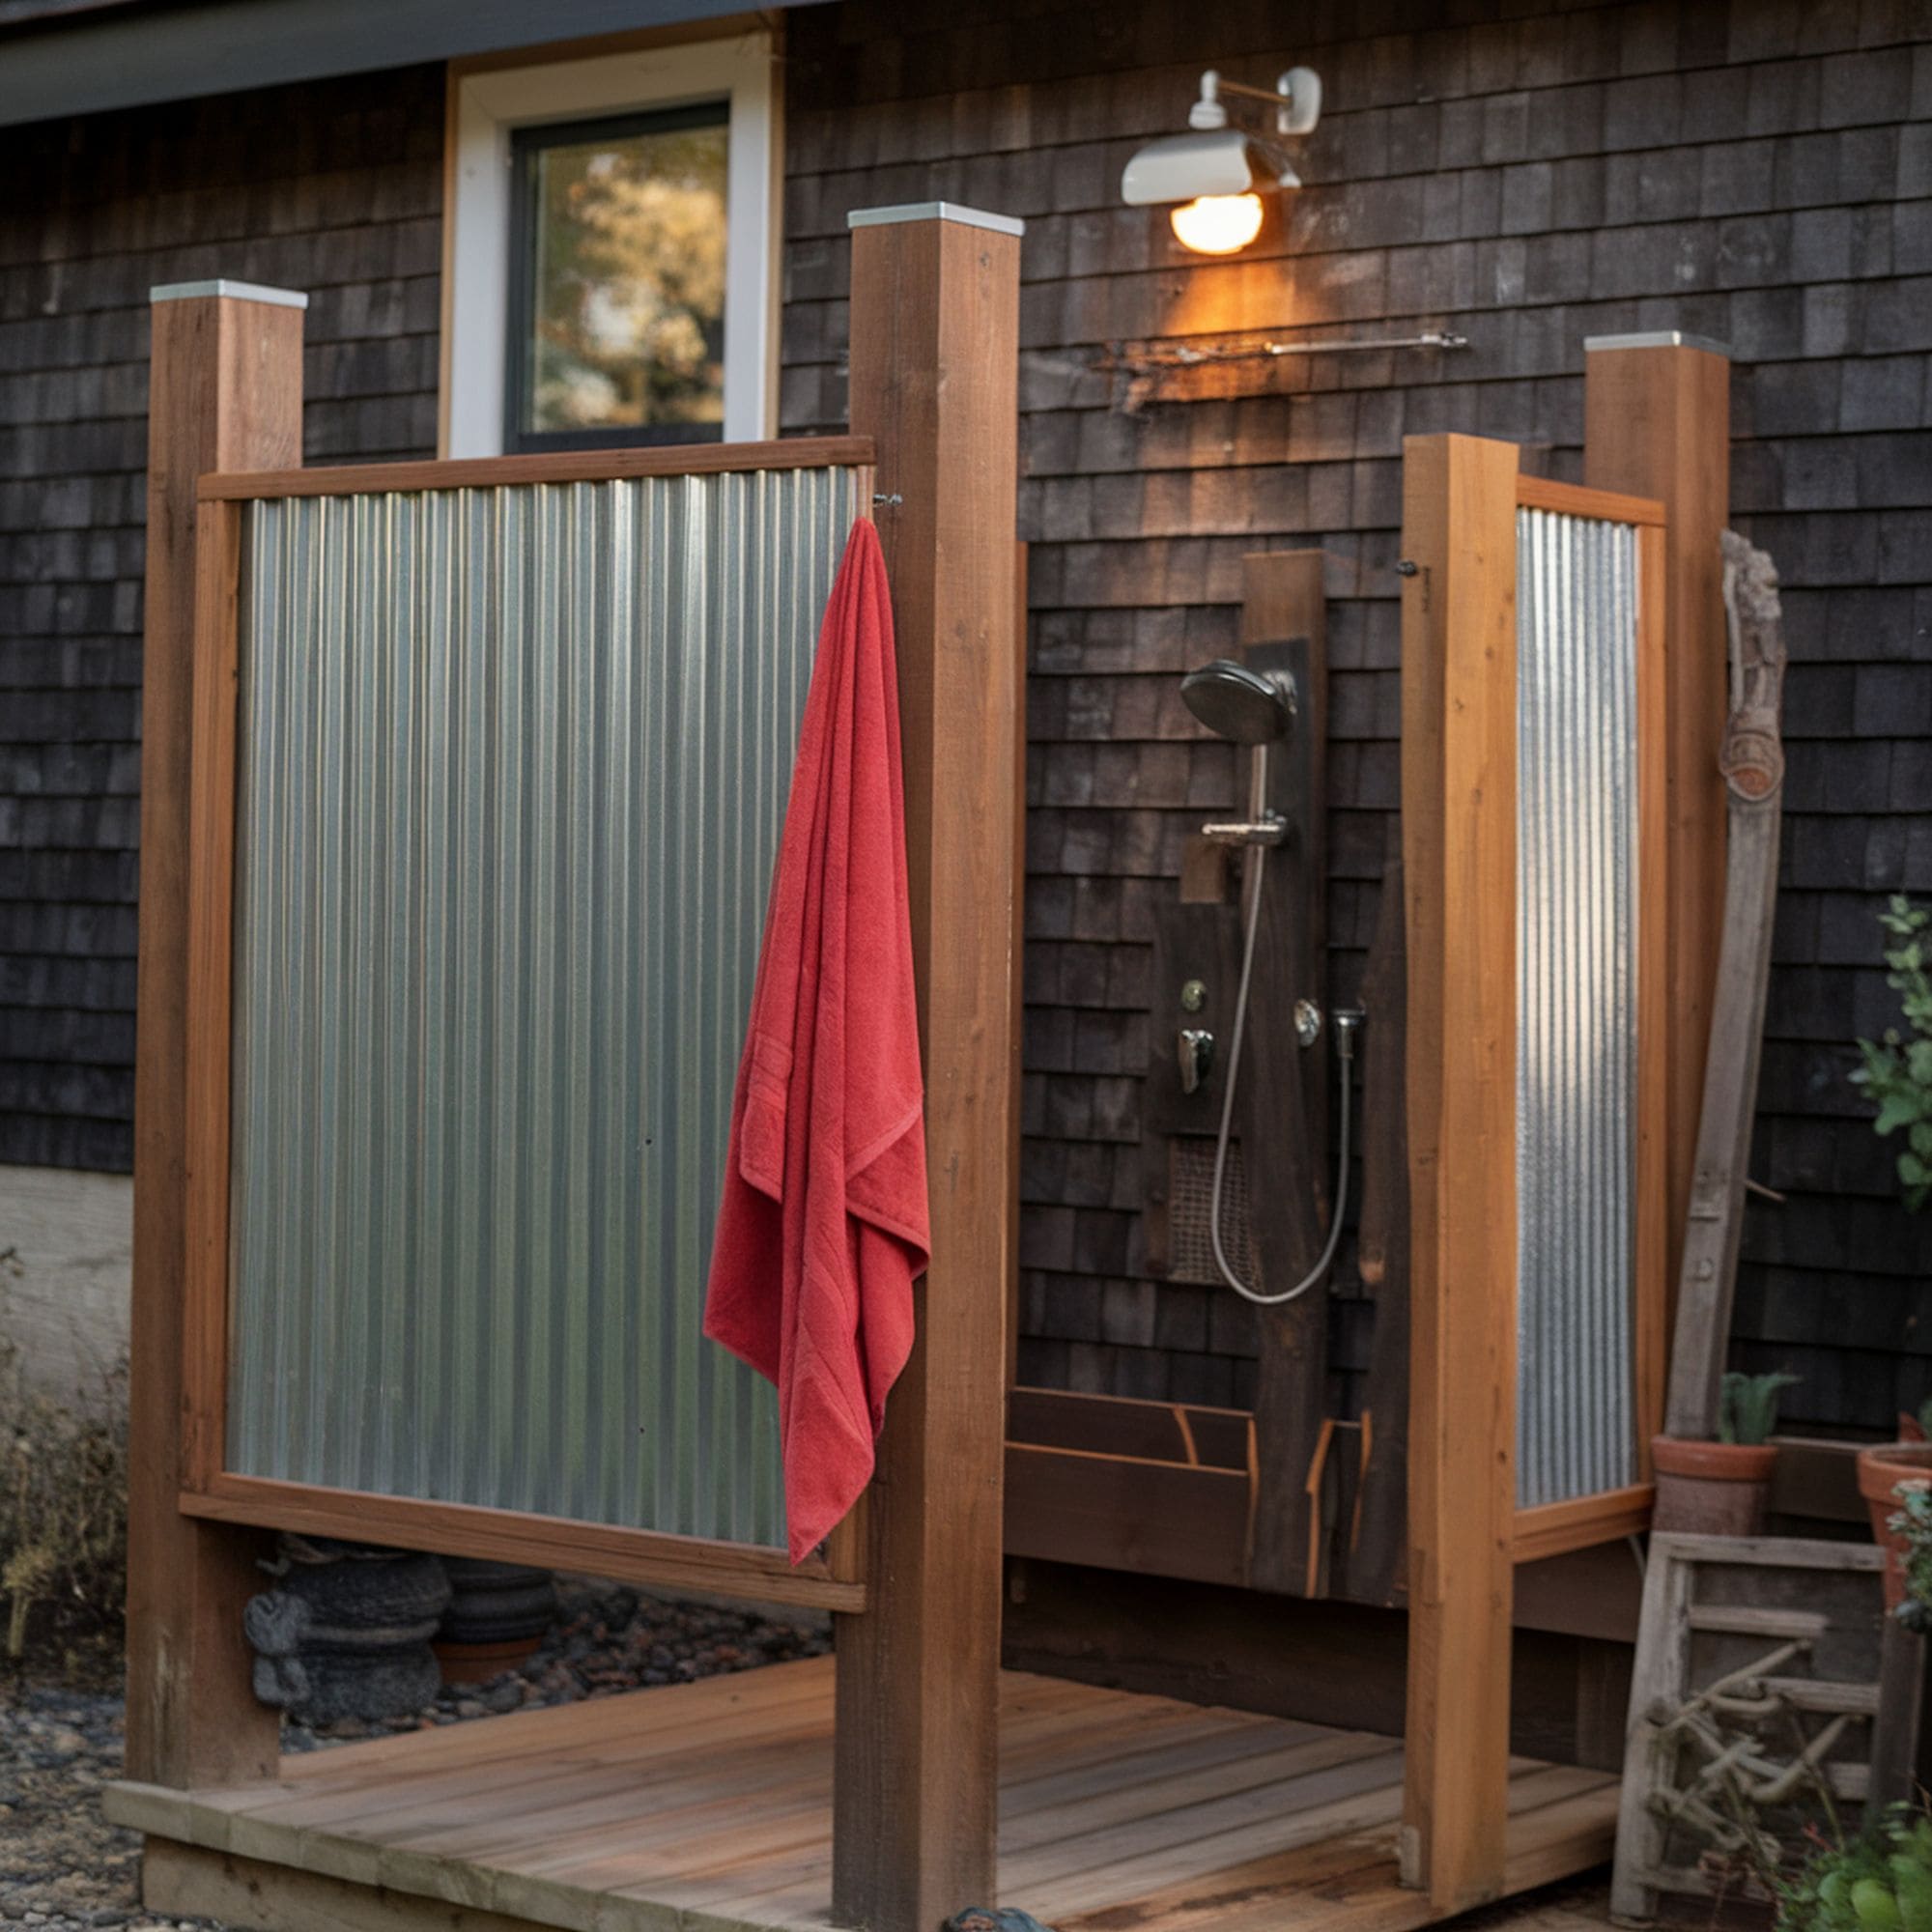
The refreshing sound of water droplets on a tin roof! Recreate the experience in the form of an outdoor shower with corrugated galvanized metal panels. Not only are they rust resistant, but they can easily be bolted into wood frames to give a rustic look. Join two panels together into an L-shaped structure or go with four panels to create a more private space.
10. Incorporate Waterproof LED Lighting
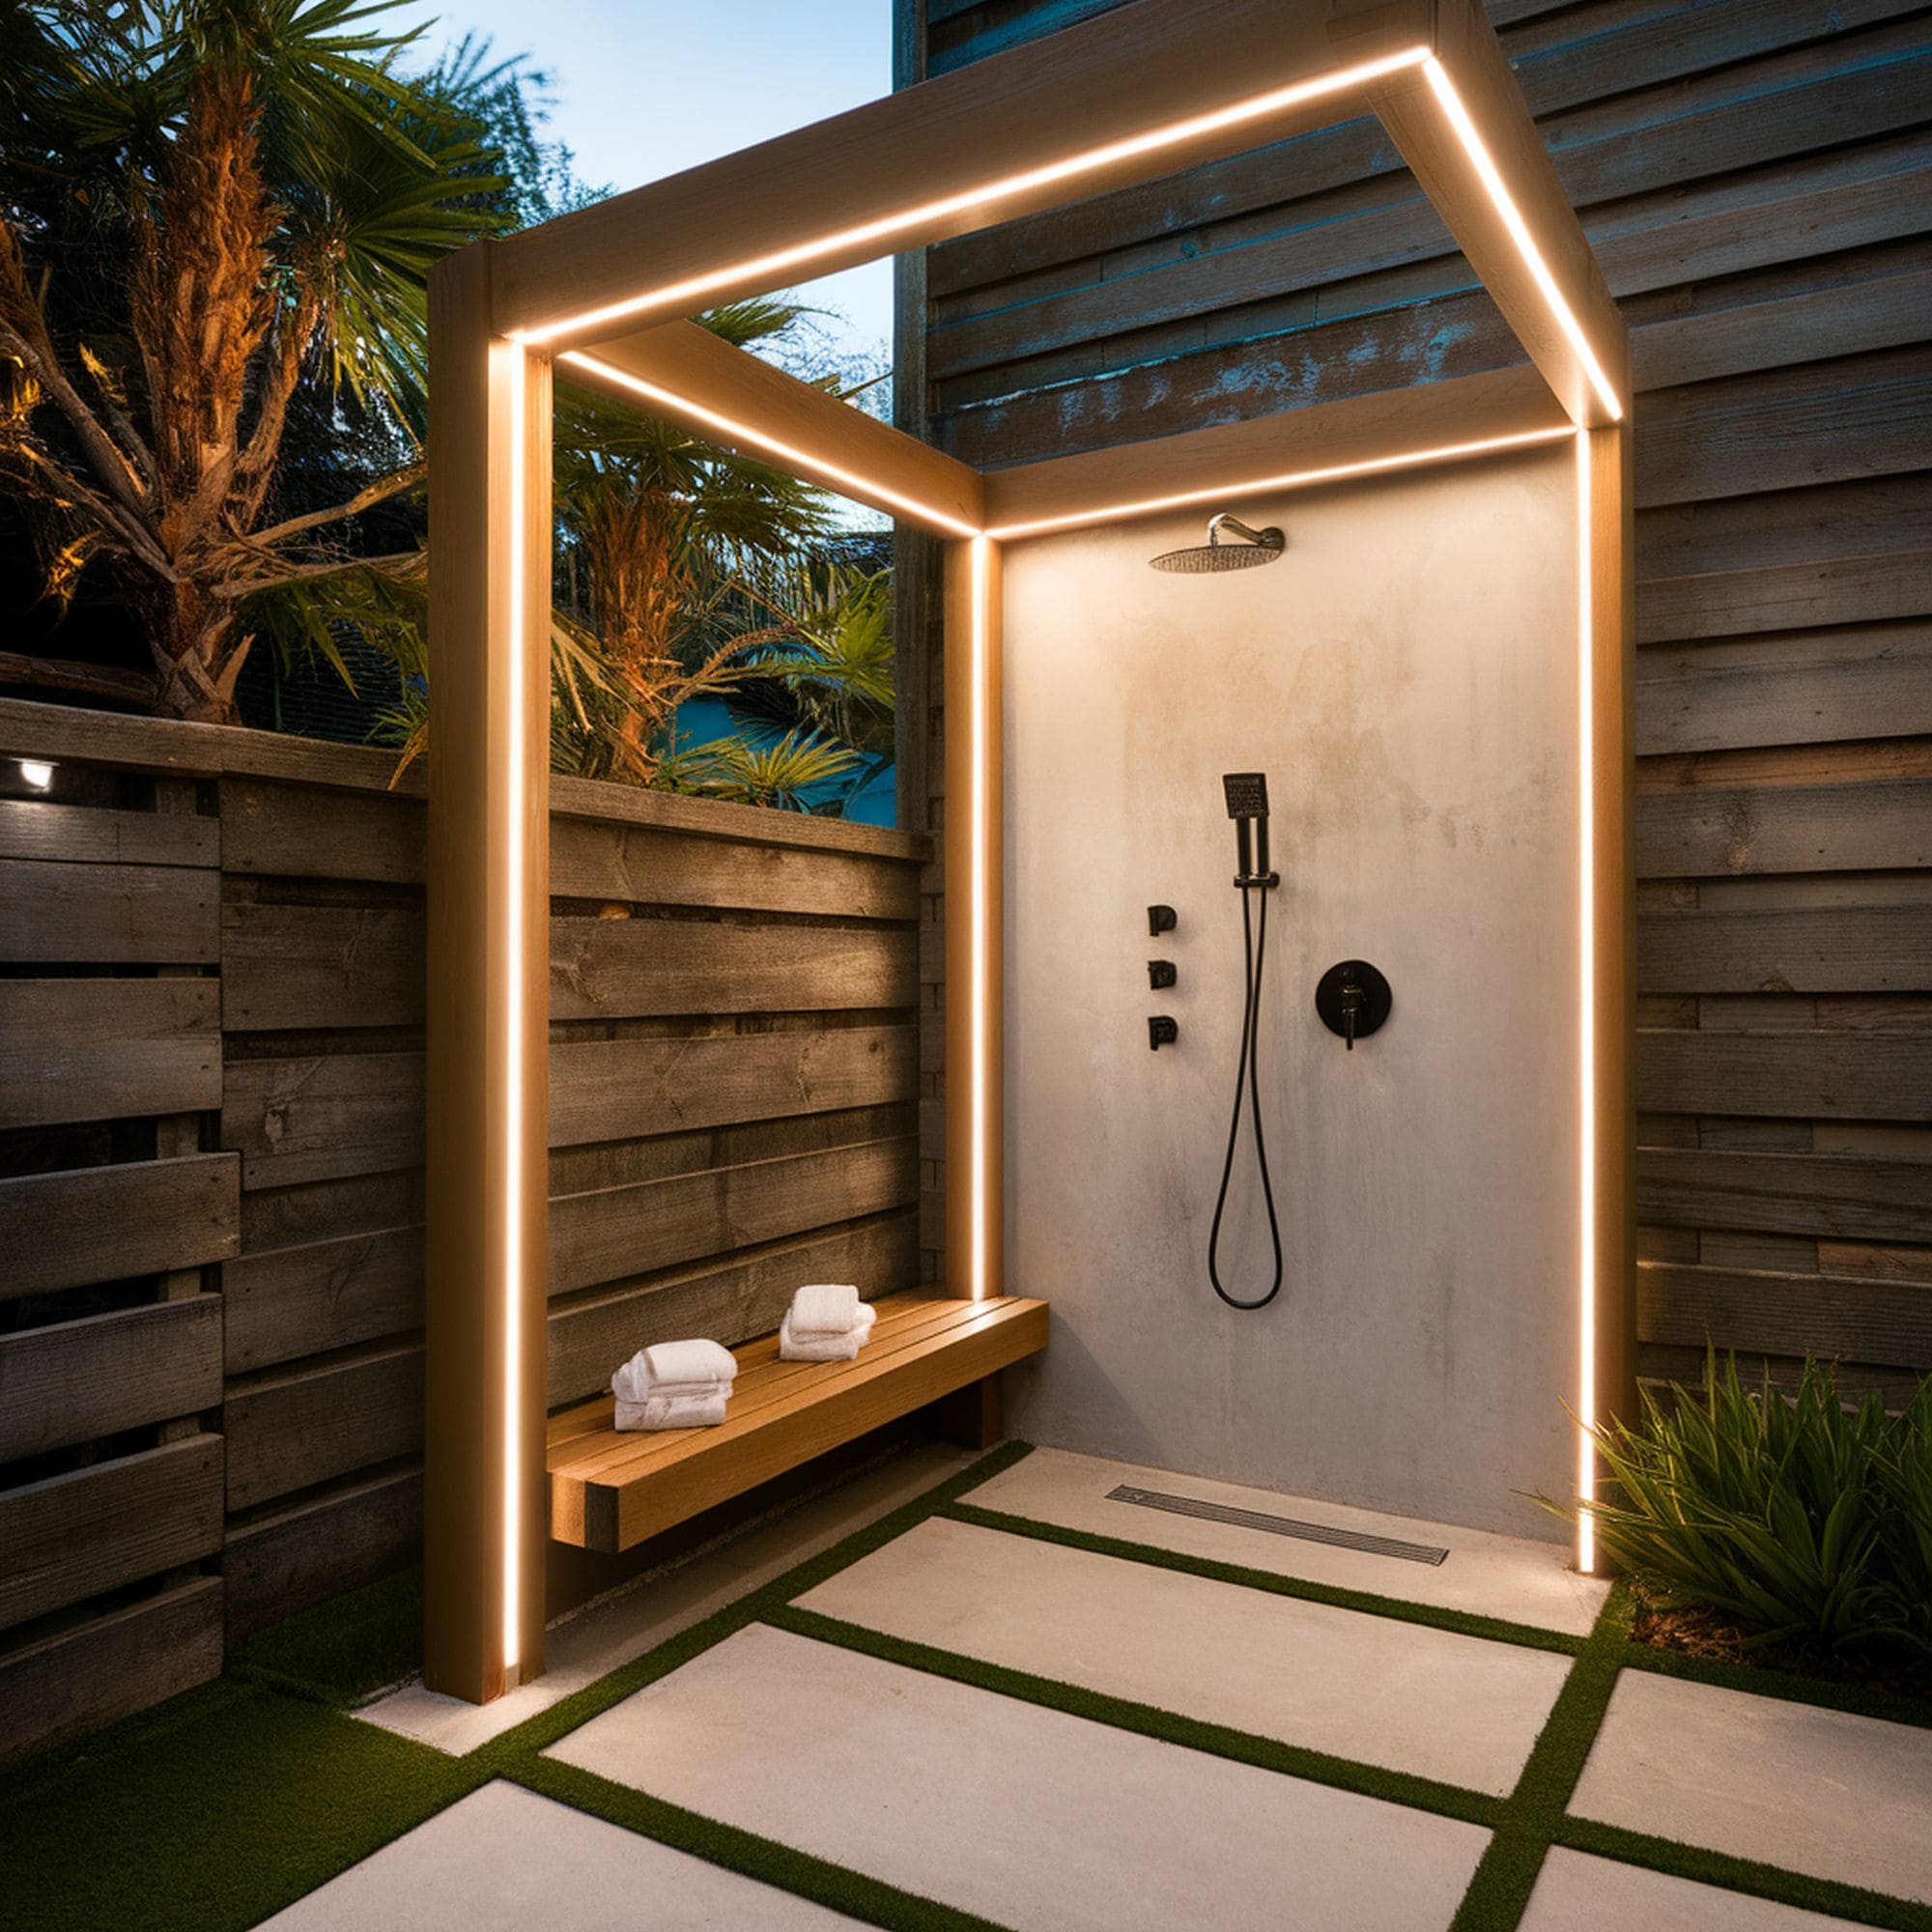
Enhance your outdoor shower using waterproof LED lights that add ambiance and style. Install LED tube lights around the frame of your shower structure or run them vertically in a parallel format. A great addition to a lit up outdoor shower is a water temperature controlled LED shower head which automatically changes light according to the water temperature. It creates a vibrant effect similar to a colorful water fountain that takes shower lighting to the next level.

Leave a Reply