

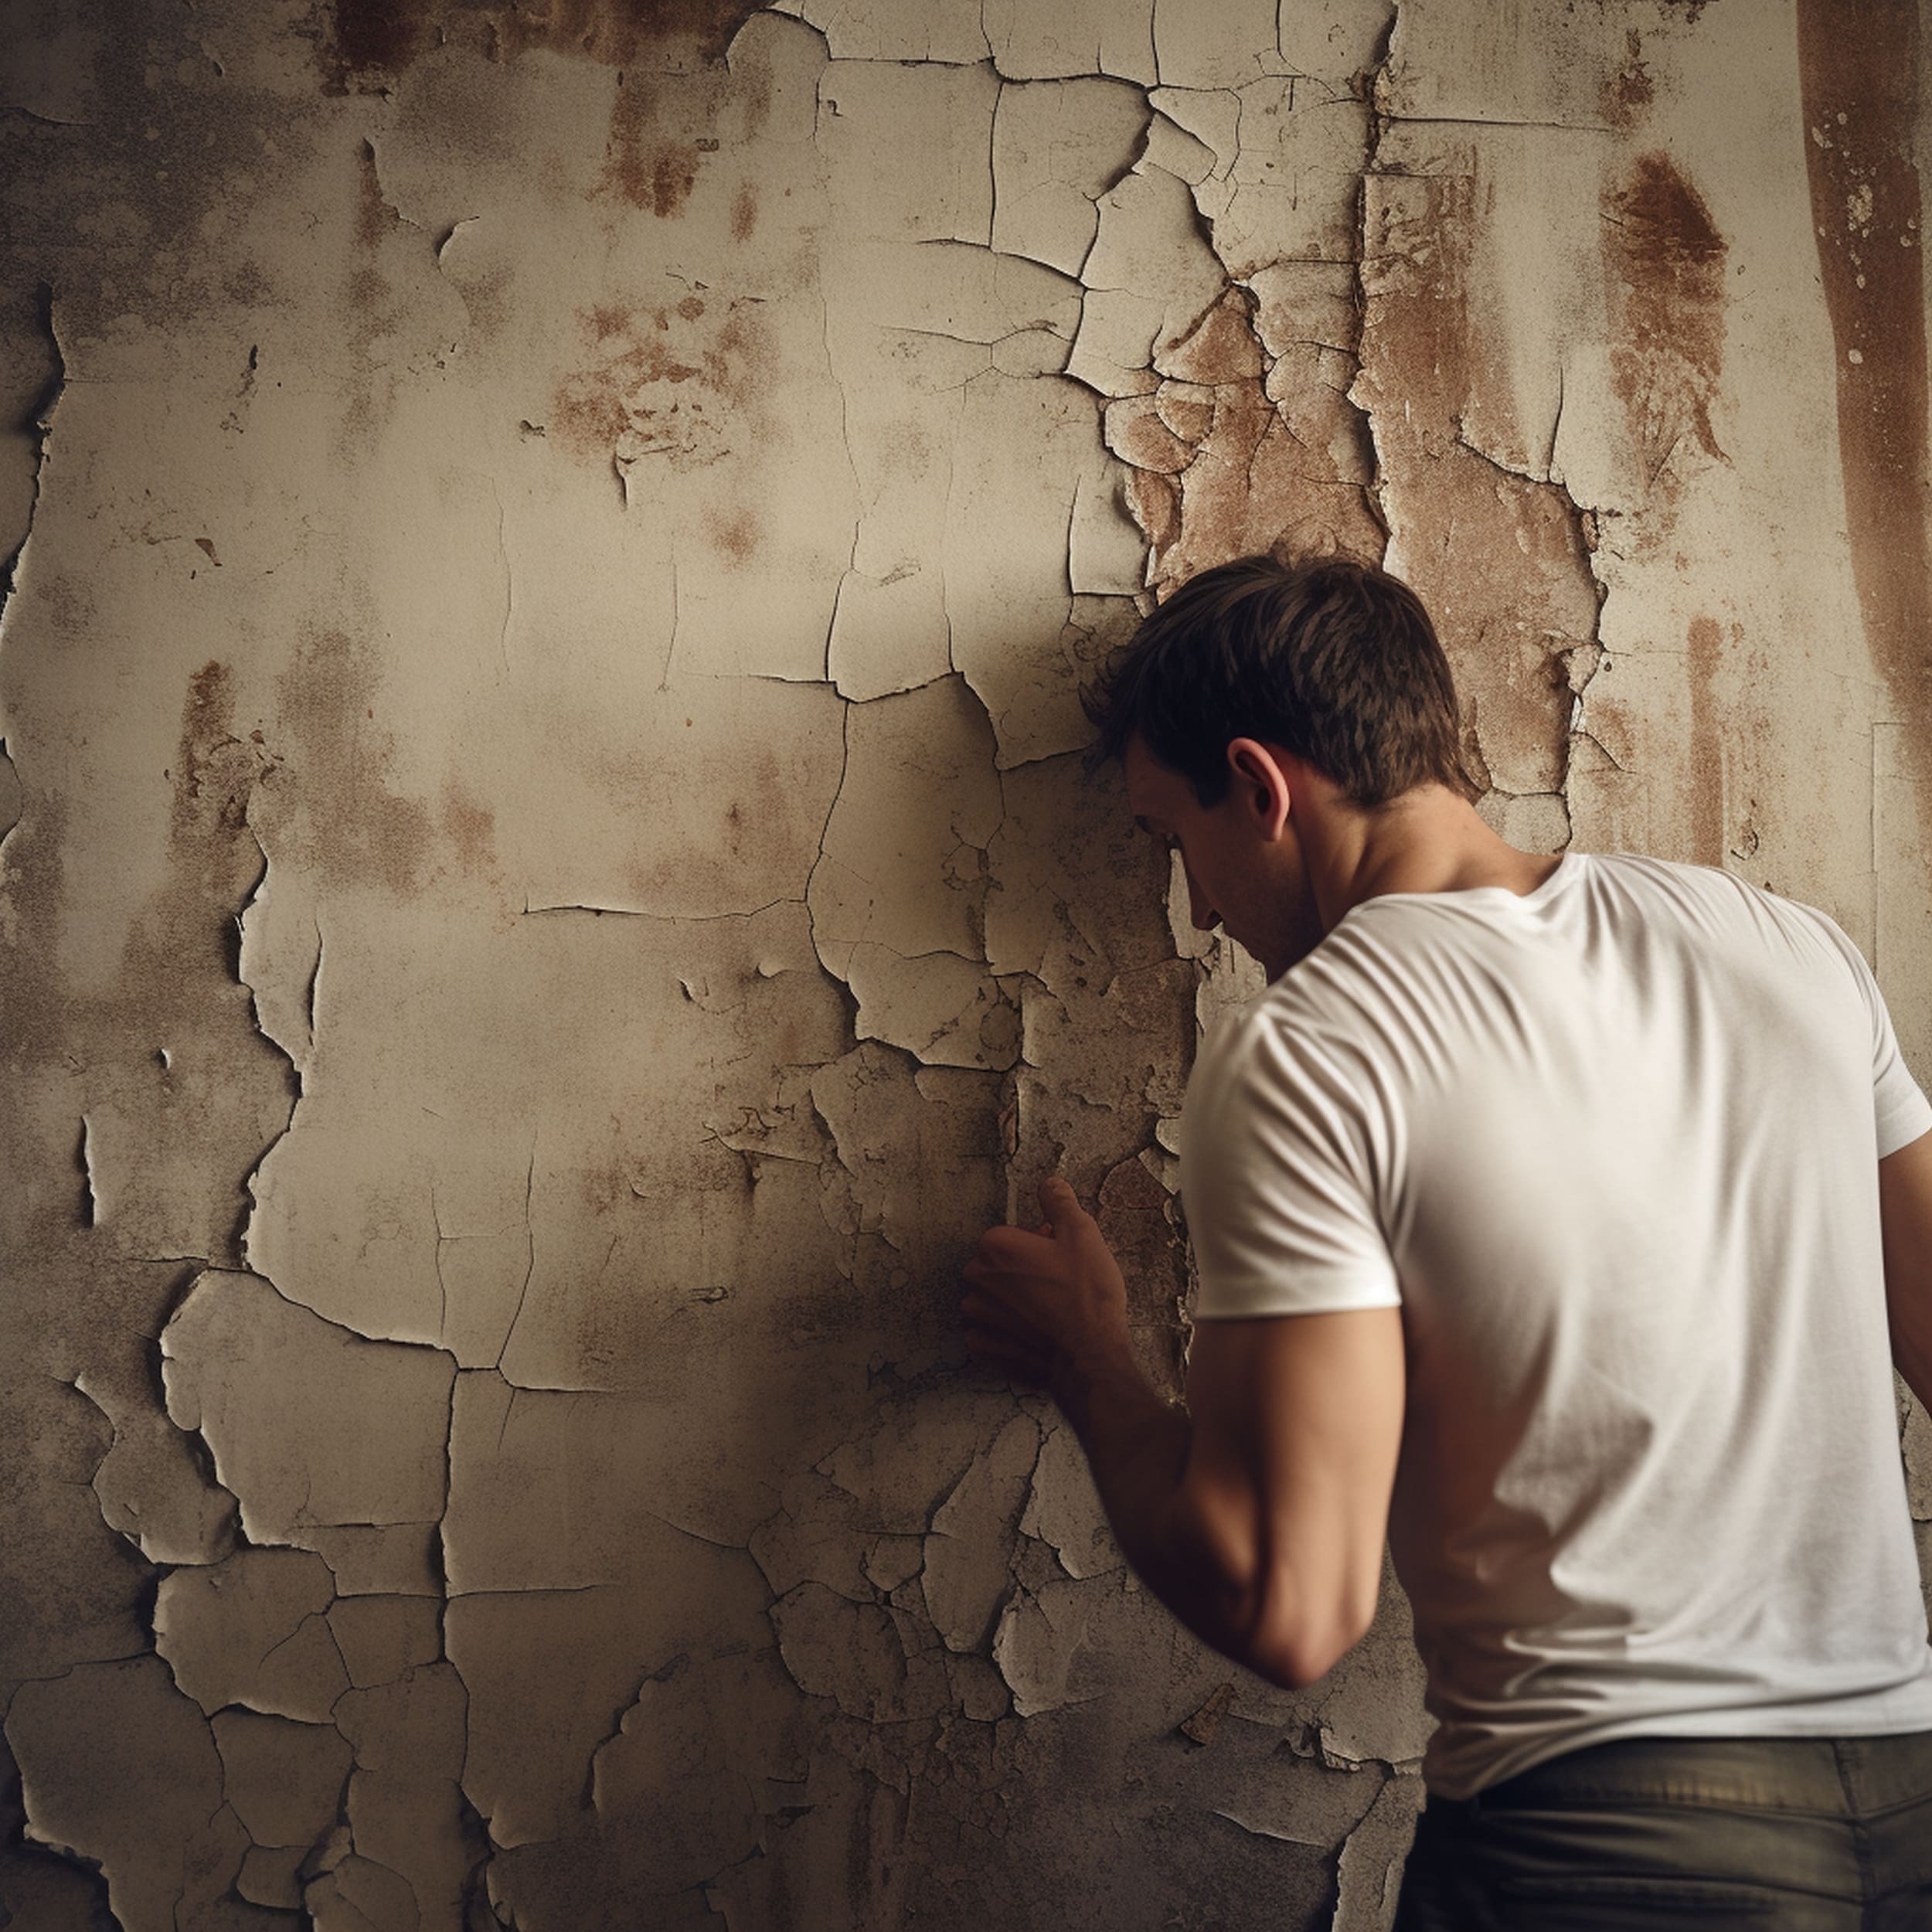
Whether it’s an old paint job or the painted surface hasn’t been cleaned or primed correctly, you might end up with troublesome peeling and flaking of the paint. Other factors can also cause this unsightly issue. Paint in the bathroom tends to peel away more easily than in other rooms of the house because the moisture affects the adhesive power of the paint. Cracking may have also appeared if you didn’t respect drying times between paint coats. Sometimes it’s none of the above and you simply purchased poor-quality paint that’s susceptible to peeling.
If you notice that paint starts to peel from a surface in your home, it’s recommended to act fast. It’s possible that you can patch the area without having to deal with a complete repainting project. Even if you’re motivated enough to tackle a full repainting, it just makes more sense to tackle quick spot fixes to save time and effort. In this article, we’ll show you how to fix peeling paint and restore the stylish look of the painted surface. Follow this step-by-step tutorial to begin.
1. Check for Moisture Problems
Before you go ahead and repair the peeling paint surface, it’s important to figure out whether moist conditions are to blame for the issue. Even if your painted surface is in a high-moisture environment like the bathroom, peeling isn’t normally an issue if the space is properly ventilated. A likely culprit could be water leaking from the roof or your plumbing.
Any excess humidity can cause paint layers to detach and become cracked until they will eventually peel away from the surface. Check the surrounding area for moisture problems and consider some protective measures if you suspect that water infiltration is to blame for the peeling paint. A good solution is to use a sealant that prevents moisture from damaging the paint. Damaged gutters or roof sections should be repaired before attempting to fix the peeling paint surface.
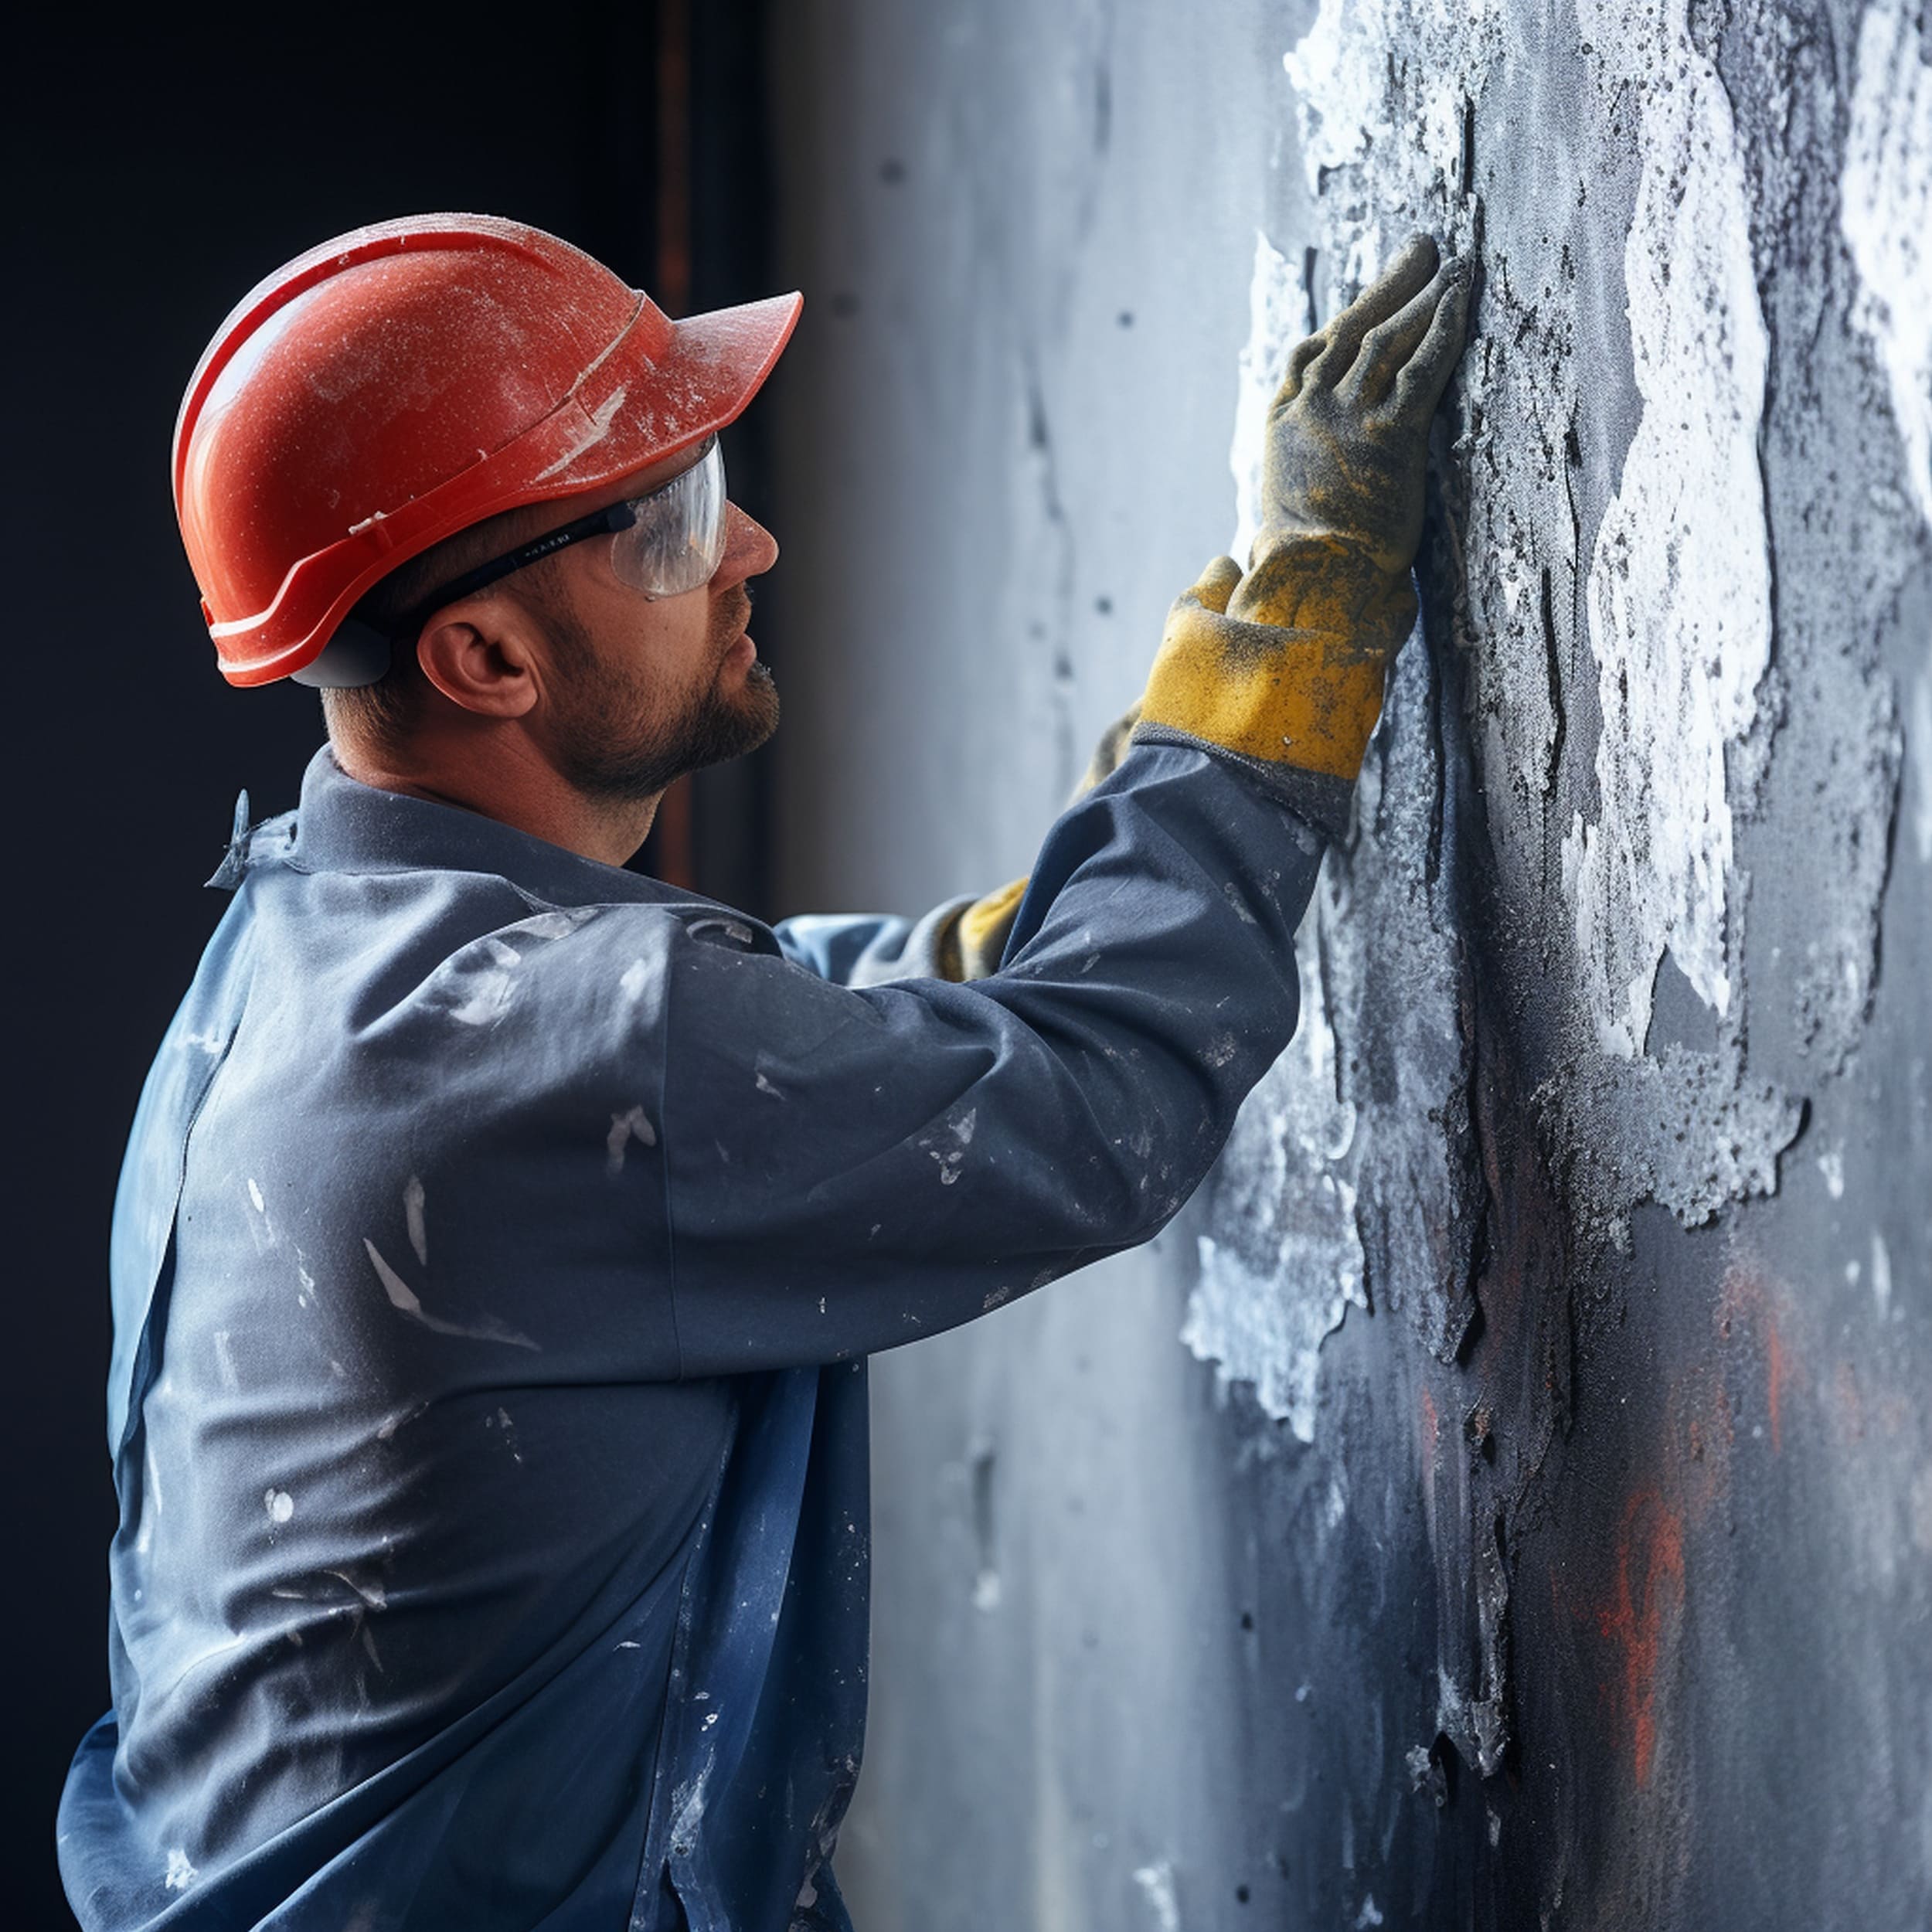
2. Remove the Damaged Paint
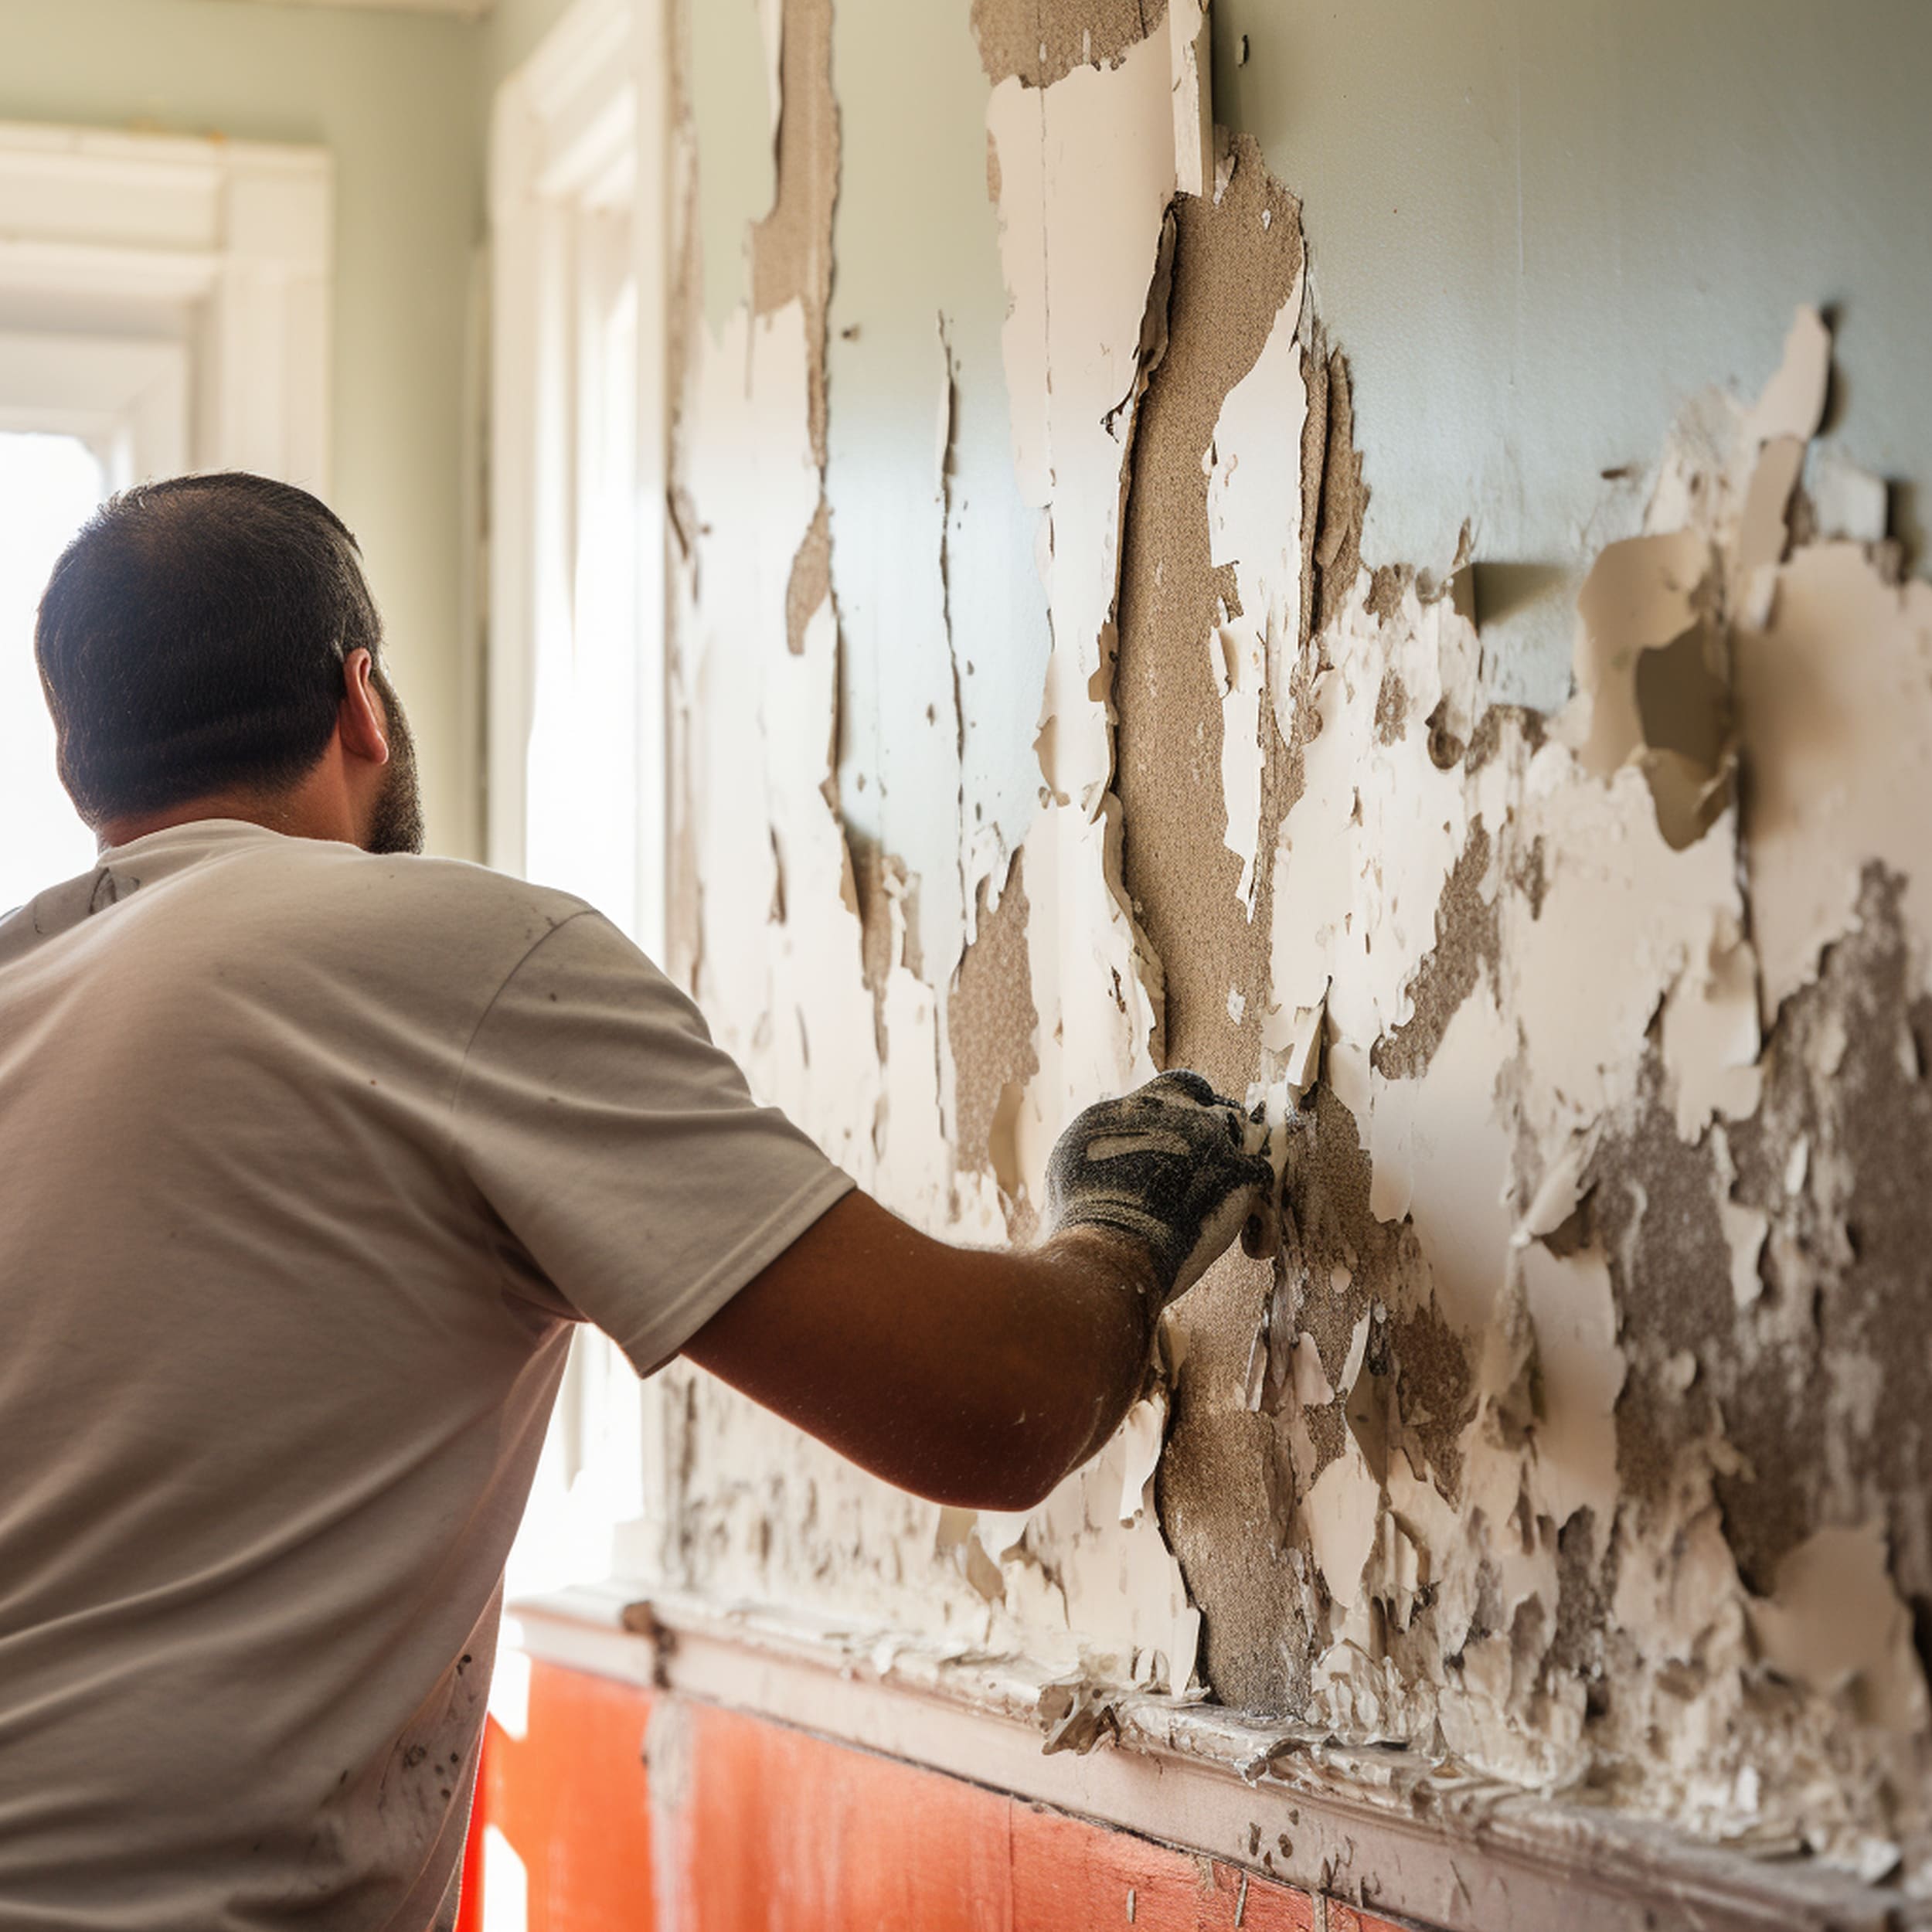
Once the paint has started to peel away in a certain patch, it can only be fixed properly if you remove the flakes and repaint it. Peeling bits can fly everywhere when you’re scraping them away from the damaged surface. For that reason, it’s recommended to prevent it from reaching your face with the help of reliable safety equipment such as eye goggles and a mask.
The floor will also be covered by stray pieces of paint. Place a drop cloth on it to catch them and avoid making a mess. Make sure that trim areas are also protected while furniture items nearby are safely removed from the area. Then you can comfortably take a paint scraper or putty knife to get rid of all the peeling paint in the affected areas of the surface. Work gently as too much added pressure can cause deeper damage to the surface. You only need to remove the peeling paint.
3. Fill the Cracks
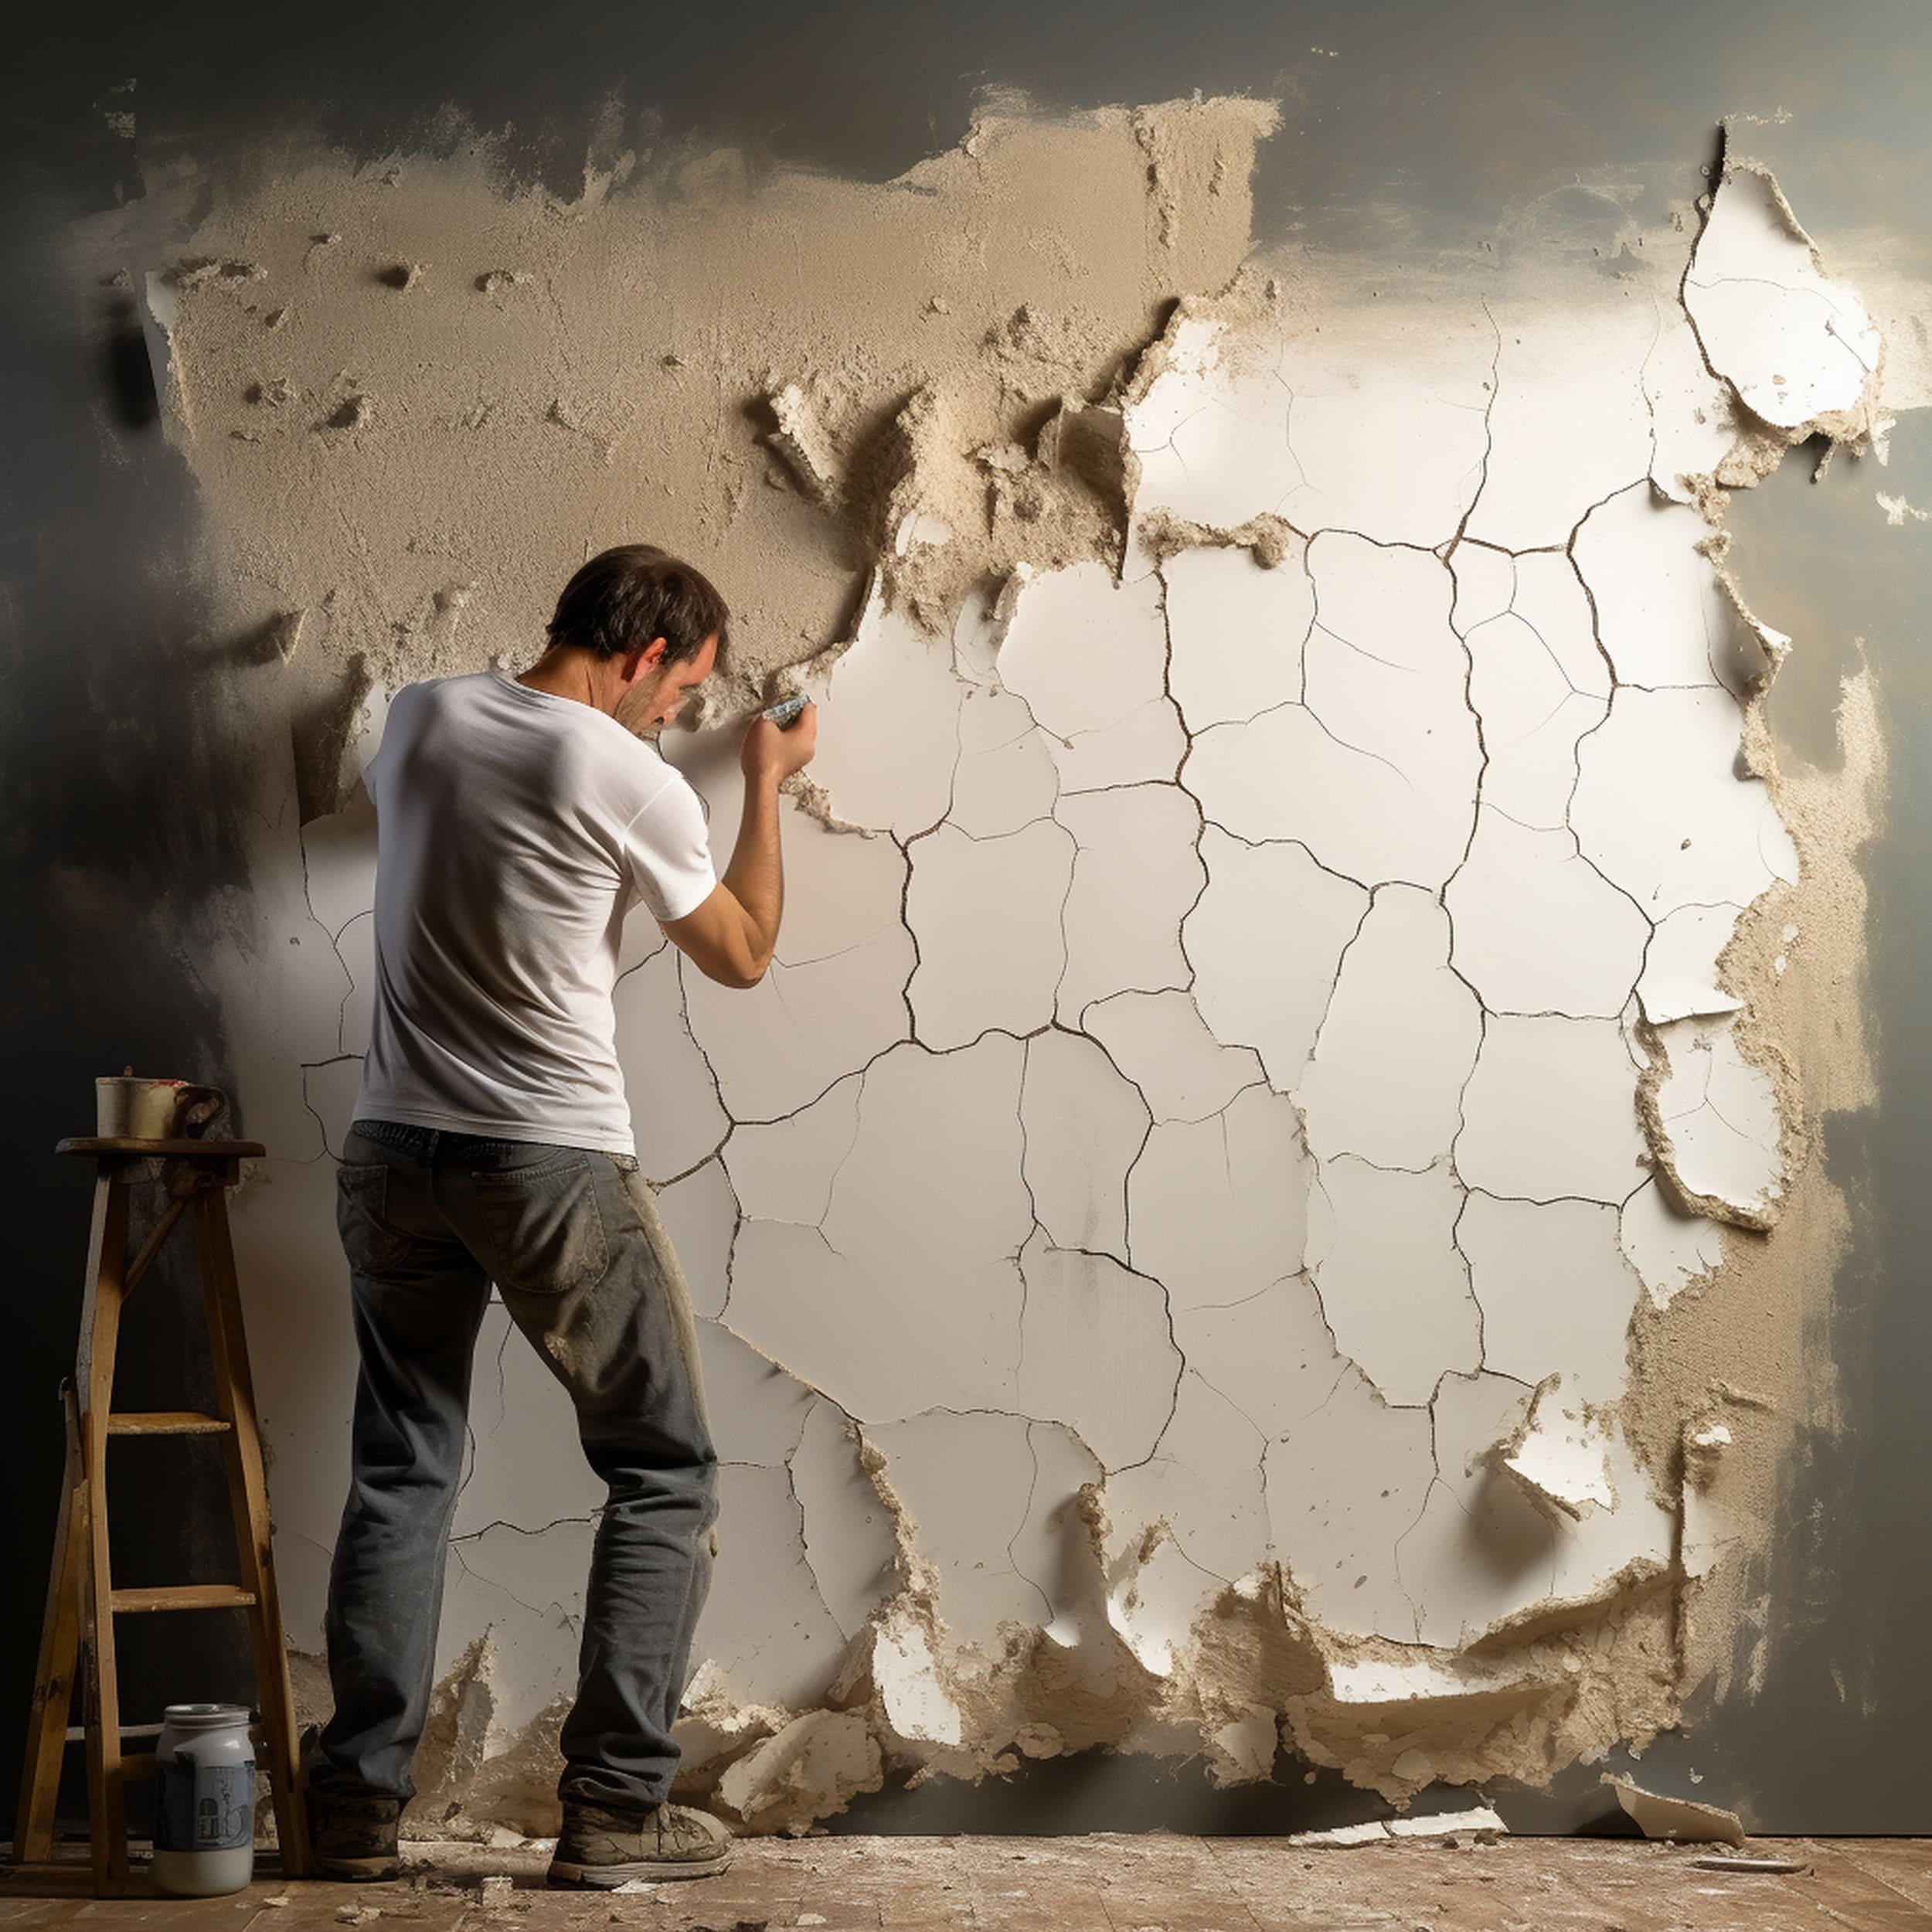
If you stumble upon any cracks or holes, it’s important to get them filled before starting the repainting process. This can be done with a patching compound such as this one from Amazon. Keep in mind that you will probably need to let it dry properly before moving on to the next step. It needs to be applied with a putty knife and the surface should be left as smooth as possible.
4. Sand the Area
Sanding is an important step to ensure that your repaired area will blend correctly with the overall smooth texture of the painted surface. To get a good level of smoothness, it’s recommended to opt for a very-fine grit sandpaper that gets rid of any grooves or lines. Check the surface with your hand to ensure that it matches the evenness of the rest of the painted area.
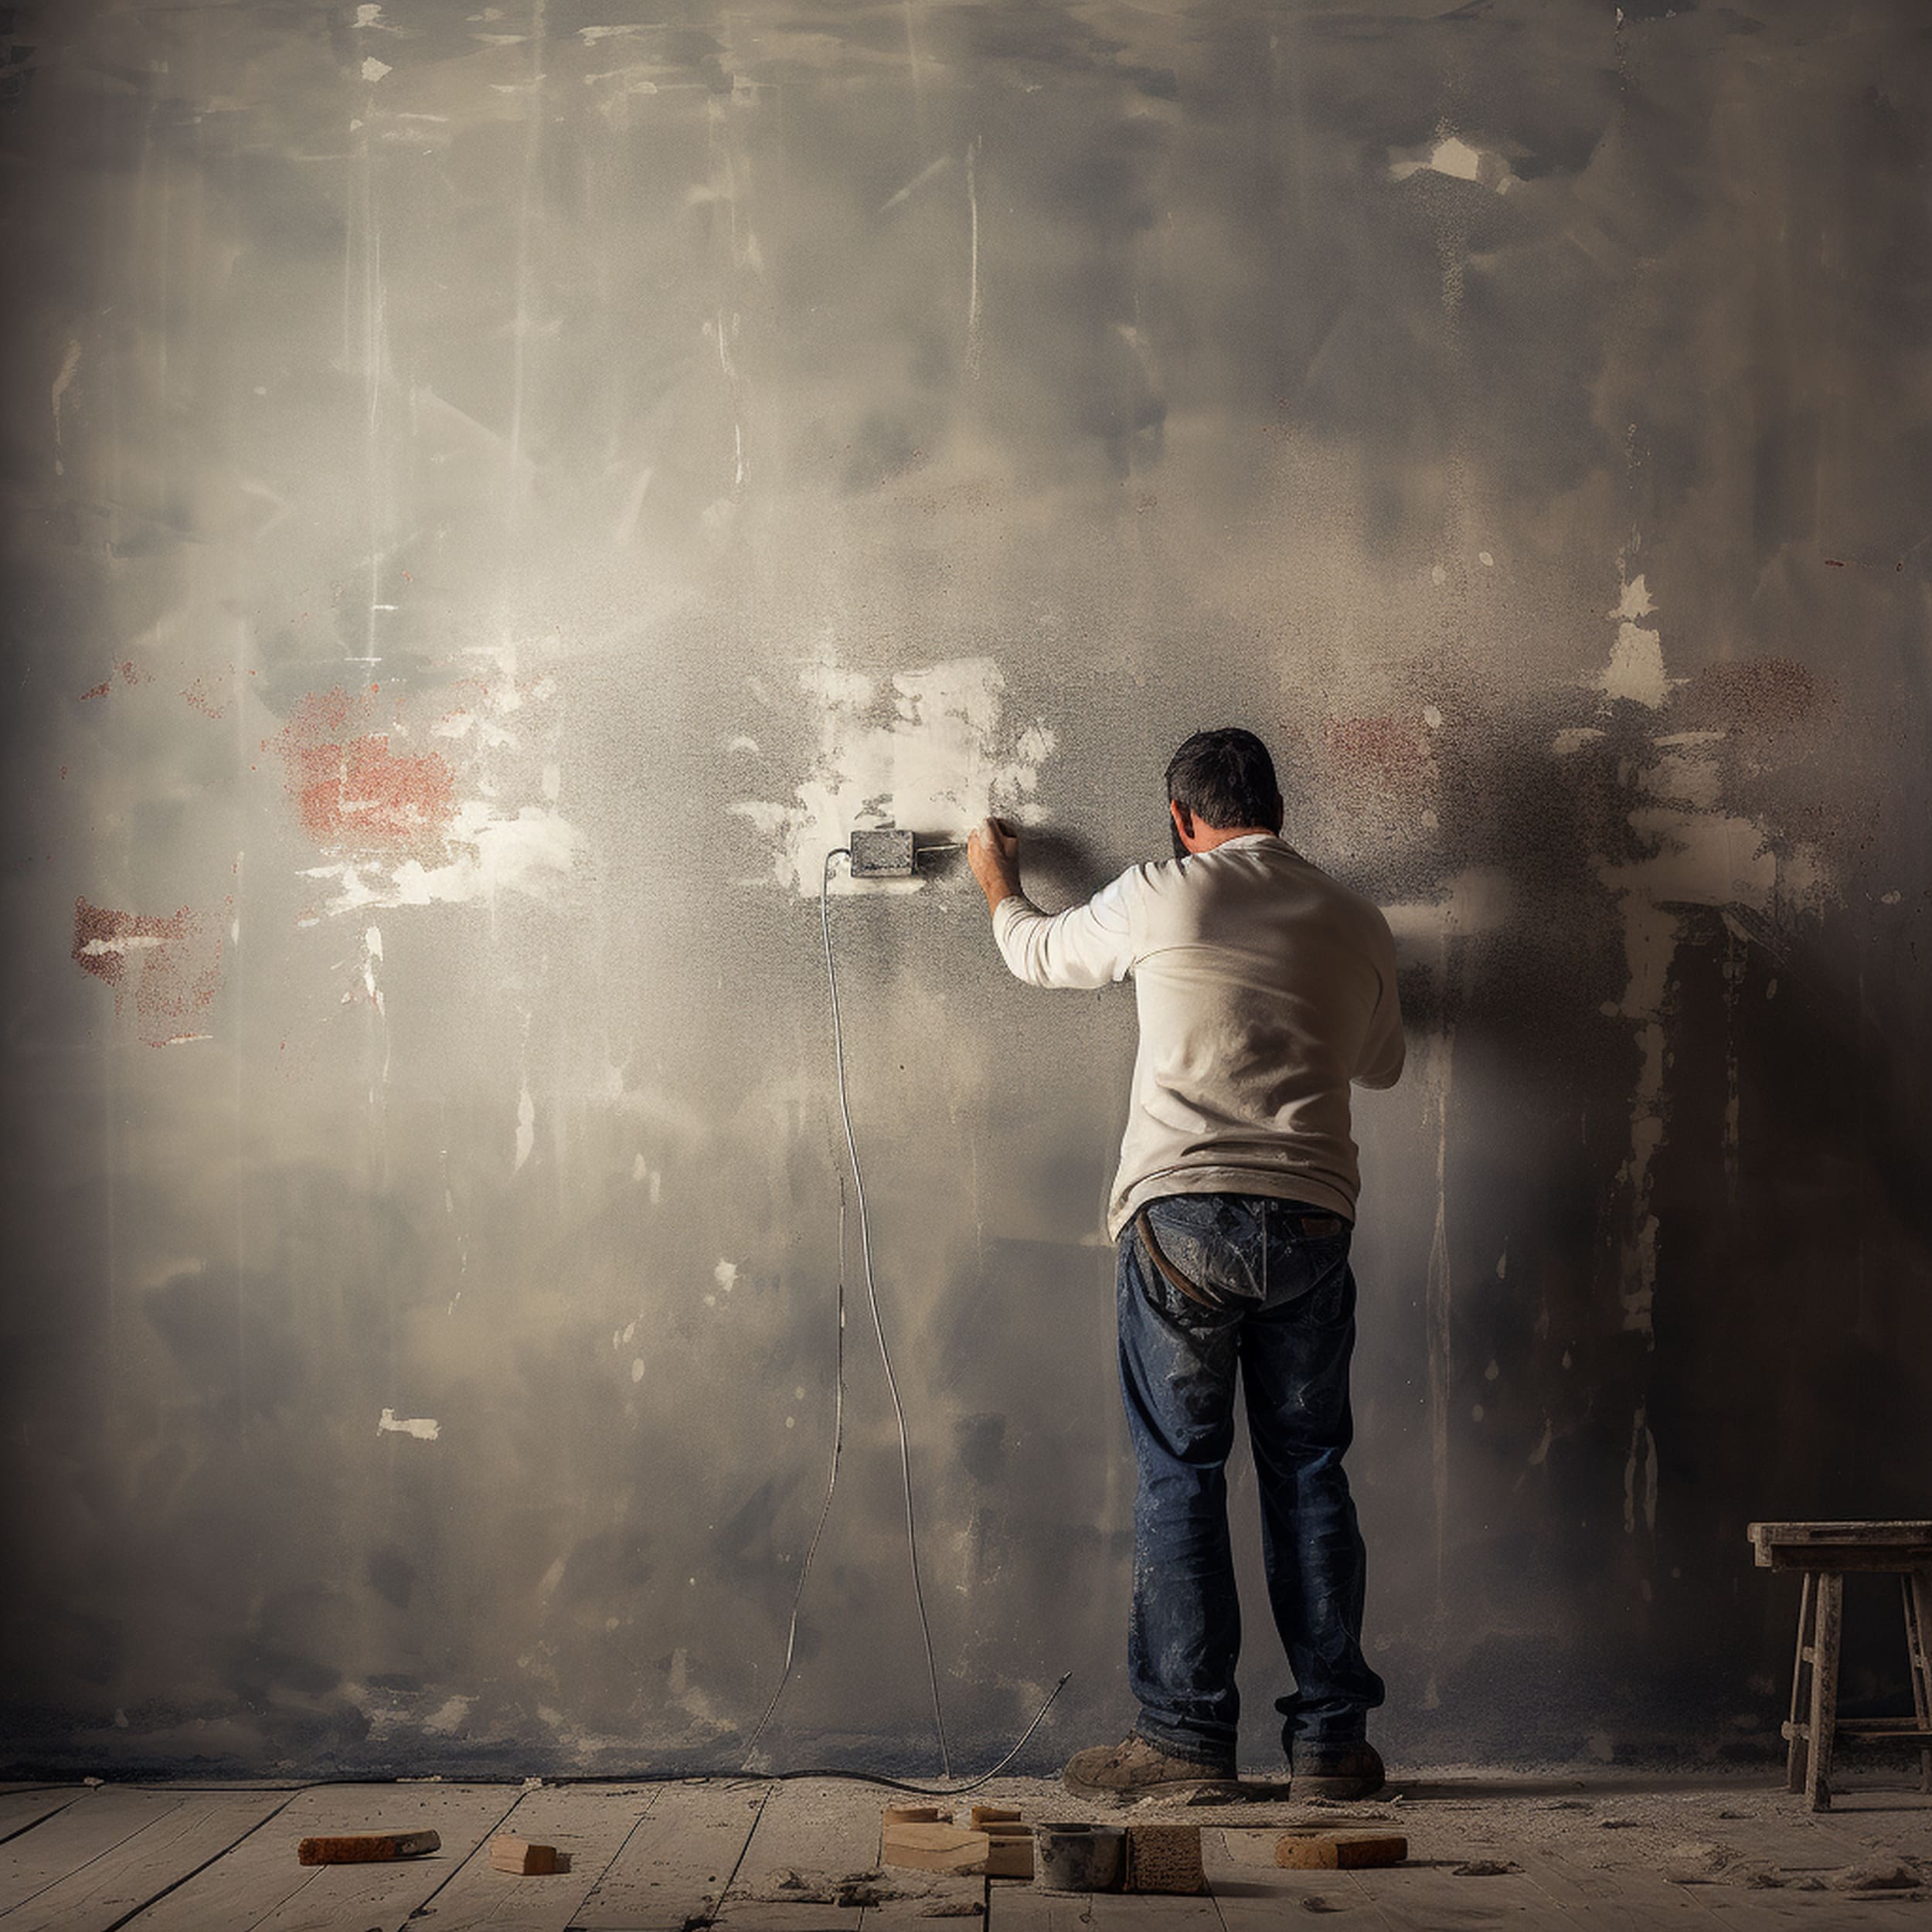
5. Clean the Surface
Cleaning is an important step to prevent paint from peeling again in the future. New paint won’t be able to adhere reliably unless the surface is fully free of dust and dirt. Use a damp sponge to clean the area but make sure you don’t add too much wetness to the surface. Wipe again with a dry cloth and allow some extra time for the cleaned area to dry naturally. The last thing you need here is any lingering moisture.
6. Use a Primer

Although in some cases you can skip the primer because lots of paints have an incorporated one, it’s recommended to take the best precautions available when it comes to protecting the paint from peeling again in the future. A high-quality primer such as this one will ensure that your paint adheres correctly and prevent unsightly moisture damage by contributing to a better surface seal. It’s especially important to apply a primer before repainting damaged patches in high-moisture environments like the bathroom. Follow the primer’s drying times carefully to ensure a reliable application.
7. Repaint the Surface
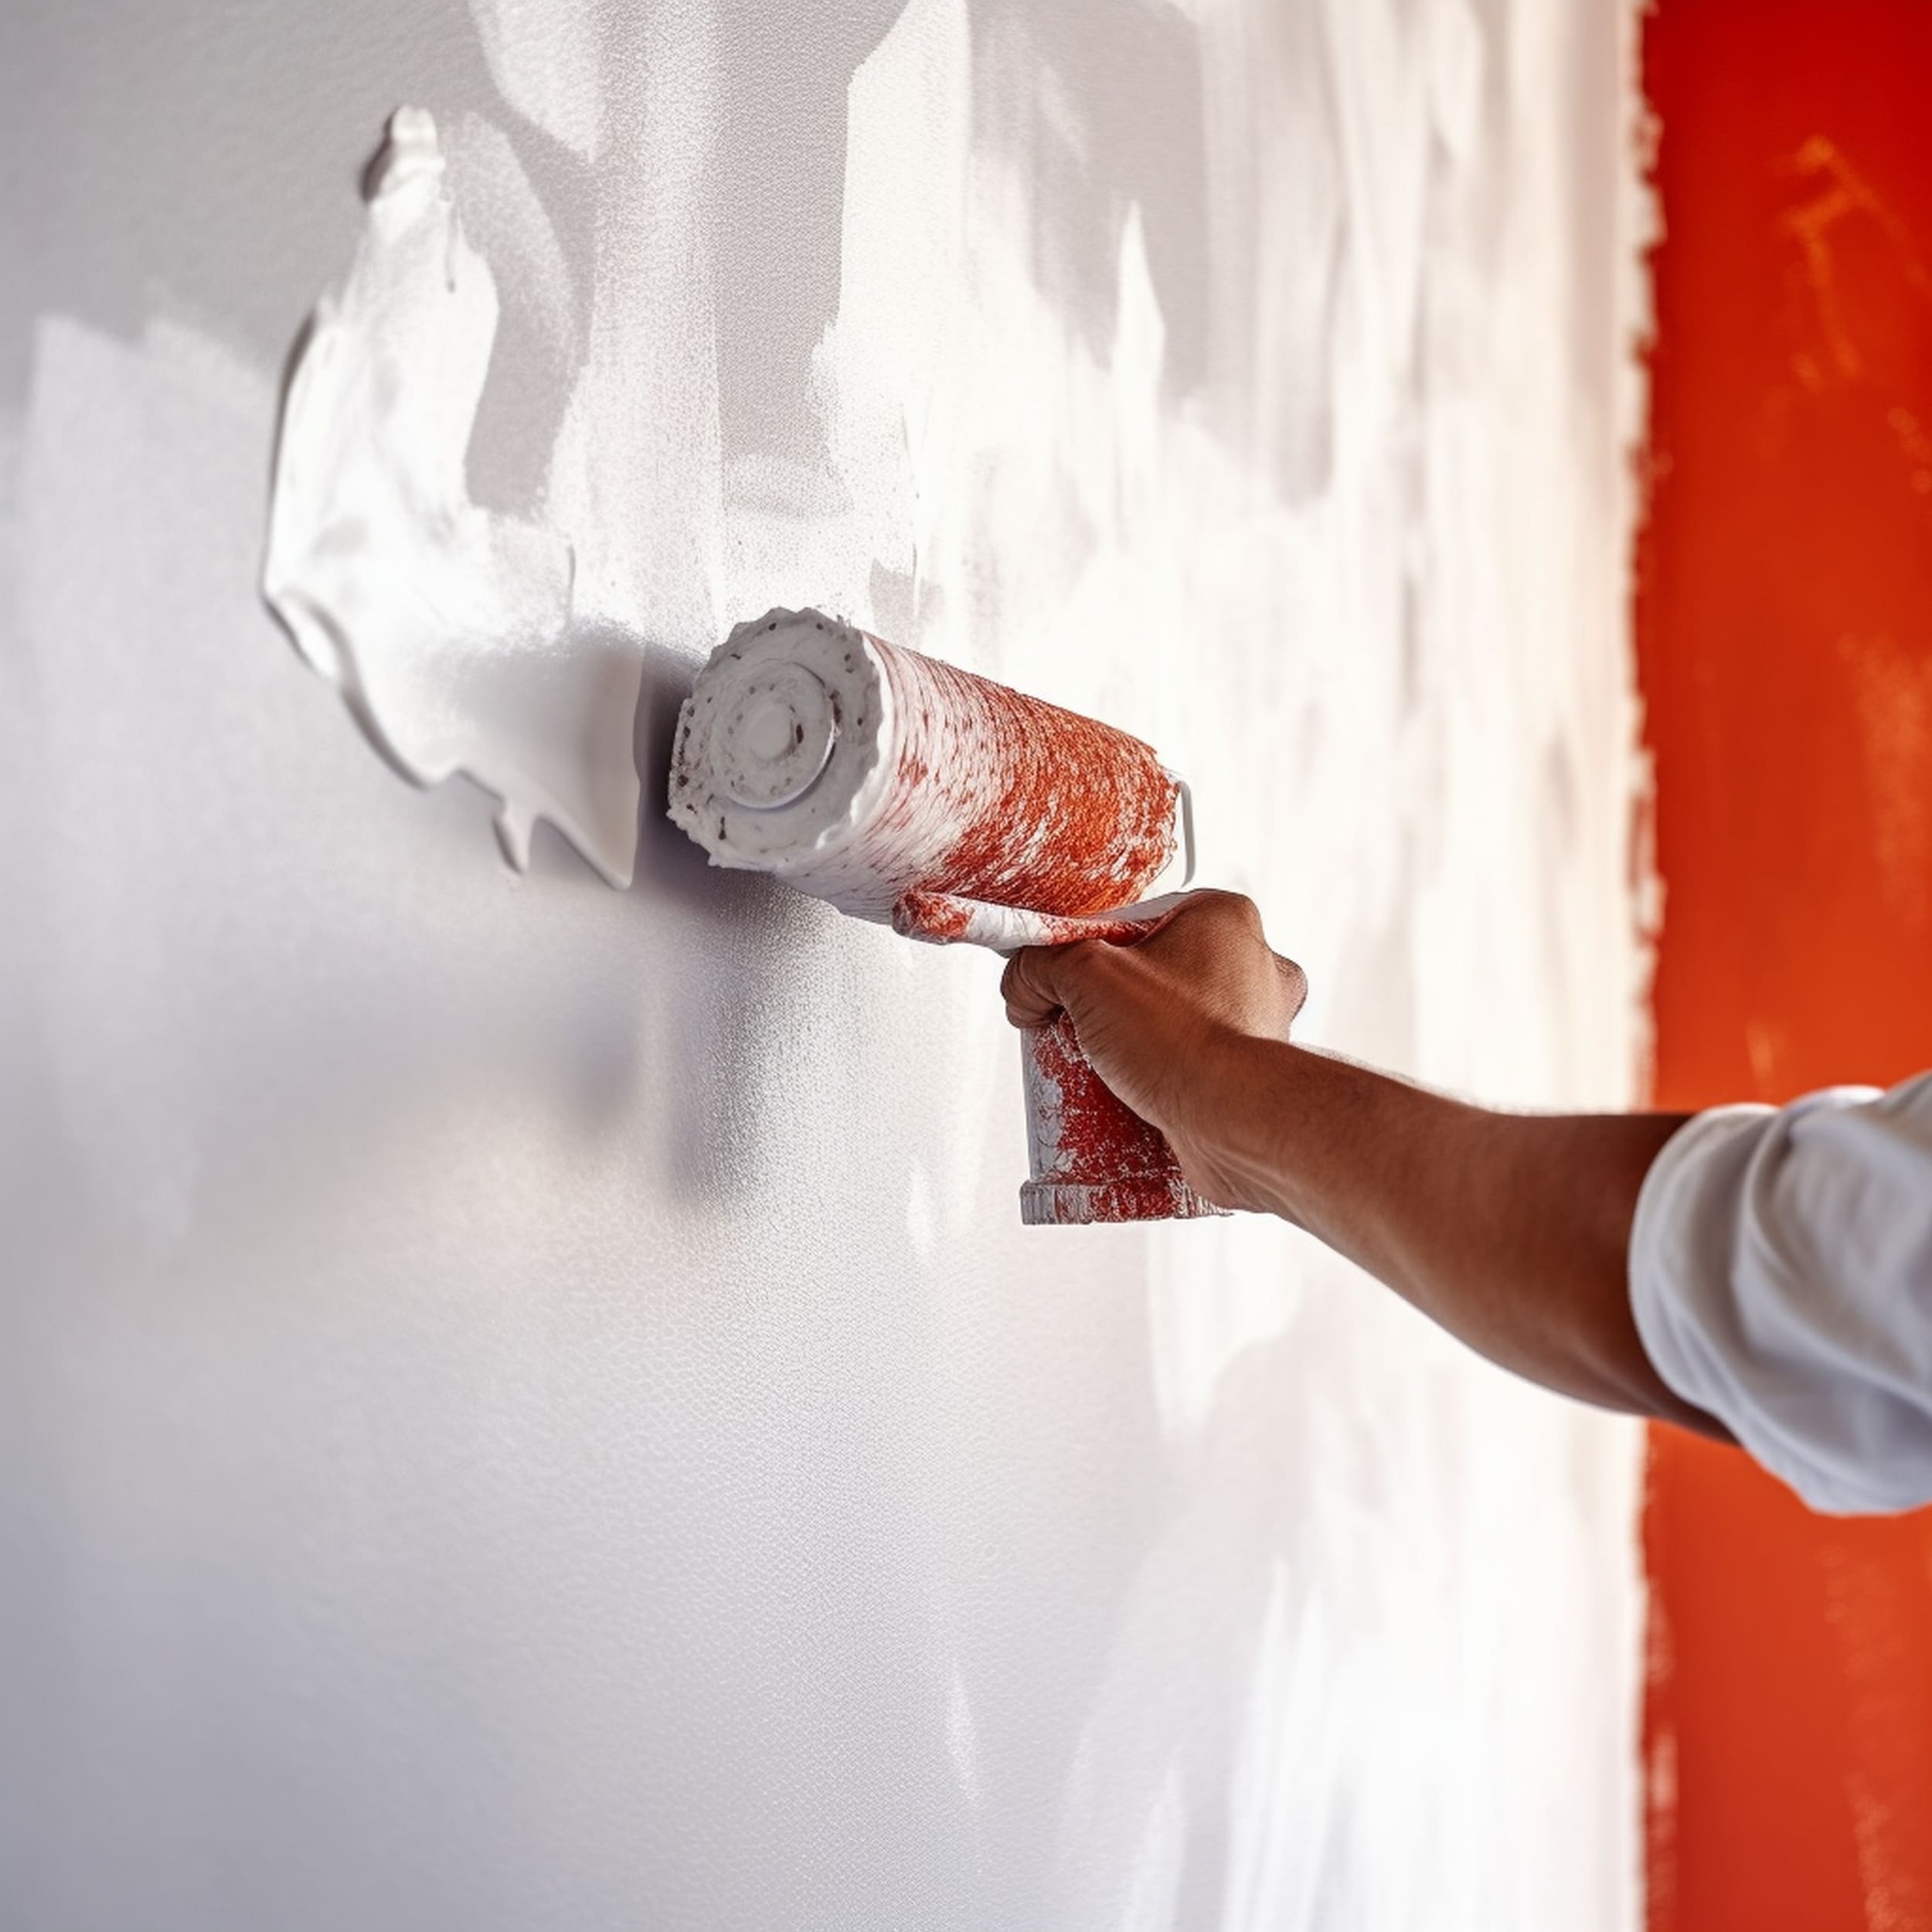
Repainting the area is fairly straightforward after the primer is fully dry. Unless you have leftover paint to coat the patch, you will need to buy a new can of paint that matches the color of the surface. Pay attention to how you’re applying the first coat to make sure it will cover the area as evenly as possible. Only add a second coat if deemed necessary. It’s best to use a bristle brush for repainting small areas. Wait some extra time for the paint to dry if you’ve repaired a bathroom surface.

Leave a Reply