
An essential ingredient when installing tile to walls and floors, thinset is an adhesive mortar that works as a reliable binding agent. It gets its name from being able to work effectively as just a thin layer of compound on a concrete surface. Thinset features a fairly strong bond that’s not very easy to scrape off when re-tiling the surface. However, getting rid of old thinset is an important step when laying down new tiles. Take a look at our comprehensive guide that includes multiple ways to remove thinset. Regardless of the method you prefer, make sure you pay attention to not damage delicate surfaces and follow the correct safety procedures, especially when working with power tools.
1. Using a Putty Knife
If you don’t have more specialized tools or prefer a safer method, you can remove thinset from concrete with a putty knife and a hand maul. This is not a very efficient way to do it and can take considerable manual effort. Another disadvantage is that you will probably end up with a surface that’s not perfectly smooth to lay tile evenly. Although using a putty knife to remove thinset from the entire surface of your project might not always be practical, it’s still worth knowing this method. It can come in handy when you’re dealing with an odd angle.
-
Prepare your tools and supplies
To start chipping the thinset away, you will need a few extra tools and supplies aside from the putty knife and mallet. The area that you’re working on will need to be covered with boiled water so a large stovetop pot is needed. A belt sander is also required to finish the surface after removing most of the large bits of thinset. If you’re dealing with particularly large areas, it might be necessary to get a sharpening stone for the putty knife.
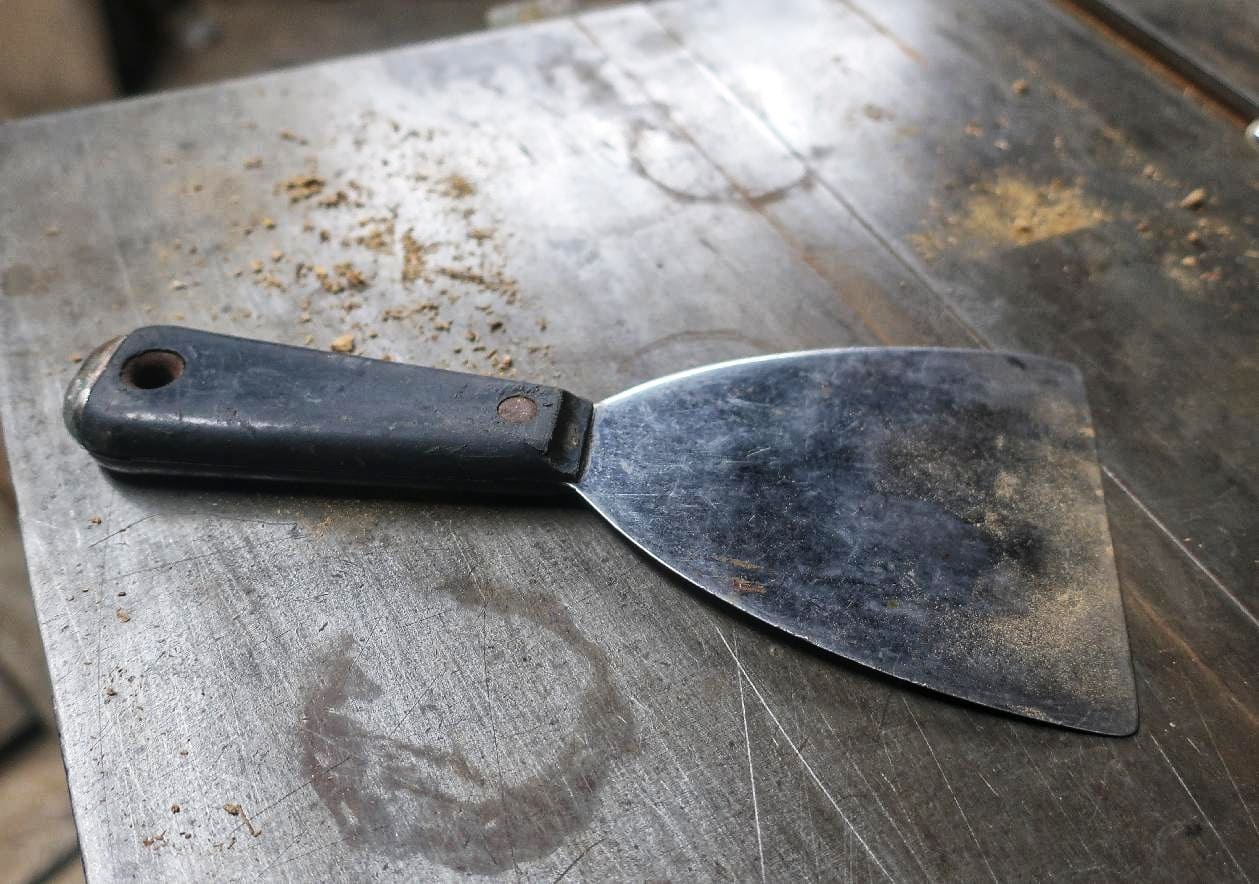
Use this high-quality putty knife that works great for thinset removal.
-
Pour boiling water over thinset
Hot water makes it easier to form cracks in the thinset and will greatly simplify the removal process. Start by pouring enough boiling water over the surface to create a thin layer over the mortar. It can take some time for the water to weaken the adhesive bond of the thinset. Let it work for approximately one hour when cracks in the thinset should start to appear.
-
Chip away the thinset
When the thinset over the area appears properly loosened, it’s time to hammer the putty knife at it. Try to find a sense of balance in your hits because using excessive force might damage the concrete underneath or even break the blade. Keep the knife at a 45-degree angle and take your time when hammering to gently remove chunks of thinset. If the thinset removal process feels too difficult despite using a sharp blade, it’s recommended to add more boiling water and wait some extra time.
-
Sharpen the putty knife
This is an optional step that might be required for big projects. A dull blade will make the entire process more tedious and deliver inconsistent results. Use a sharpening stone to get the blade of your putty knife back in top shape. Use a 20-degree angle when dragging the blade across the sharpening stone and alternate between coarse and fine stones to get a reliable edge.
-
Finish removing all the thinset
Attempting to remove all pieces of thinset using the putty knife method can take hours and the results won’t be satisfactory. Once you get rid of all the large chunks, you can finish the job using a belt sander that will make the concrete surface smooth and eliminate any remaining small bits of thinset. It’s important to equip a mask in this process because thinset dust can cause harm when breathed in.
2. Using a Hammer Drill
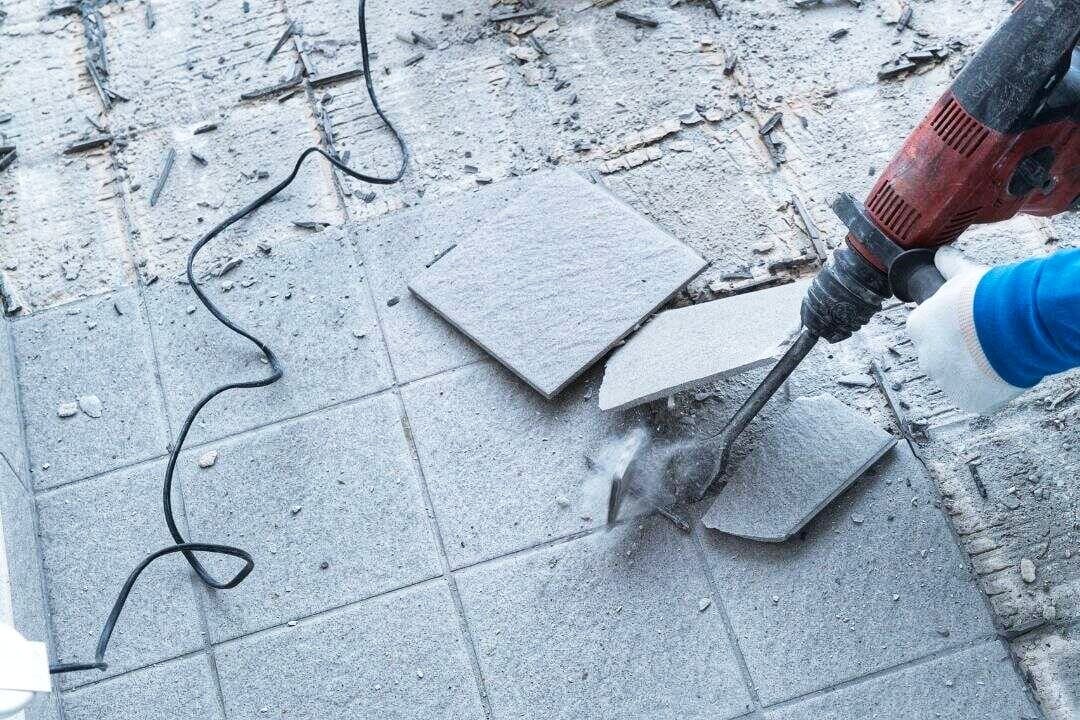
The hammer drill can be a practical solution when you need to break through hard surfaces. With the right attachment, you can turn this power tool into a small jackhammer that can be used to remove thinset more efficiently compared to the classic putty knife method. Although you can omit the boiling water step this time if you prefer, it’s still a good idea to do it so the thinset will weaken its bond before drilling.
Hammer drills can be rented from hardware stores but it’s worth buying one to use in more DIY projects around the home. You can use this versatile hammer drill from Amazon.
-
Attach a suitable wide chisel
Hammer drills are compatible with a wide range of bits to meet the needs of different projects. When it comes to removing thinset from concrete, it’s recommended to pair the tool with a wider chisel bit style that can improve your workflow considerably. Check the instructions of your hammer drill to figure out how to swap to a more suitable bit from the current one.
-
Use a 45-degree angle
The biggest worry when using a hammer drill to remove thinset is to avoid damaging the concrete floor underneath. For this reason, it’s important to keep the tool angled correctly and apply pressure carefully. A 45-degree angle seems to work ideally for this task but you might need to go lower if you’re dealing with a thicker thinset. Make sure you hold the hammer drill firmly in your hands and work your way through the thinset in straight motions of approximately 1.5 feet in length.
-
Get rid of smaller pieces with a chisel
A chisel will likely be necessary once you take out all the big chunks of thinset with the hammer drill. The power tool simply lacks the necessary finesse to remove the smaller remaining pieces of mortar. Together with a sturdy hand maul, you should be able to chip away any leftover patches and finish off the job. If this seems like a hassle, you might be interested in the next method to remove thinset from concrete much more efficiently.
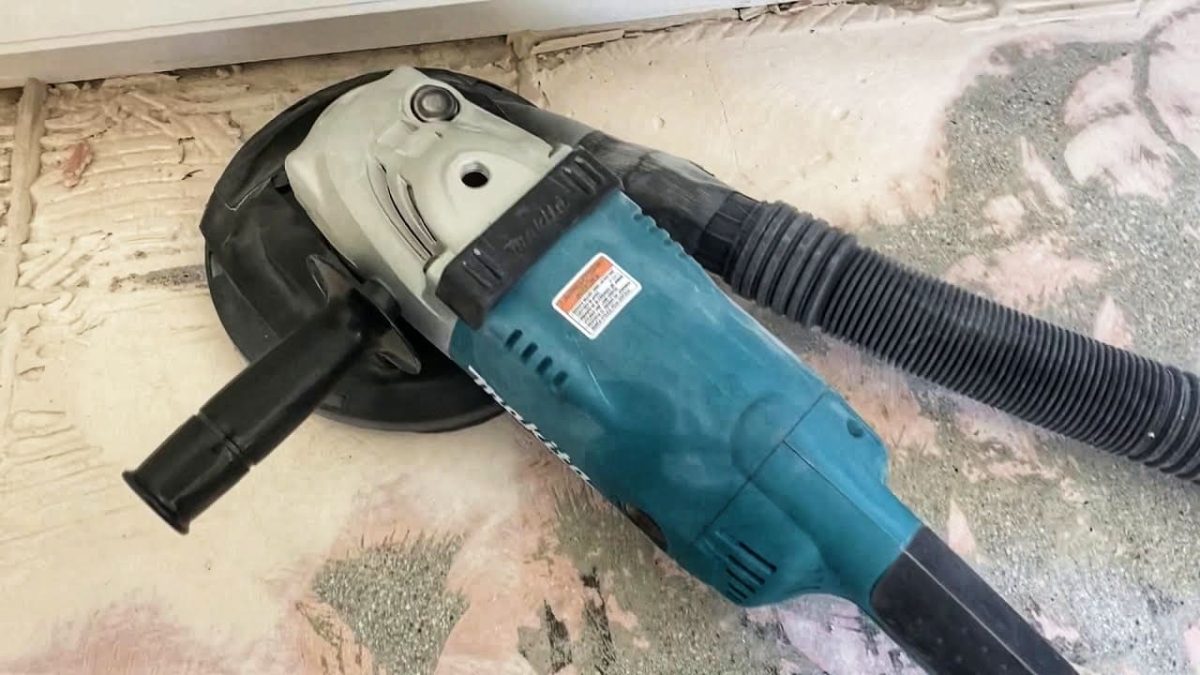
3. Using an Angle Grinder (You Should Treat This as a Last Resort Option)
Thanks to not being as labor intensive while leaving off a professional finish, the angle grinder method is considered the most advanced solution to remove thinset from concrete. However, it’s also the most dangerous option because there’s a serious risk of injury if you don’t take the necessary safety precautions when using an angle grinder tool. A lot of dust will result in the process which means you need to wear a protective mask.
Try this type of angle grinder.
-
Attach a suitable diamond cut wheel
There are different kinds of cut wheels that can be used on an angle grinder. For thinset removal, it’s generally recommended to select a diamond cut wheel that’s strong enough to handle more demanding projects without dulling. As for the size of the attachment, consider using a diamond cut wheel measuring around 5 to 7 inches for best results.
-
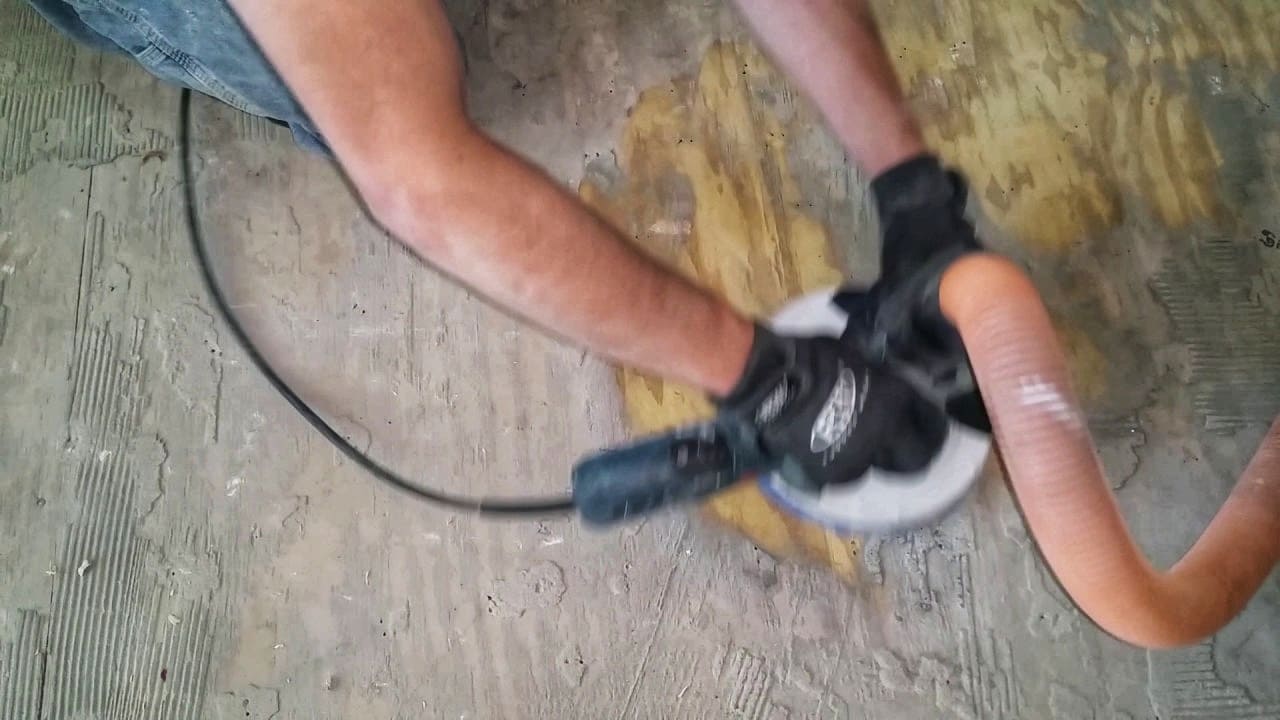
Equip the vacuum attachment
If your angle grinder supports a vacuum attachment, that’s great news for this kind of project because you will be able to reduce the level of harmful dust produced when removing thinset from concrete. Find the dust cover and connect it to your wet-dry vacuum. Ideally, the vacuum should be equipped with a HEPA filter to keep very small particles at bay. Remember to turn on the vacuum before operating the grinder.
-
Remove the thinset layer
Setting up the angle grinder properly for this job can take some time but you are now ready to use it effectively. Keep a firm grip on the tool and guide it along the thinset while always paying attention to maintain stability during the movement. Use up and down motions and move slowly and carefully to cover the entire area. You can safely go over the same spot without issues until you’re satisfied with the smoothness of the surface. Don’t apply excessive pressure to avoid damaging the concrete underneath the thinset.

Leave a Reply