
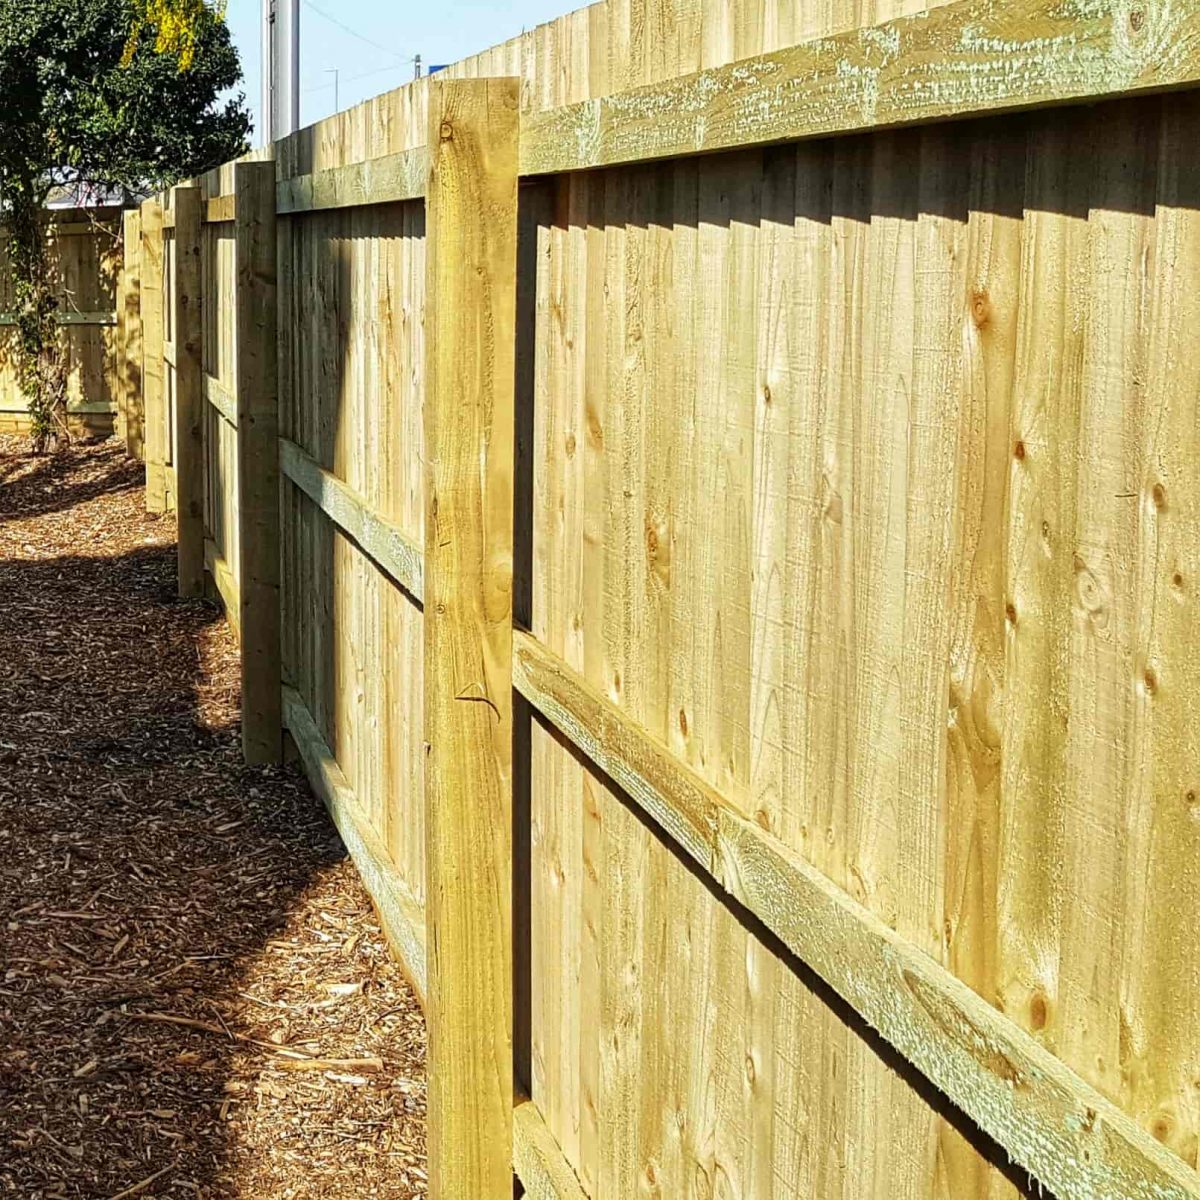
Without a proper foundation, you won’t be able to enjoy a long-lasting fence. This is why installing the posts of the fence correctly represents an essential aspect in terms of overall stability. Anchoring down the fence posts can be a challenging job unless you use the fastest and most efficient installation ways. Keep in mind that a properly installed fence post requires a considerable depth level when digging the hole.
A standard fence post measuring around 7 feet tall should be anchored down in a hole that’s approximately 2 feet deep. There are lots of aspects worth taking into account if you want to enjoy a robust fence that remains unmoving against weather hazards. We’ll take you through a detailed step-by-step guide that teaches you the best ways to install fence posts in your yard. It might seem complicated at first, but using some helpful tips will improve your workflow efficiency to build solid fence posts in no time.
1. Gather the Tools
This project requires a few tools and materials to get the job done. When it comes to equipment, you should prepare a shovel, wheelbarrow, and trowel. You will also need a posthole digger, paintbrush, and caulk gun. In terms of materials, installing a fence post requires cement, gravel, and a wood preservative.
2. Select the Right Type of Fence Post
An important part of the project is selecting the right wood material for your fence post. Remember that you need to take into account exposure to outdoor environmental damage when choosing a fence post. It needs to be durable enough to withstand hazardous weather, insects, and sudden temperature changes in the soil.
If you’re not sure how to go about choosing a type of fence post, try pressure-treated wood. It’s usually better suited for life outdoors, especially when you opt for aspen, douglas fir, or other strong woods. Another good option involves the use of redwood, cedar, or western juniper wood that’s more recommended against insect pests.
3. Treat the Wood
Although wood designed for fence posts should already feature decent durability, it’s safe to say that it may not be enough for a long-lasting fence. It’s a good idea to add an extra layer of protection to the wood by making use of a dedicated preservative for treating the wood. Take a paintbrush to apply copper naphthenate or other products that can be used to enhance the durability of wood. Allow the fence posts to dry completely according to the instructions of the preservatives and focus on the exposed wood ends.
4. Dig the Post Hole
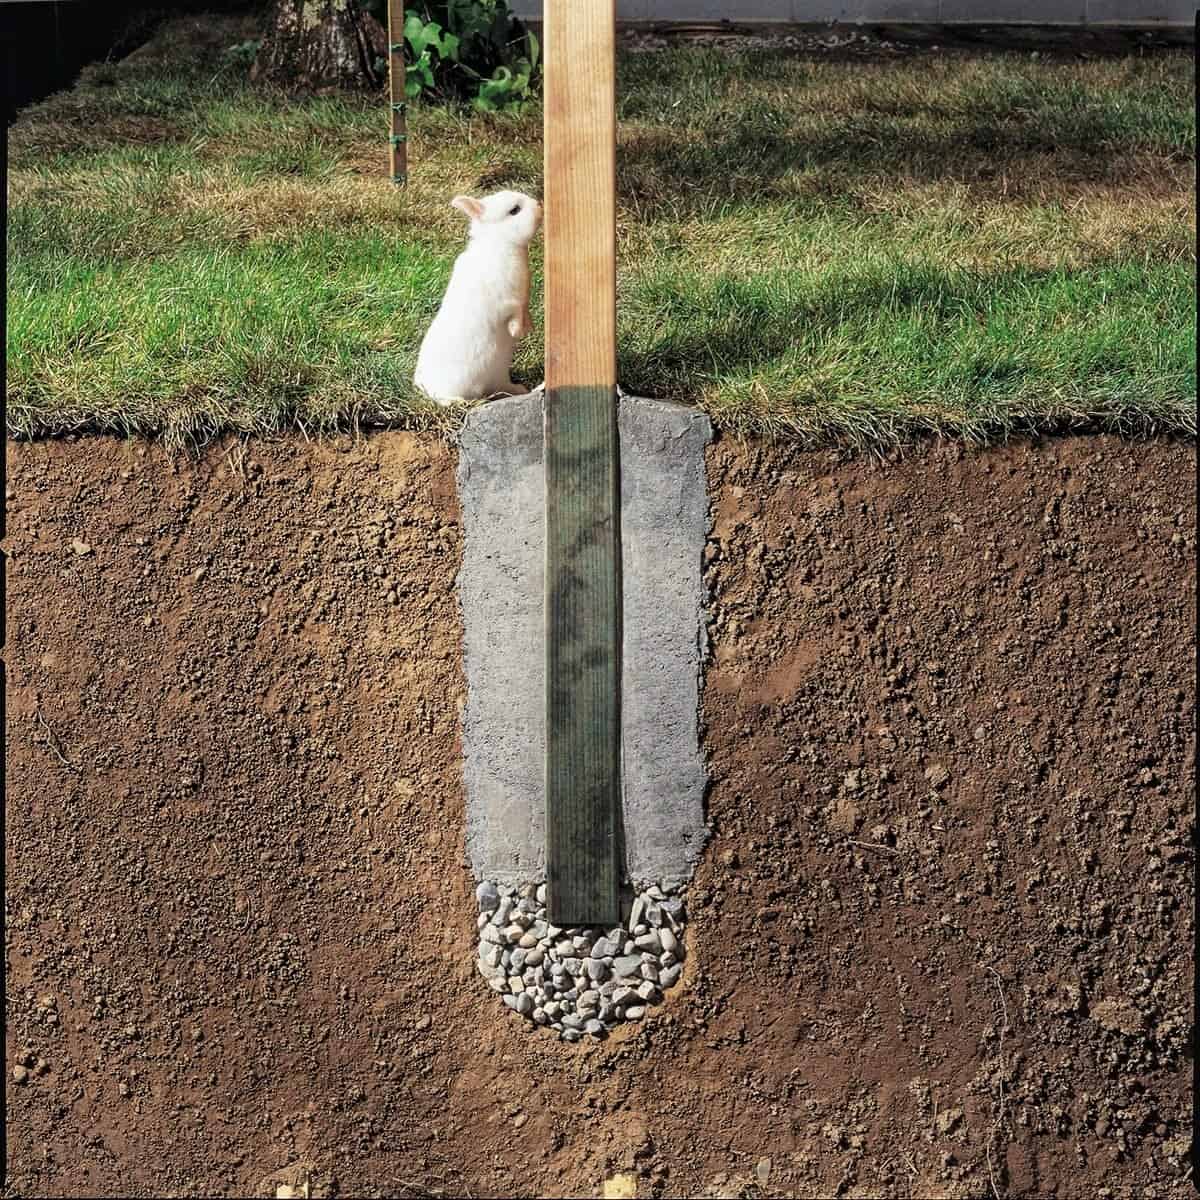
About one-third of the fence post has to be anchored down in the ground. If you plan to install a fence post with a length of 8 feet, that means you have to dig a hole whose depth needs to reach around 2 feet. Make sure the hole you dig will have a reasonably large diameter for pouring the concrete around the post. Most standard fence post installations require holes with a diameter of 1 foot.
The hole is dug easily with the help of a posthole digger. Even after checking the local building codes and deciding on the suitable digging depth, it’s recommended to allow six inches for bringing in the gravel. Another aspect worth considering is the frost line. This is the depth at which the ground becomes frozen. Avoid fence post damage by positioning it deeper than the frost line.
5. Add the Gravel
Gravel is necessary for water drainage as well as offering a sturdy base for the post. This step requires the use of a shovel to add about 6 inches of gravel to the hole. You will also need a flat piece of lumber placed on the gravel to install the post on a flat surface.
6. Lower the Post in the Hole
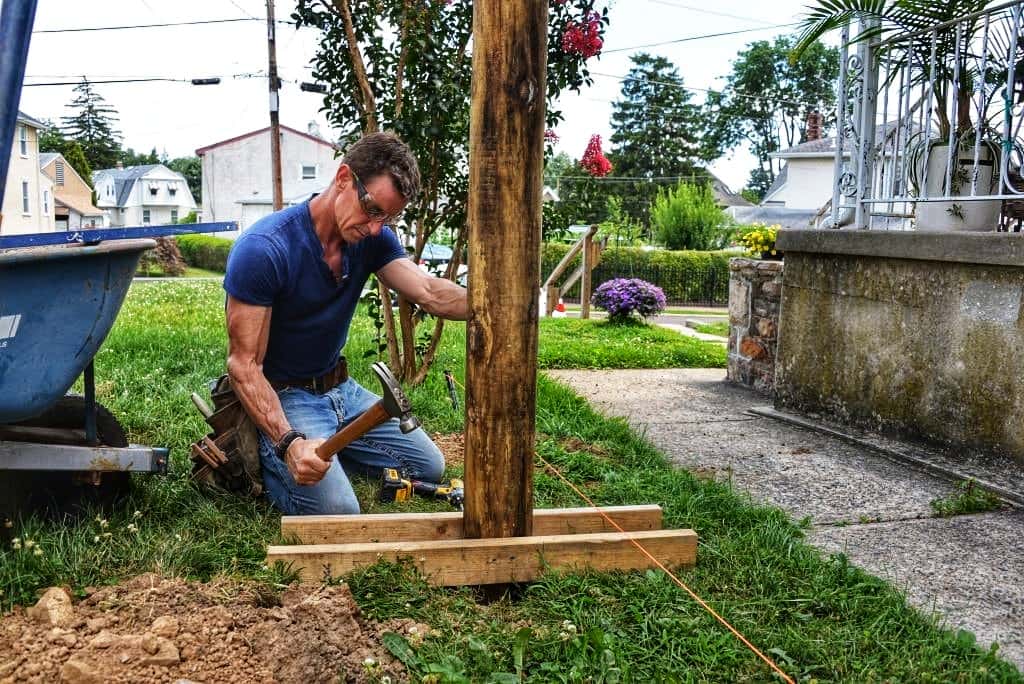
The fence post can now be positioned into the hole. You will have to pour concrete around it that results in a solid sleeve. Place the fence post in the center of the hole. Insert stakes into the ground for additional support. It’s important to keep the post from moving when adding the concrete. If you want to work more efficiently for multiple fence posts, it’s recommended to prepare braces for the posts beforehand.
7. Mix the Concrete
A bag of concrete mix needs to be combined with water into a wheelbarrow to prepare the necessary solution that will be poured into the post hole. It shouldn’t be hard to mix the concrete as long as you follow the instructions of your chosen blend. If the recommended water isn’t enough, bring some more until the concrete mix reaches the desired consistency. It should resemble the texture of a paste. Use the shovel to blend the concrete mix with the water.
8. Pour the Concrete
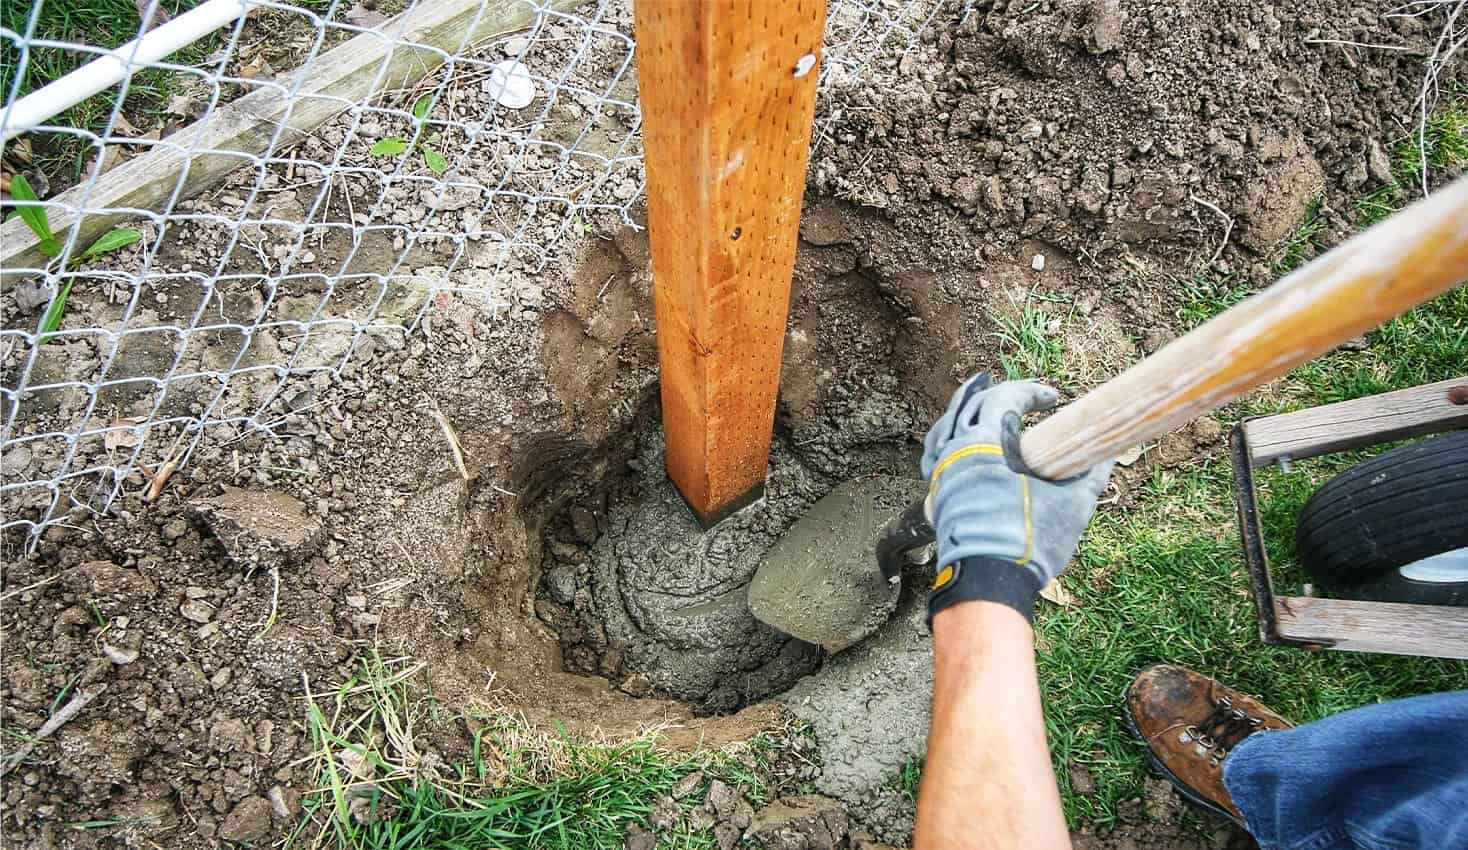
The wheelbarrow is practical for this project because you need a fairly large basin to mix the concrete but also a way to transport the cement paste. Start pouring the concrete into the post hole quickly before the concrete has time to harden. Make sure you don’t spill any concrete around by directing the flow with the shovel. The post hole has to be completely filled. If you install multiple fence posts, you can’t do it at once because the excess concrete mix will start to set before you can pour it.
9. Smooth the Cement
Simply pouring the concrete into the post hole isn’t enough. Take the trowel to smooth the cement before it hardens. Create a gentle slope that extends a little above the ground to prevent water accumulation near the fence post. After this process is done, you will need to wait around three days to let the concrete cure completely.
10. Seal the Fence Post
The caulking gun needs to be used for sealing the fence post. A reliable sealant is recommended to withstand pooling water and wood rot. Although sealing the fence post isn’t absolutely required, this is a good preventive solution if you want an extra layer of protection. The newly installed fence post can last for many years if you go through with this step.

Leave a Reply