

A well-polished concrete countertop looks more attractive considering the smoother finish and removal of blemishes and flaws. The polishing process can create a stylish glossy effect that will make the countertop stand out. Additionally, you can take advantage of a nicer finish to expose some decorative add-ins in the concrete. It’s safe to say that all poured concrete countertops need to be polished properly before you can use them.
Take a look at our step-by-step guide that will help you through the work required to obtain a smoothly polished concrete countertop.
1. Gather the Tools and Supplies
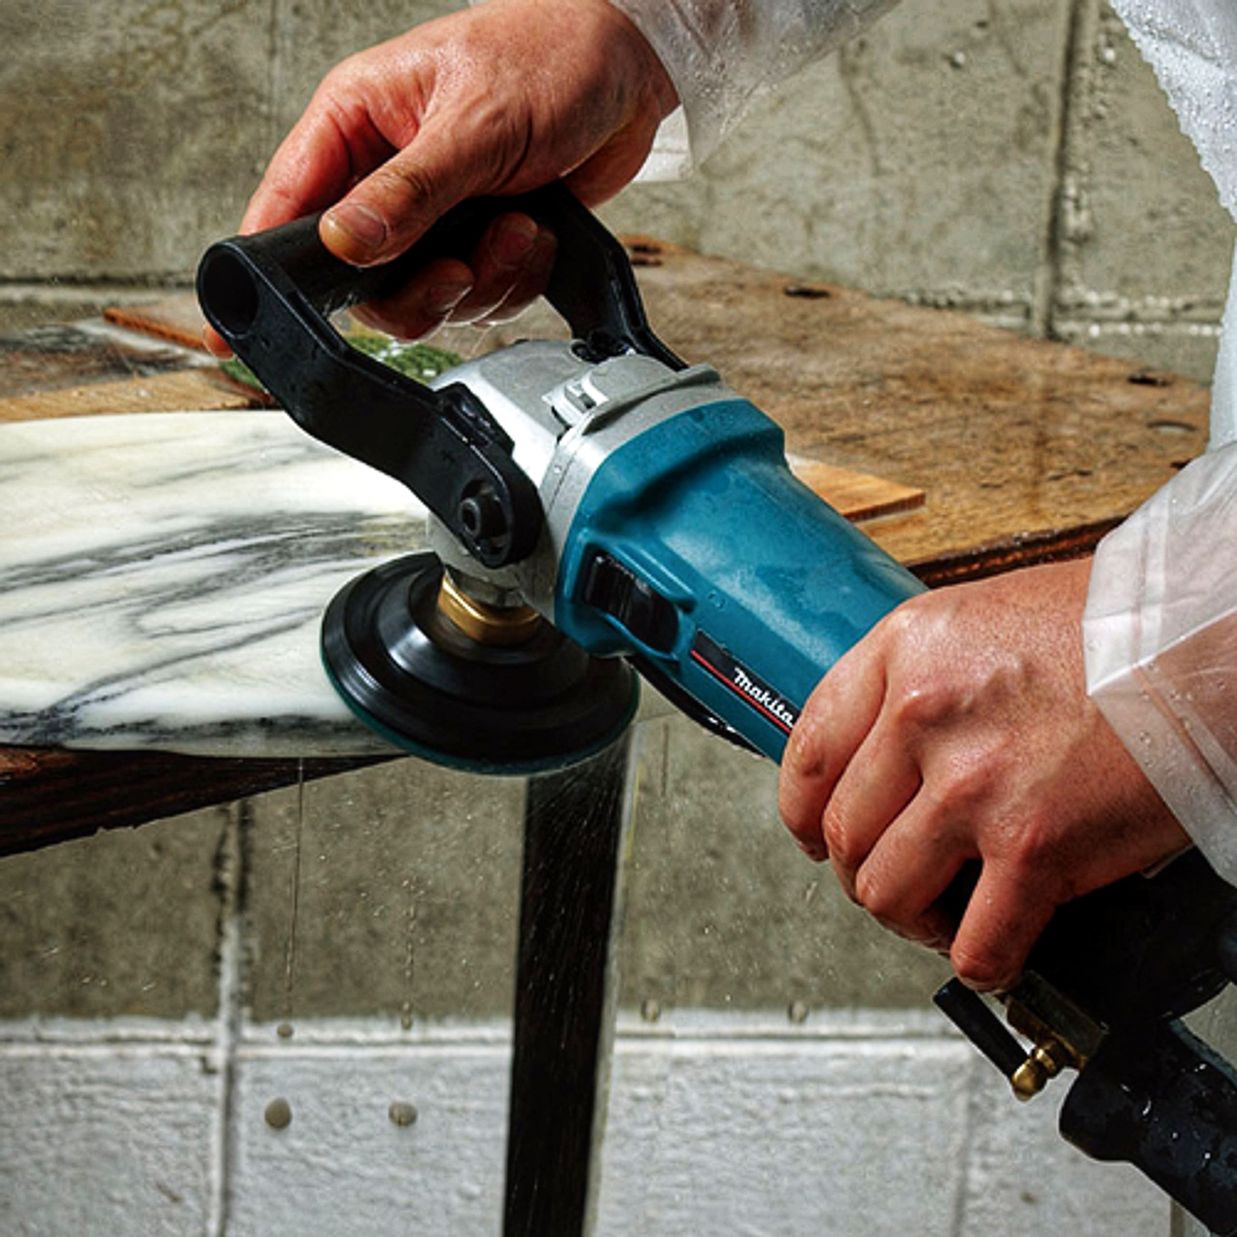
The main tool required for this job is a handheld wet concrete polisher. You will also need diamond grinding pads of different levels of coarseness to obtain the desired finish style. Some safety supplies such as goggles and earplugs are also necessary to add protection during the polishing process. Make sure you also get your hands on a concrete sealer, large squeegee, and rag.
2. Clean the Countertop
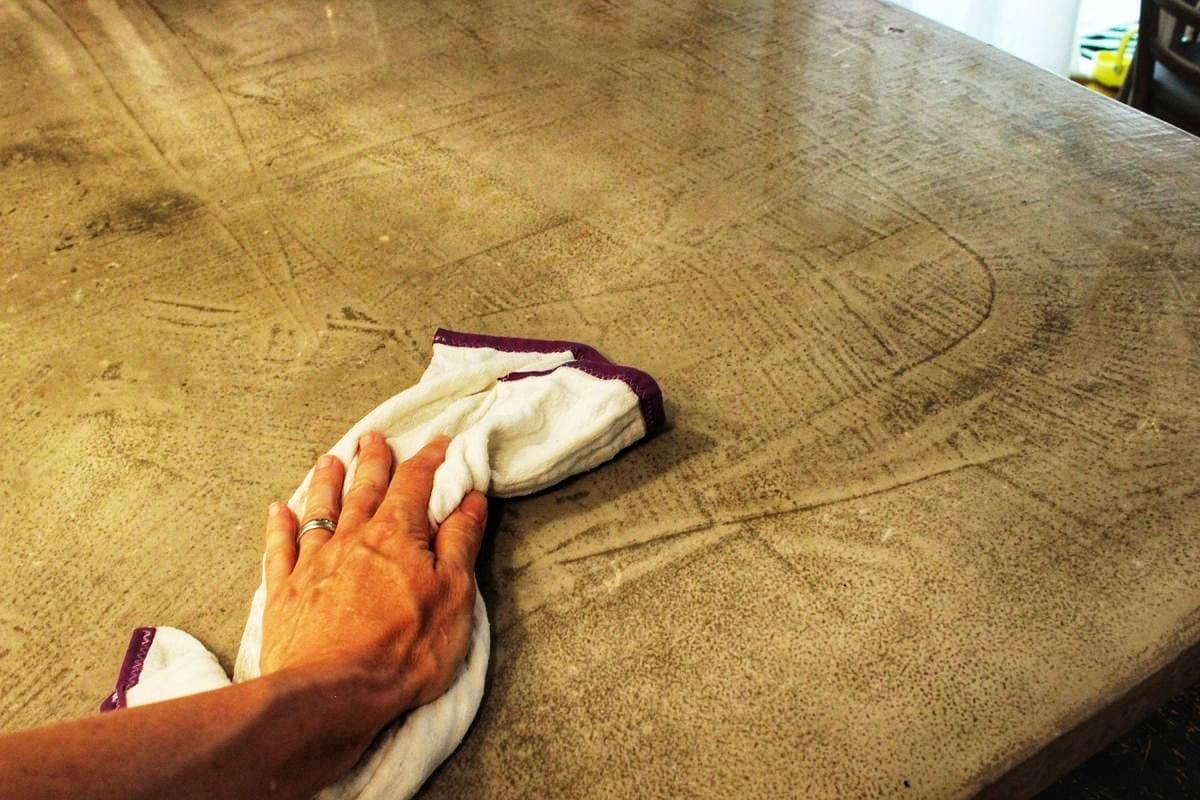
Before you can start working on the countertop, the surface has to be correctly cleaned and patched as needed. Start by putting water on the countertop and using the squeegee to get rid of any grit. If you discover any small holes, it’s important to fill them with a patching mixture that can be purchased from a hardware store. Make sure there is no leftover debris on the surface because it might scratch the countertop during the polishing process.
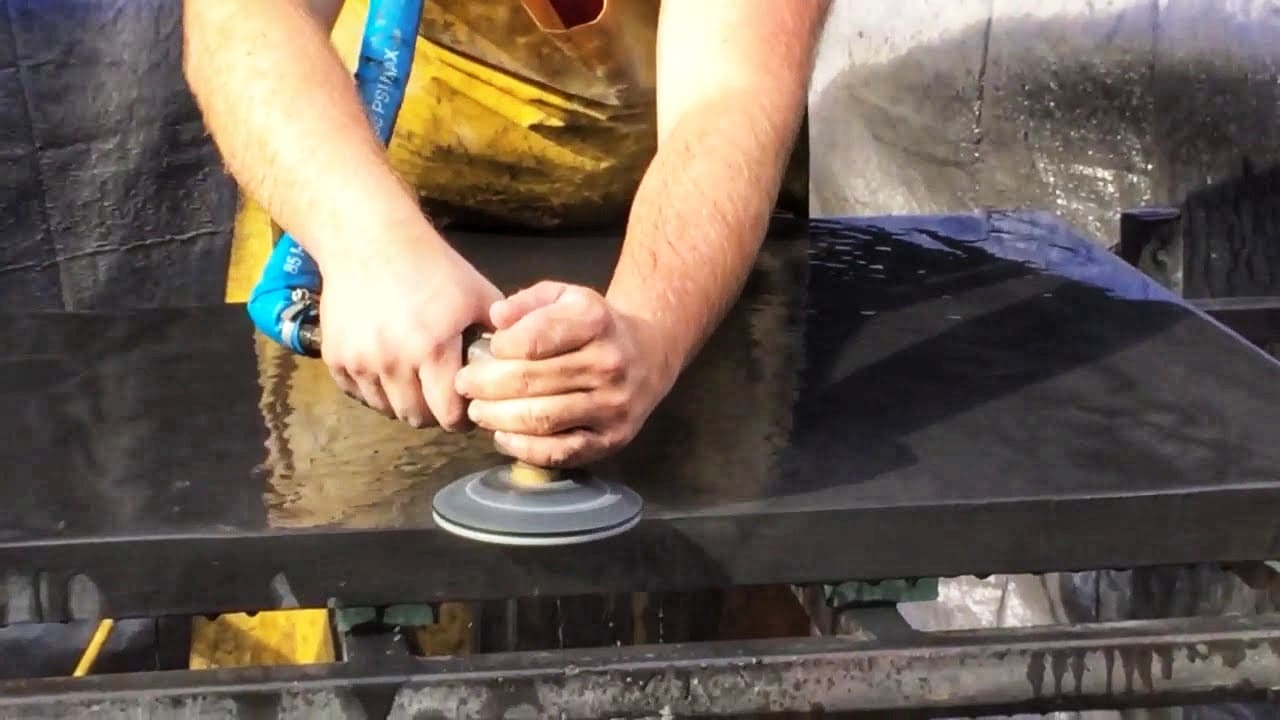
3. Hone the Surface
After equipping protection for the eyes and ears, it’s time to begin the first stage of the polishing process. It involves the use of a coarse pad featuring 50 grit to hone the surface of the countertop. Set up the handheld wet polisher with a water source and begin polishing the entire concrete surface using even pressure to prevent digging into it.
Make sure you hold the polisher unit level to enjoy a proper finish. Your aim at this stage is to obtain the same flat texture for the entire area of the countertop. It will feel rough when touched but that’s expected. Pay attention to any remaining lumps to bring the surface to the same level.
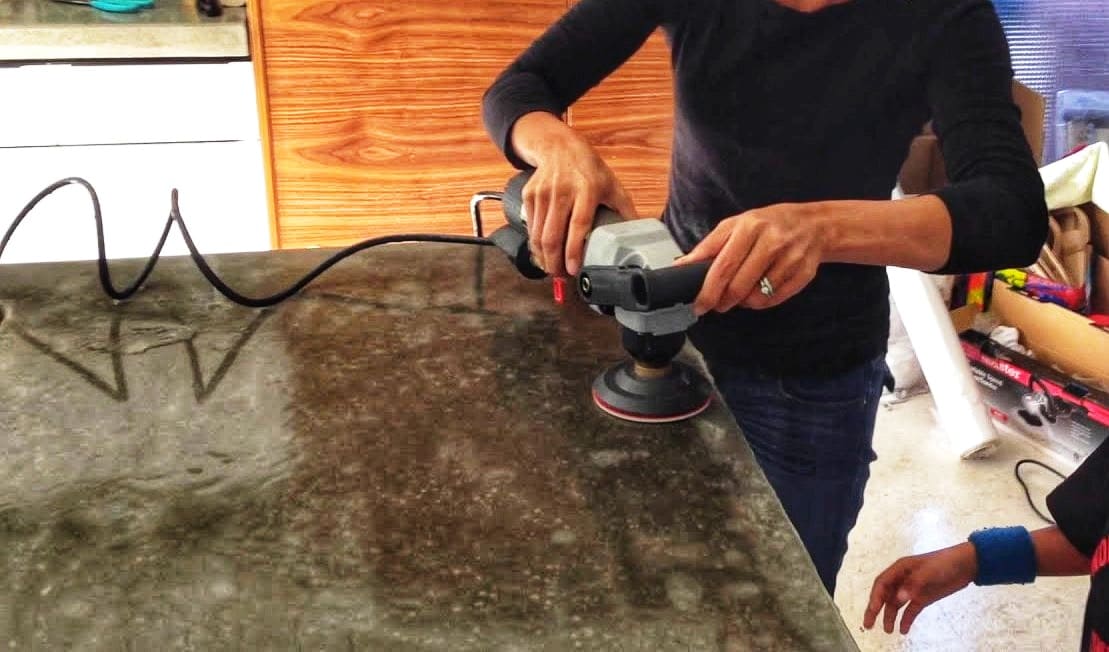
4. Polish the Countertop
The second stage of the concrete countertop polishing process requires the use of a finer diamond pad. Replace the 50-grit model on your polisher with a 100-grit pad. Now it’s time to work your way on the concrete surface again using the same gentle pressure to create a consistent texture. This process will likely leave behind some amounts of debris and slurry.
Make sure you have your squeegee handy to keep the surface clean of debris. Don’t rush during this polishing stage because it’s important to take your time and examine your work and figure out whether you’re close to the desired finish. You will need to change to different grit pads all the way to the finest one (typically 1500-grit).
Keep progressing from one pad to the next while ensuring that you go over the surface each time. The important part is to not skip any grit levels if you wish to obtain a nice smooth finish. Polishing pads won’t work properly unless they’re used in the correct order of coarseness. For extra sheen, consider finishing up the polishing using a 3000-grit pad.
5. Seal the Countertop
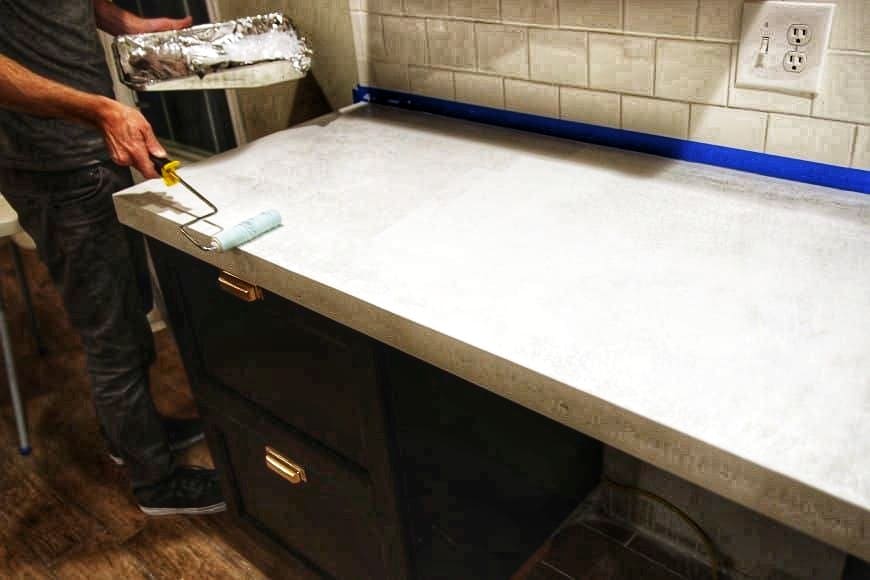
Once the countertop polishing job is completed and you’re happy with the finish, you simply need to rinse the surface with water and let it fully air dry. The final step requires the use of a concrete sealer specifically designed for countertops. This product will ensure that your smoothly finished surface is nicely protected and ready to use for a long time.
Saturate a clean rag with the concrete sealer and apply one coating to the countertop while ensuring that you cover the entire surface area. It’s recommended to check the sealer’s provided instructions to make sure you obtain the best finishing results. Allow the concrete sealer to fully cure for a few days.

Leave a Reply