
Painting the bathroom is not a particularly difficult project but some areas are more challenging to deal with compared to others. It’s the case of the spot behind the toilet which can be quite awkward to paint. The area is pretty hard to reach and you might need to navigate through pipes. There’s also the matter of extra dust and dirt accumulating in the spot behind the toilet that increases the difficulty of the painting project.
The toilet tank is usually placed not fully flush against the wall making the tight area behind it very hard to access properly. You might think to just not paint this area but the spot is still visible so it will stand out when repainting the bathroom. Regular paint brushes or paint rollers don’t seem to work well here. Thankfully, there are some methods you can try to paint behind a toilet without removing the tank. Take a look at our guide down below.
1. Protect the Toilet
With the help of plastic covering such as a trash bag, you avoid any messy splashes of paint ending up on the toilet. This step is essential for painting projects involving the entire bathroom. Consider starting with the toilet only after you’ve finished painting the rest of the bathroom.
2. Maximize Ventilation
Any kind of painting project at home requires proper ventilation. Due to often being tight and lacking in windows, many bathrooms need additional steps for boosting ventilation. Activate the ventilation fan and remove any materials that may retain moisture such as shower curtains or towels. This is very important to avoid paint inhalation.
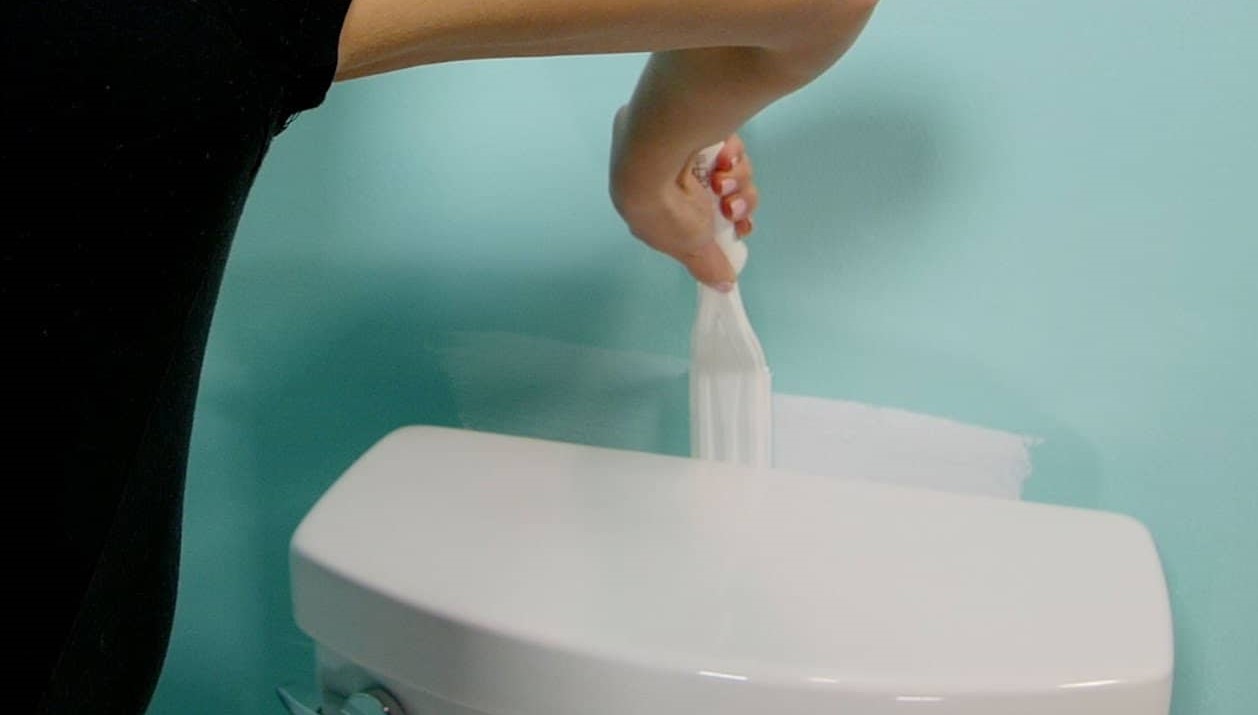
3. Clean the Area
The tricky spot behind the toilet is typically dirtier than other areas of the bathroom. It’s recommended to clean it thoroughly before painting. Pick a good cleaning product designed for the bathroom and tackle the dust buildup and grime with the help of a sponge.
4. Prime and Paint Behind the Toilet
Now that you’re ready to paint the area behind the toilet, it’s time to figure out which tool would work best for the job. A great solution is to purchase a thin paint roller that’s designed to reach more cramped spaces. Check out this great model on Amazon.
If you don’t want to purchase an additional tool just for this spot, consider a DIY alternative. Although you might sacrifice some characteristics of the finish such as color consistency, you can craft your own paint pad that’s thin enough to work behind the toilet.
DIY paint pads can be crafted using paint stirring sticks joined together with a hot glue gun. They will form the handle while sticking a sponge at one end for distributing the paint on the surface. Transfer a bit of paint from your regular paintbrush to your DIY pad.
With your tools ready, it’s time to prime the surface behind the toilet first. Apply a couple of coats and let each of them dry according to the instructions of the manufacturer before moving on to the layers of paint.

Leave a Reply