
Whether we need to move out or send a parcel to someone, we should know how to label a box for shipping. There are numerous factors to be considered before we start, including the quality of the box, the size, and other optional items, such as bubble wrap. Labeling must be correct in order to make sure that the box is shipped to the right address. Here is how to label a box for shipping.
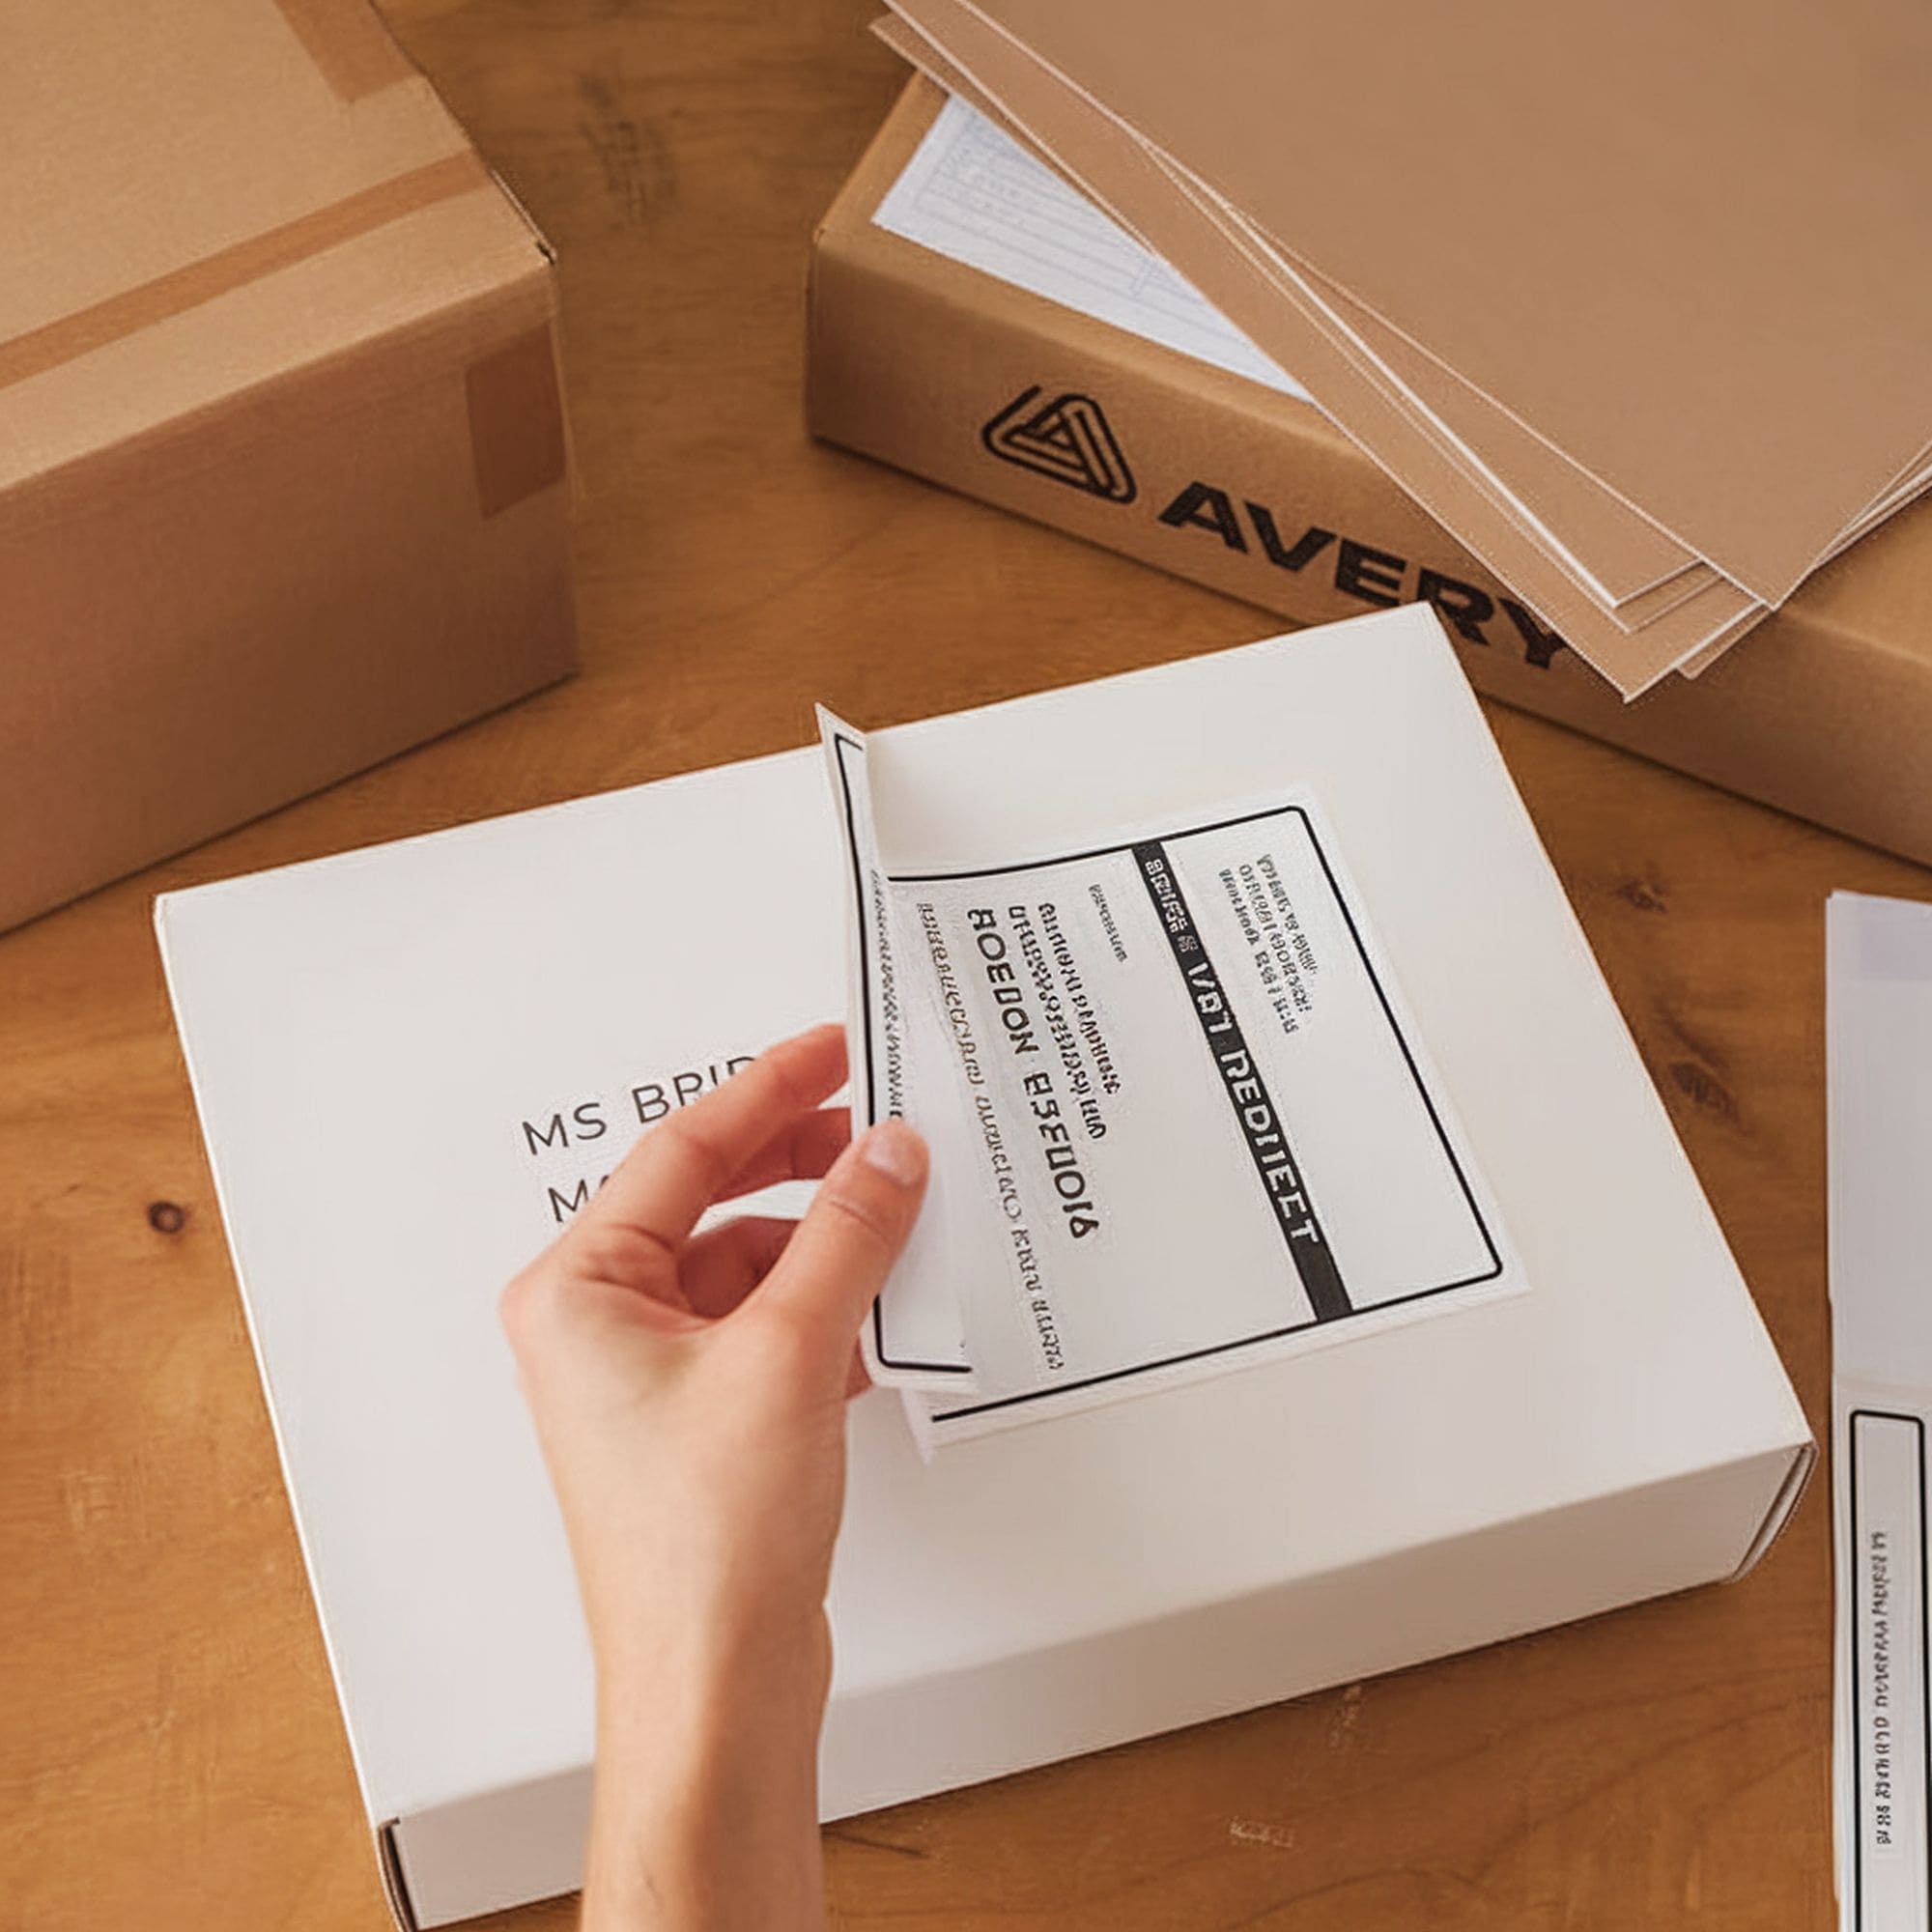
1. Label Template
Most carriers nowadays offer guidance regarding how to fill in the information. You can access their website and download the label template to make sure you have all the necessary details. Using this template means that your package will be shipped without delays.
2. Writing Tools
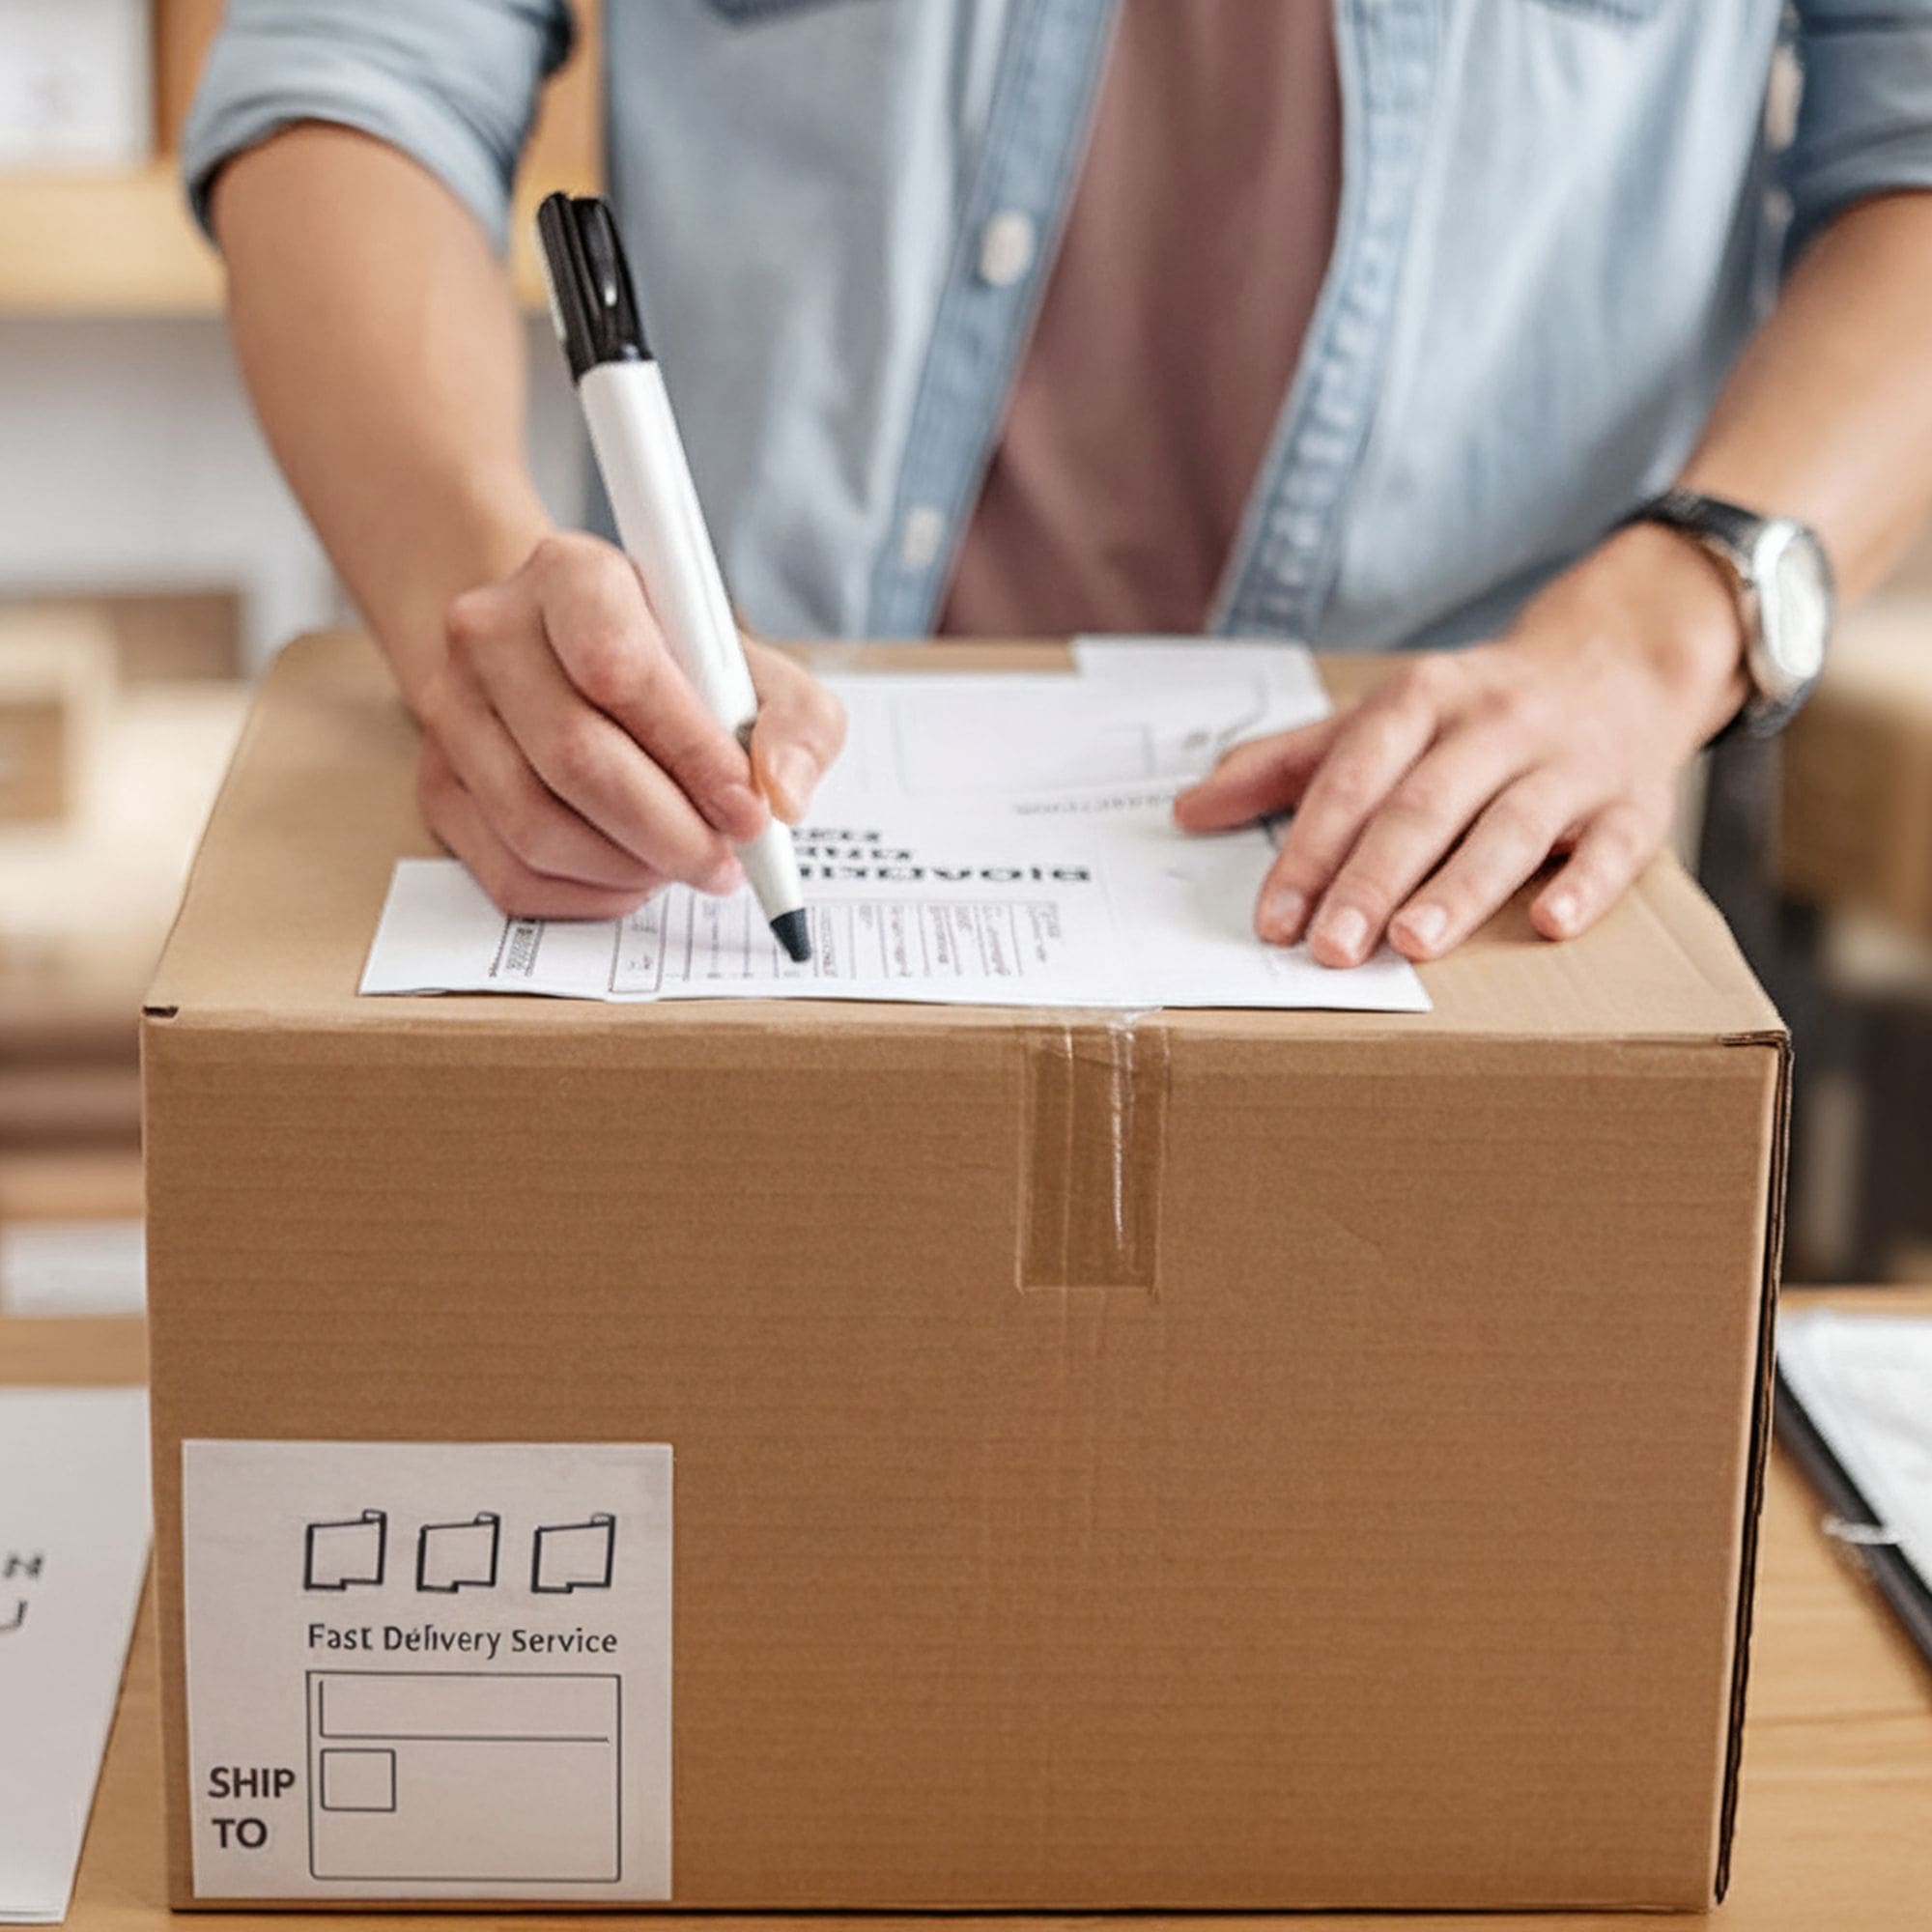
Regardless of the recipient, you should complete the label using a waterproof, permanent black marker. This provides an added layer of safety since the address will not get removed by accident. At the same time, if your handwriting is not very clear, you can choose to print out the label instead.
3. Ink and Paper
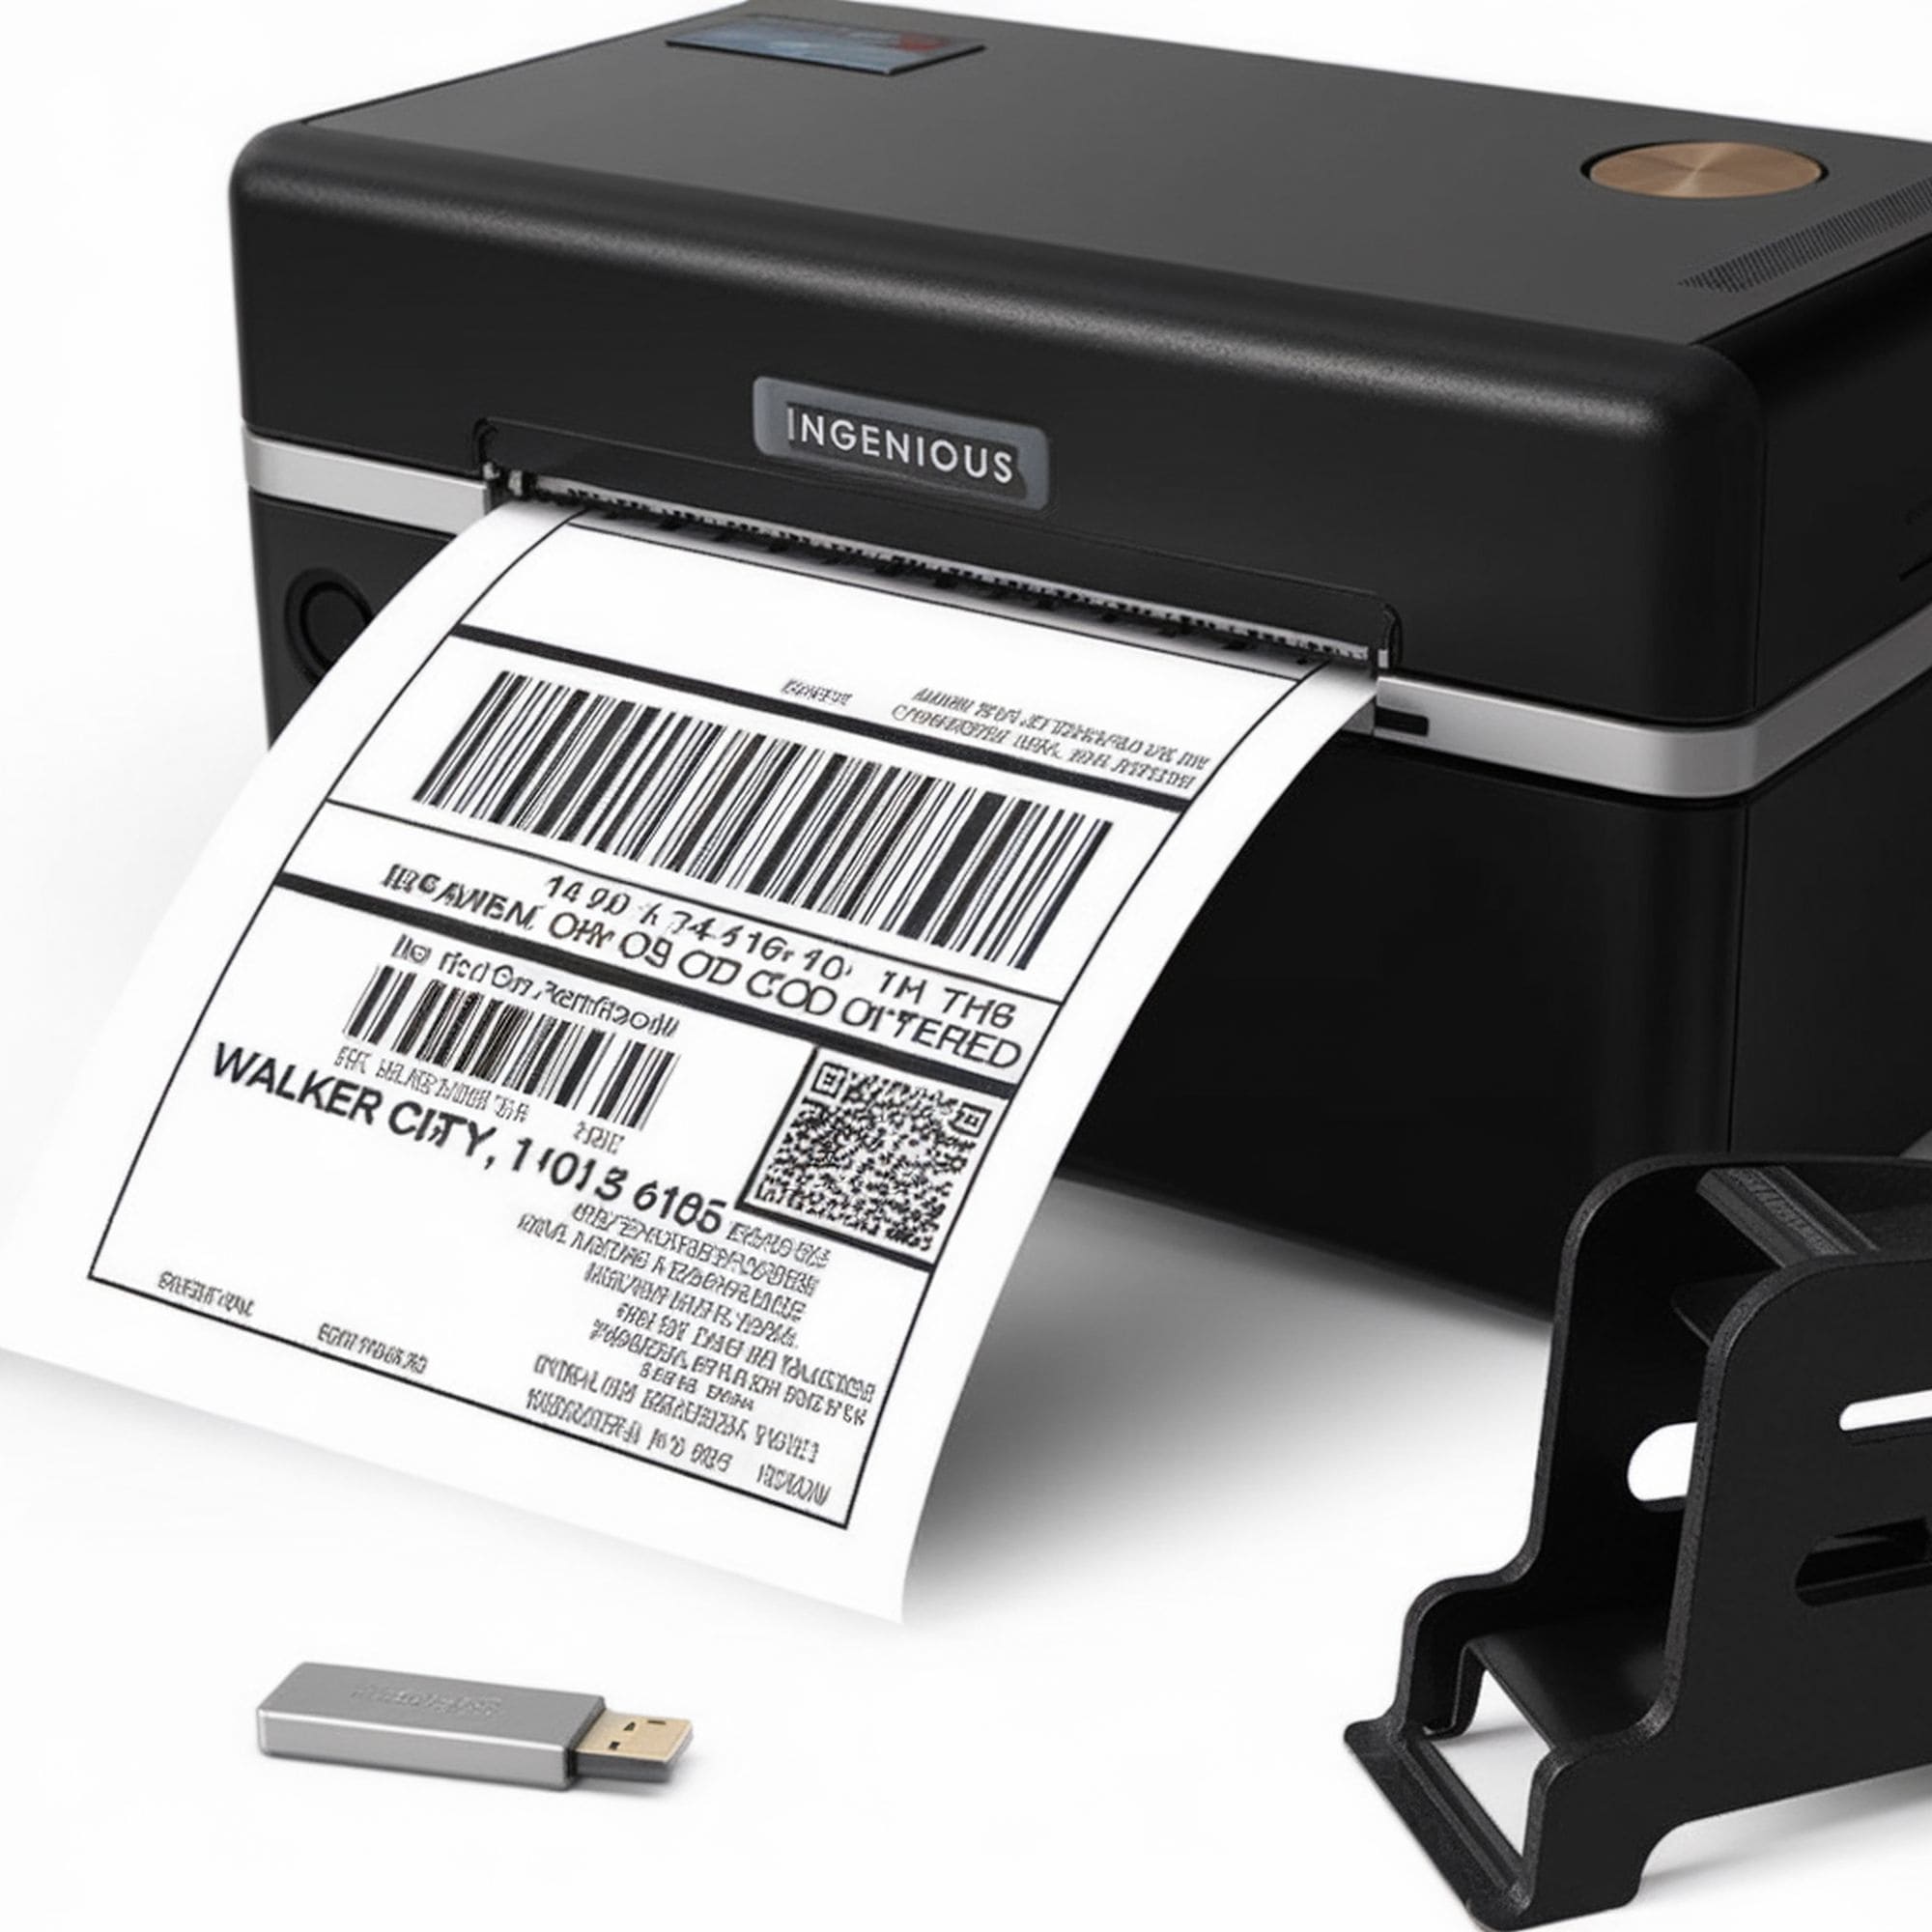
In case you choose to print it out, which may be a better and quicker solution, you also need to pay attention to ink and paper type. If there will be any rain or snow during the shipping, the label can easily get damaged when using standard paper. You can opt for a weatherproof laser printer using sticker paper with high-quality adhesive.
If you do not have a weatherproof laser printer, you can use an inkjet printer and standard paper. In this case, add some transparent tape over the label to protect it. Some people prefer to tape a clear pouch to the box and insert the label inside.
4. The Right Address

Before you label the box, you must double-check that you have the correct address. You should also verify if the address is complete, so look for the postal code, house number, and any other component that might be relevant in your case. Also, in case there are some issues, the box should be returned to you, so add your own address, along with the recipient’s address.
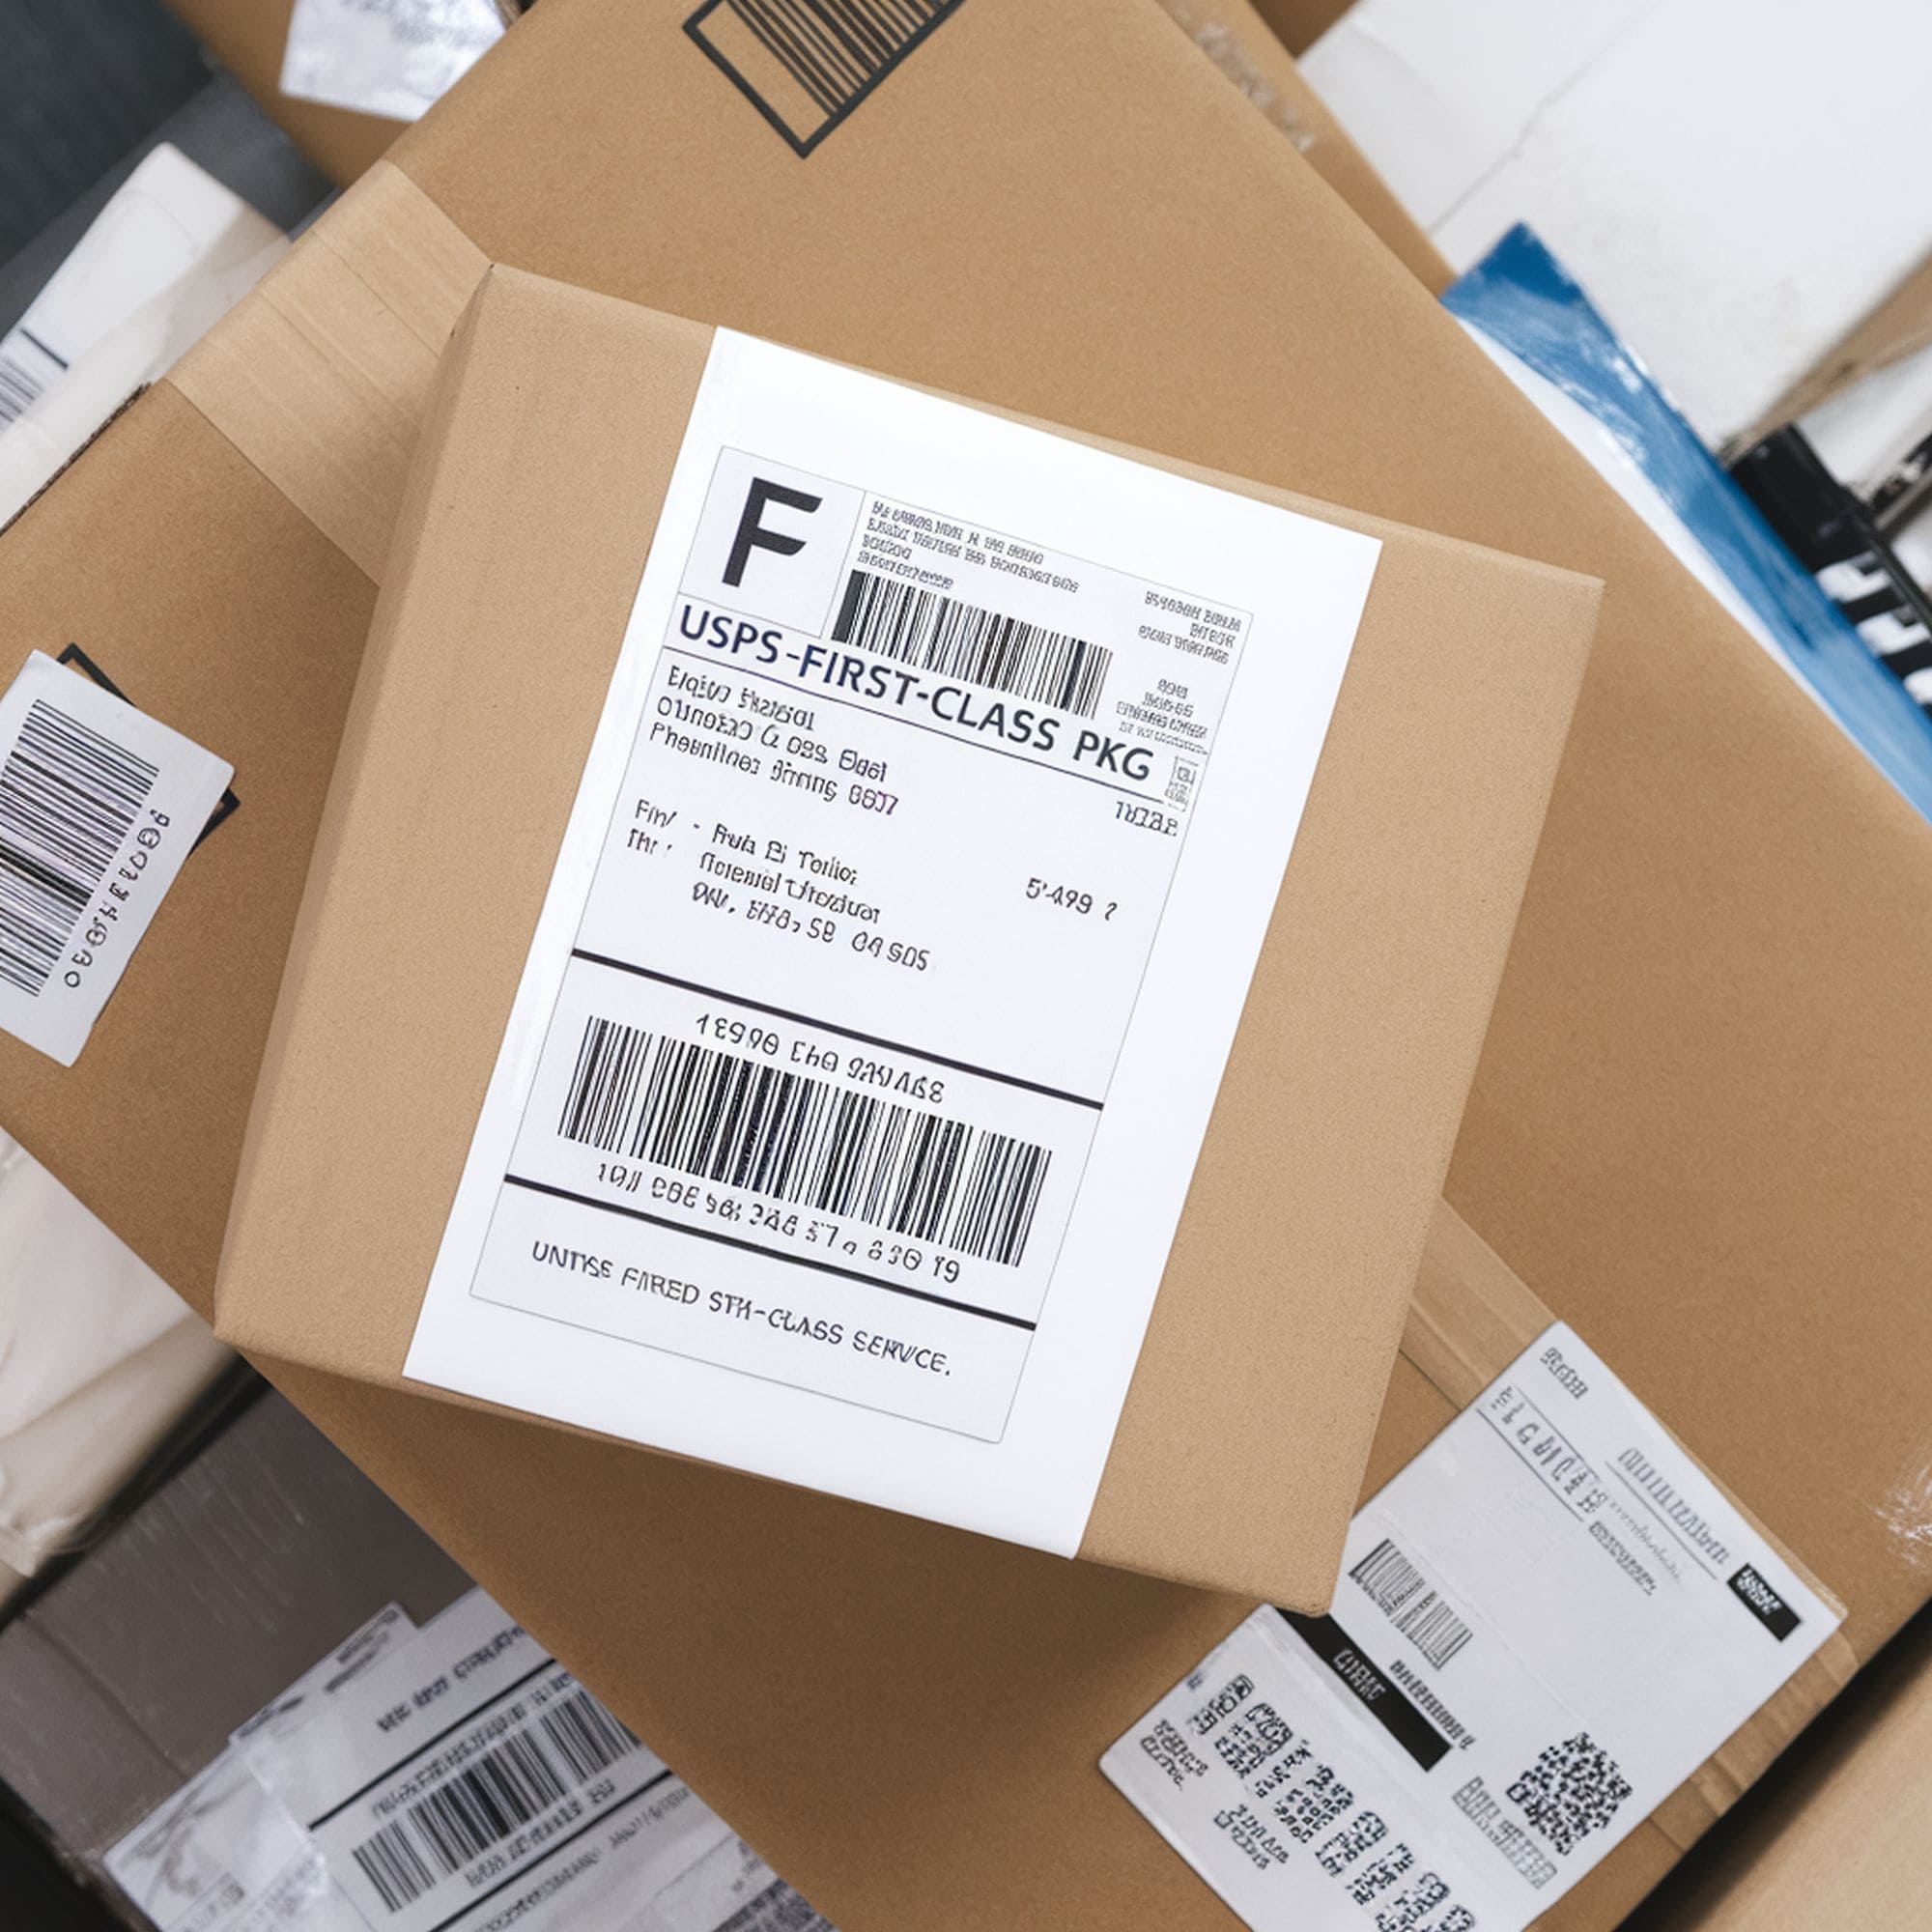
5. Add the Label
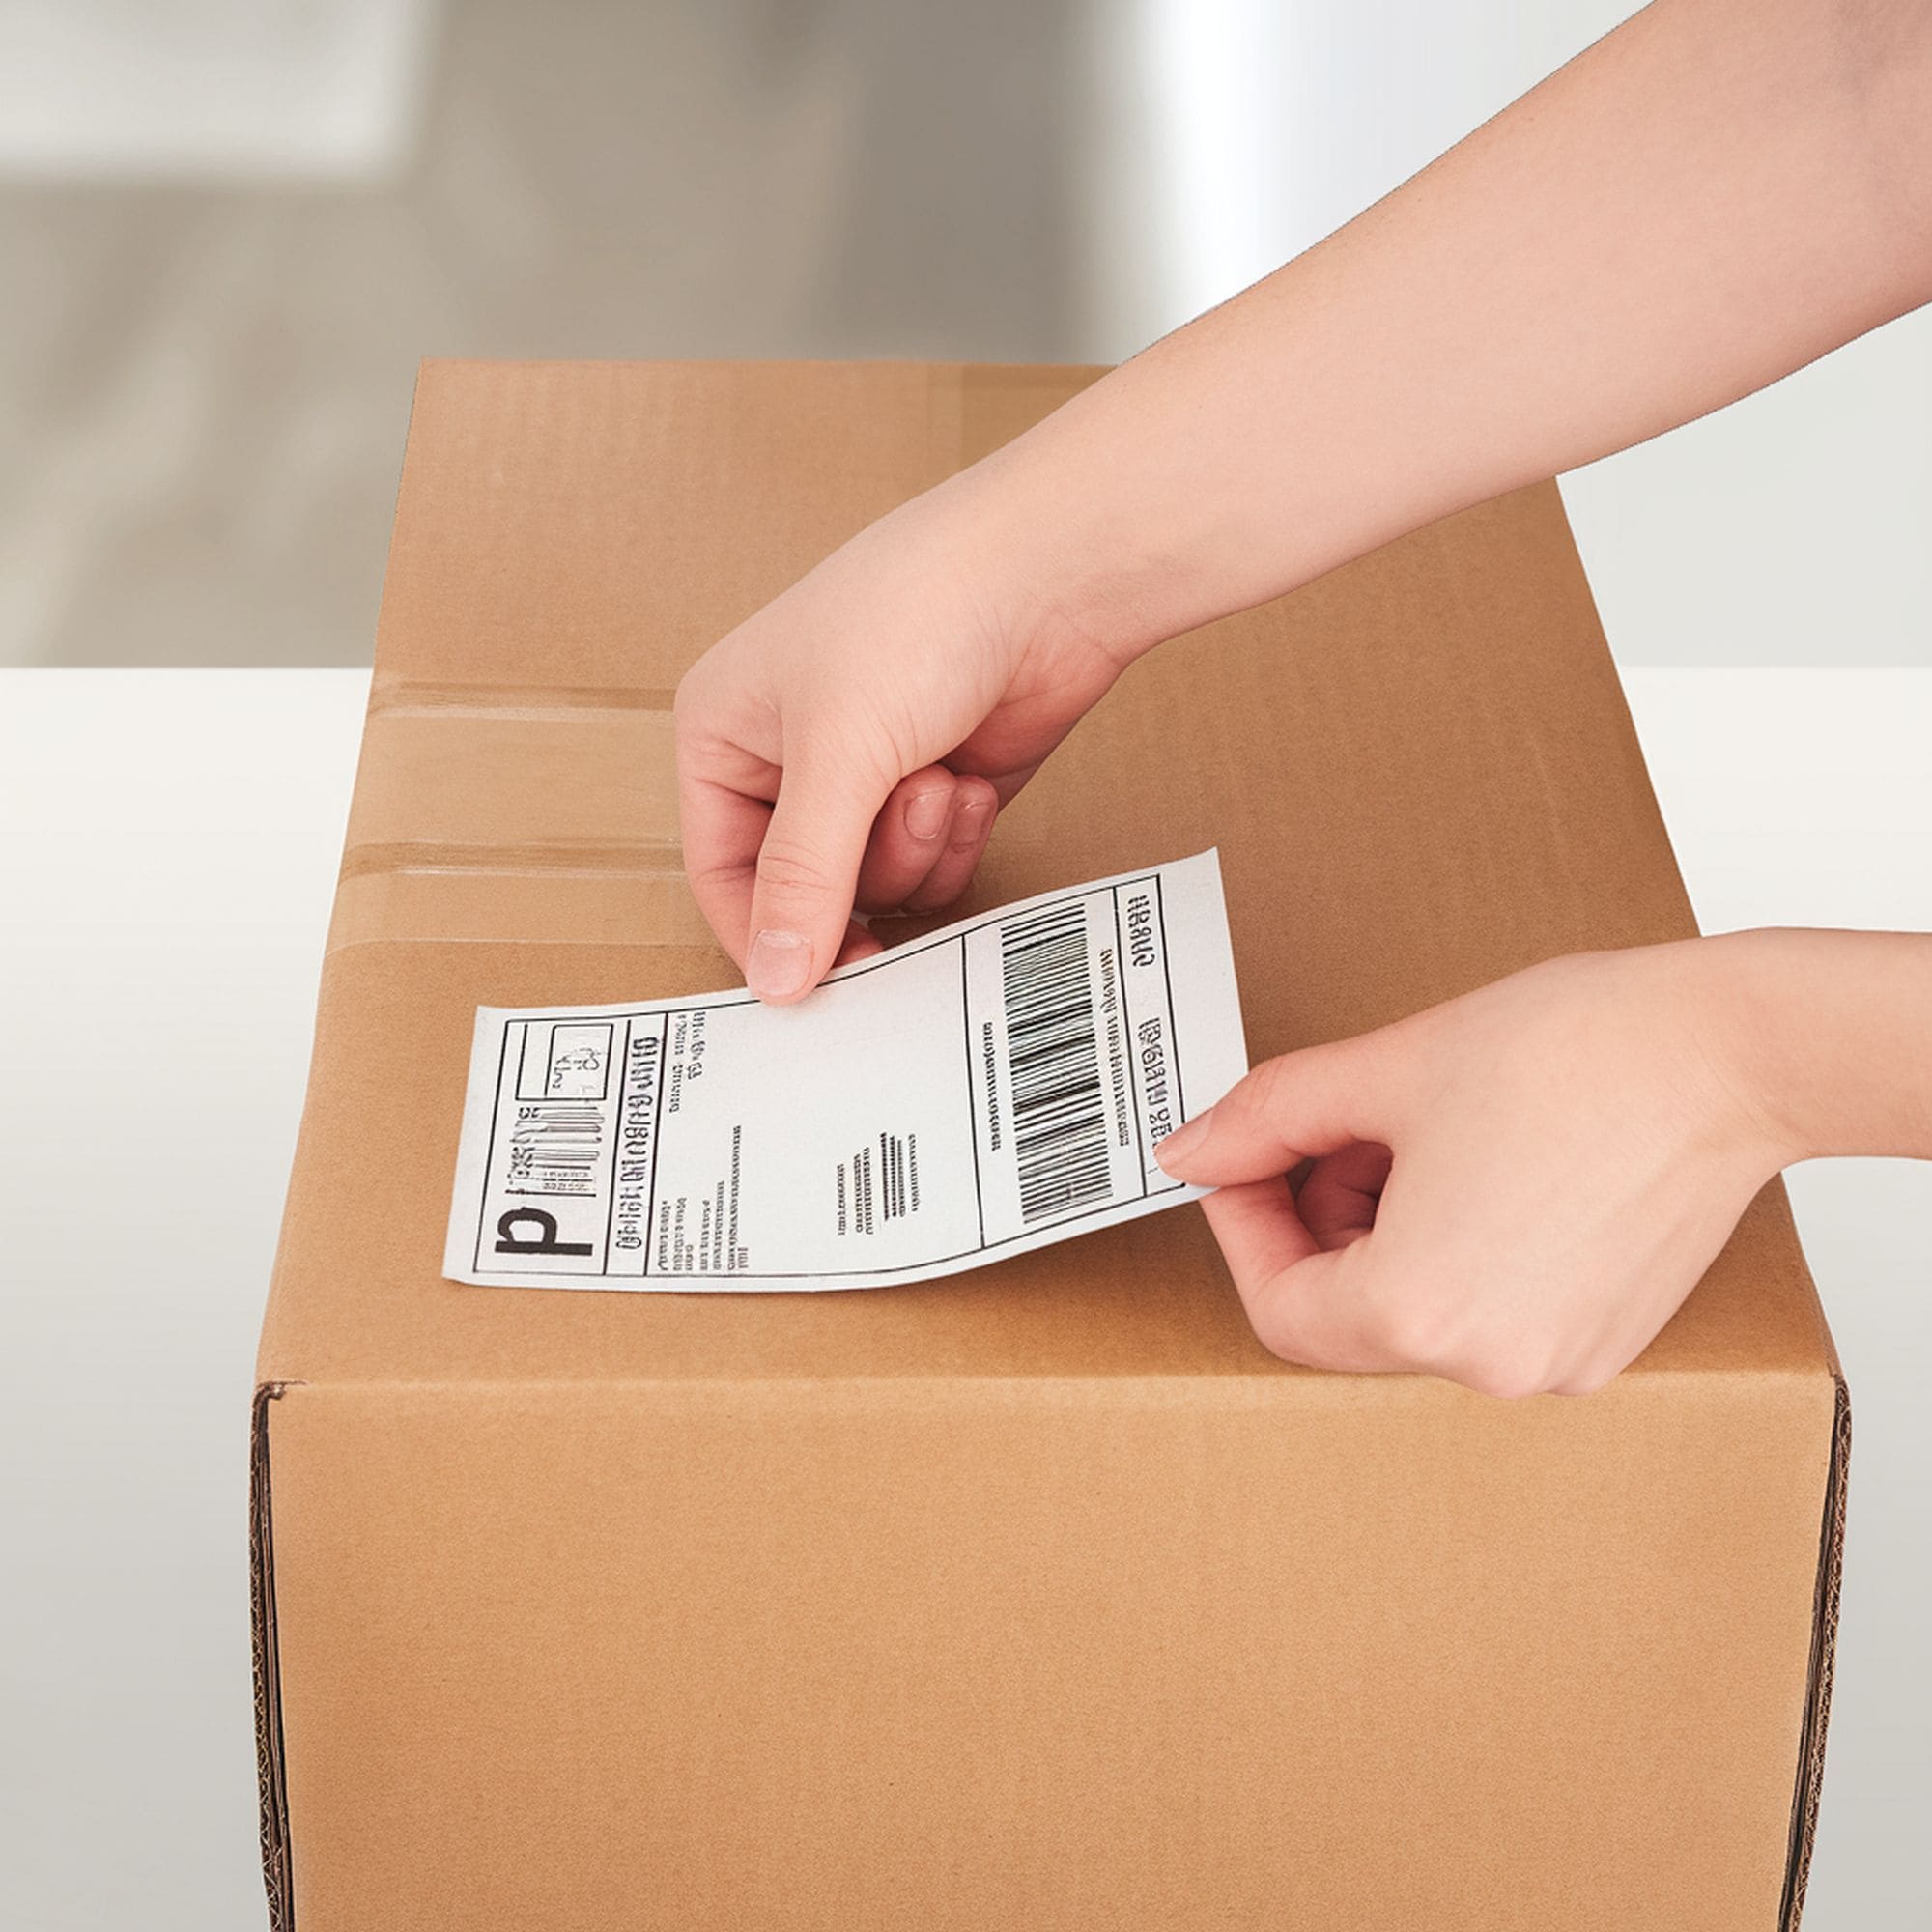
Finally, after you double-check that everything is correct, all you need to do is place the label on the box. Avoid sticking it on the top of the box because it may be easily damaged. For instance, if your box must be opened for verification, the label will be broken, too.
The best location is the side of the box. For extra protection, you can either add an additional label inside the box, along with its contents or stick two labels on the box. In this case, even if one of them is ruined, there will be another one.

Leave a Reply