
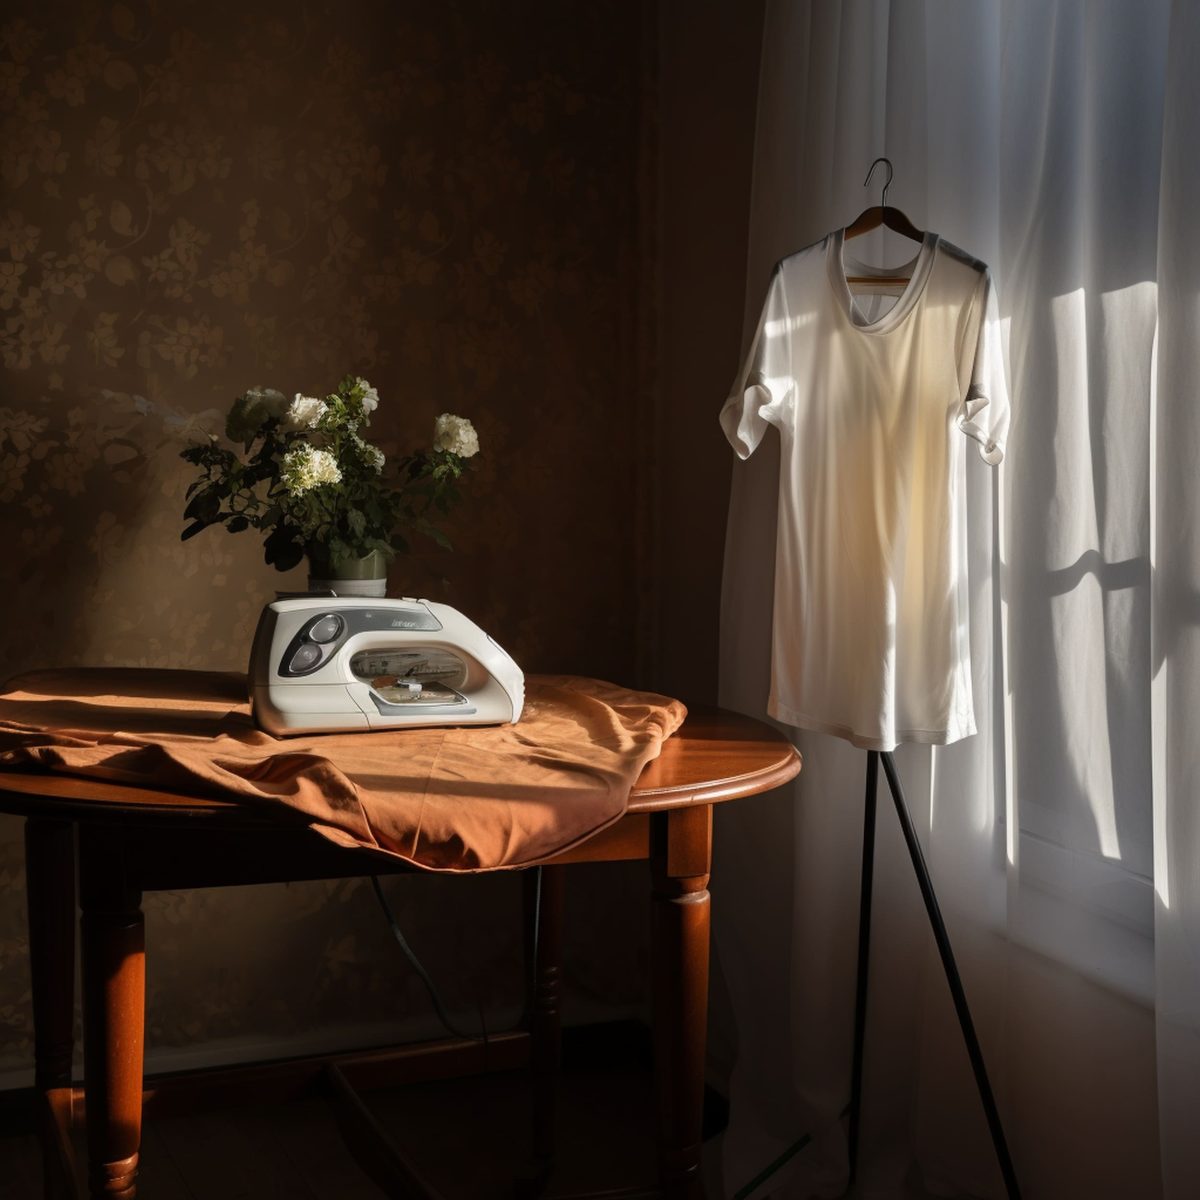
When it comes to window treatments, curtains are usually considered must-have additions. They keep the sun’s glare from reaching your interior space, protect your privacy, and also add a beautiful accent to the room’s decor. Similar to clothes and other textiles, curtains are made from fabrics that require care and maintenance. Keeping them in good shape involves regular washing as well as ironing. Brand-new curtain panels are often full of wrinkles and creases. Without a proper ironing procedure, the curtains won’t look very attractive when mounted.
Things to Consider Before Ironing Your Curtains
1. Some Types of Curtains Can’t be Ironed
Before you go ahead and follow the steps presented in our ironing guide, it’s important to check the instructions on the label. Some types of curtains such as blackout panels can be damaged by the intense heat used for ironing. If your curtain panels are crafted from a more delicate material, they’re likely not suitable for ironing and the label should indicate so. In that case, it’s best to find a de-wrinkling service at a professional dry cleaner.
2. Ironing Your Curtains Might Not be Necessary
Although new curtains that are very wrinkly can benefit a lot from ironing, it’s not always necessary for older ones. The hassle of taking the curtains down from the rod and mounting them back up might not be worth it if there won’t be a significant appearance upgrade through ironing. Another aspect to keep in mind is that even new curtains will naturally start to reduce their creases from packaging after hanging them for some time.
3. A Steamer Could Be Better Than an Iron
Although ironing the curtains should always provide superior results compared to using a steamer, it’s still a reliable alternative in some cases. Steaming the curtain panels can be more convenient and less time-consuming as it can often be done without removing the curtains from the rod. Steamers are more versatile than irons and generally safer on delicate fabrics. If you’re in a hurry, using a steamer to straighten the curtains could be a more viable alternative.
How to Iron Curtains
1. Wash the Curtains
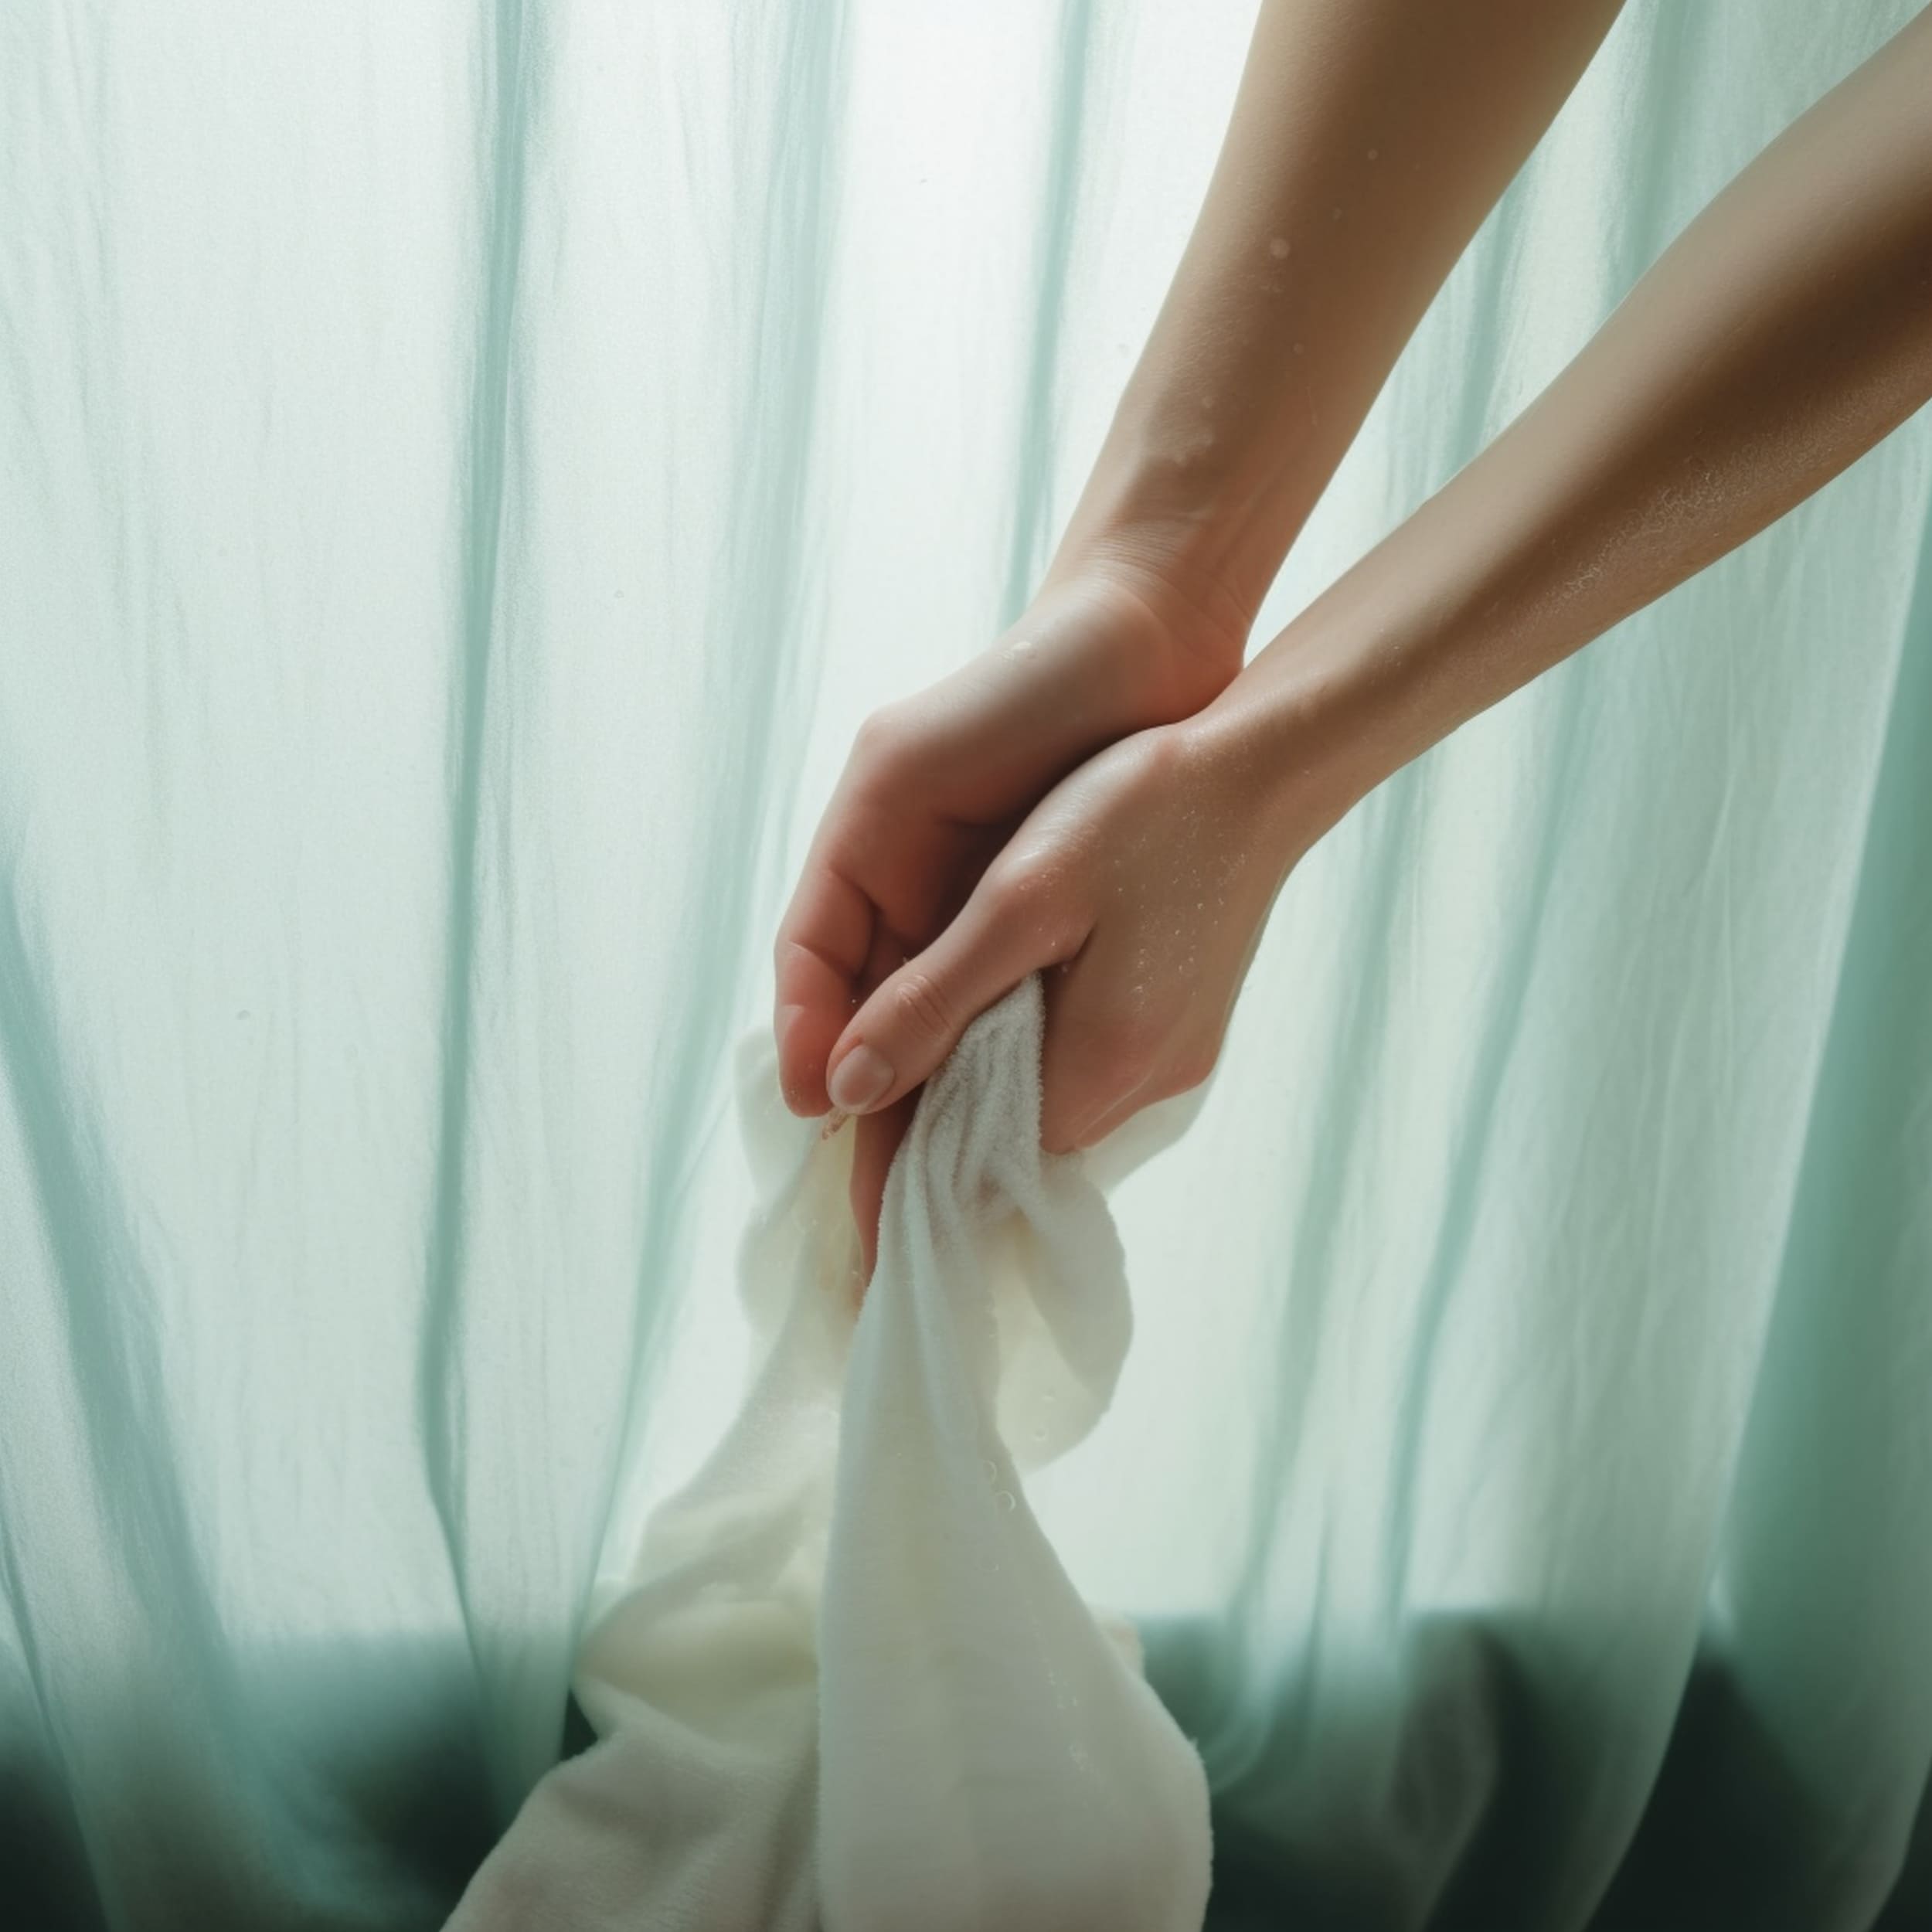
Washing the curtains isn’t just done to remove dirt as it’s also helpful to simplify the ironing process. You should wash them anyway if the curtain panels are brand new so this is a fairly easy step. Select a delicate cycle when washing and drying them. Always check the label if you plan to use warm water. Washing in cold water tends to work best for curtains to prevent shrinkage and other fabric issues.
2. Do Your Ironing Close to the Hanging Location
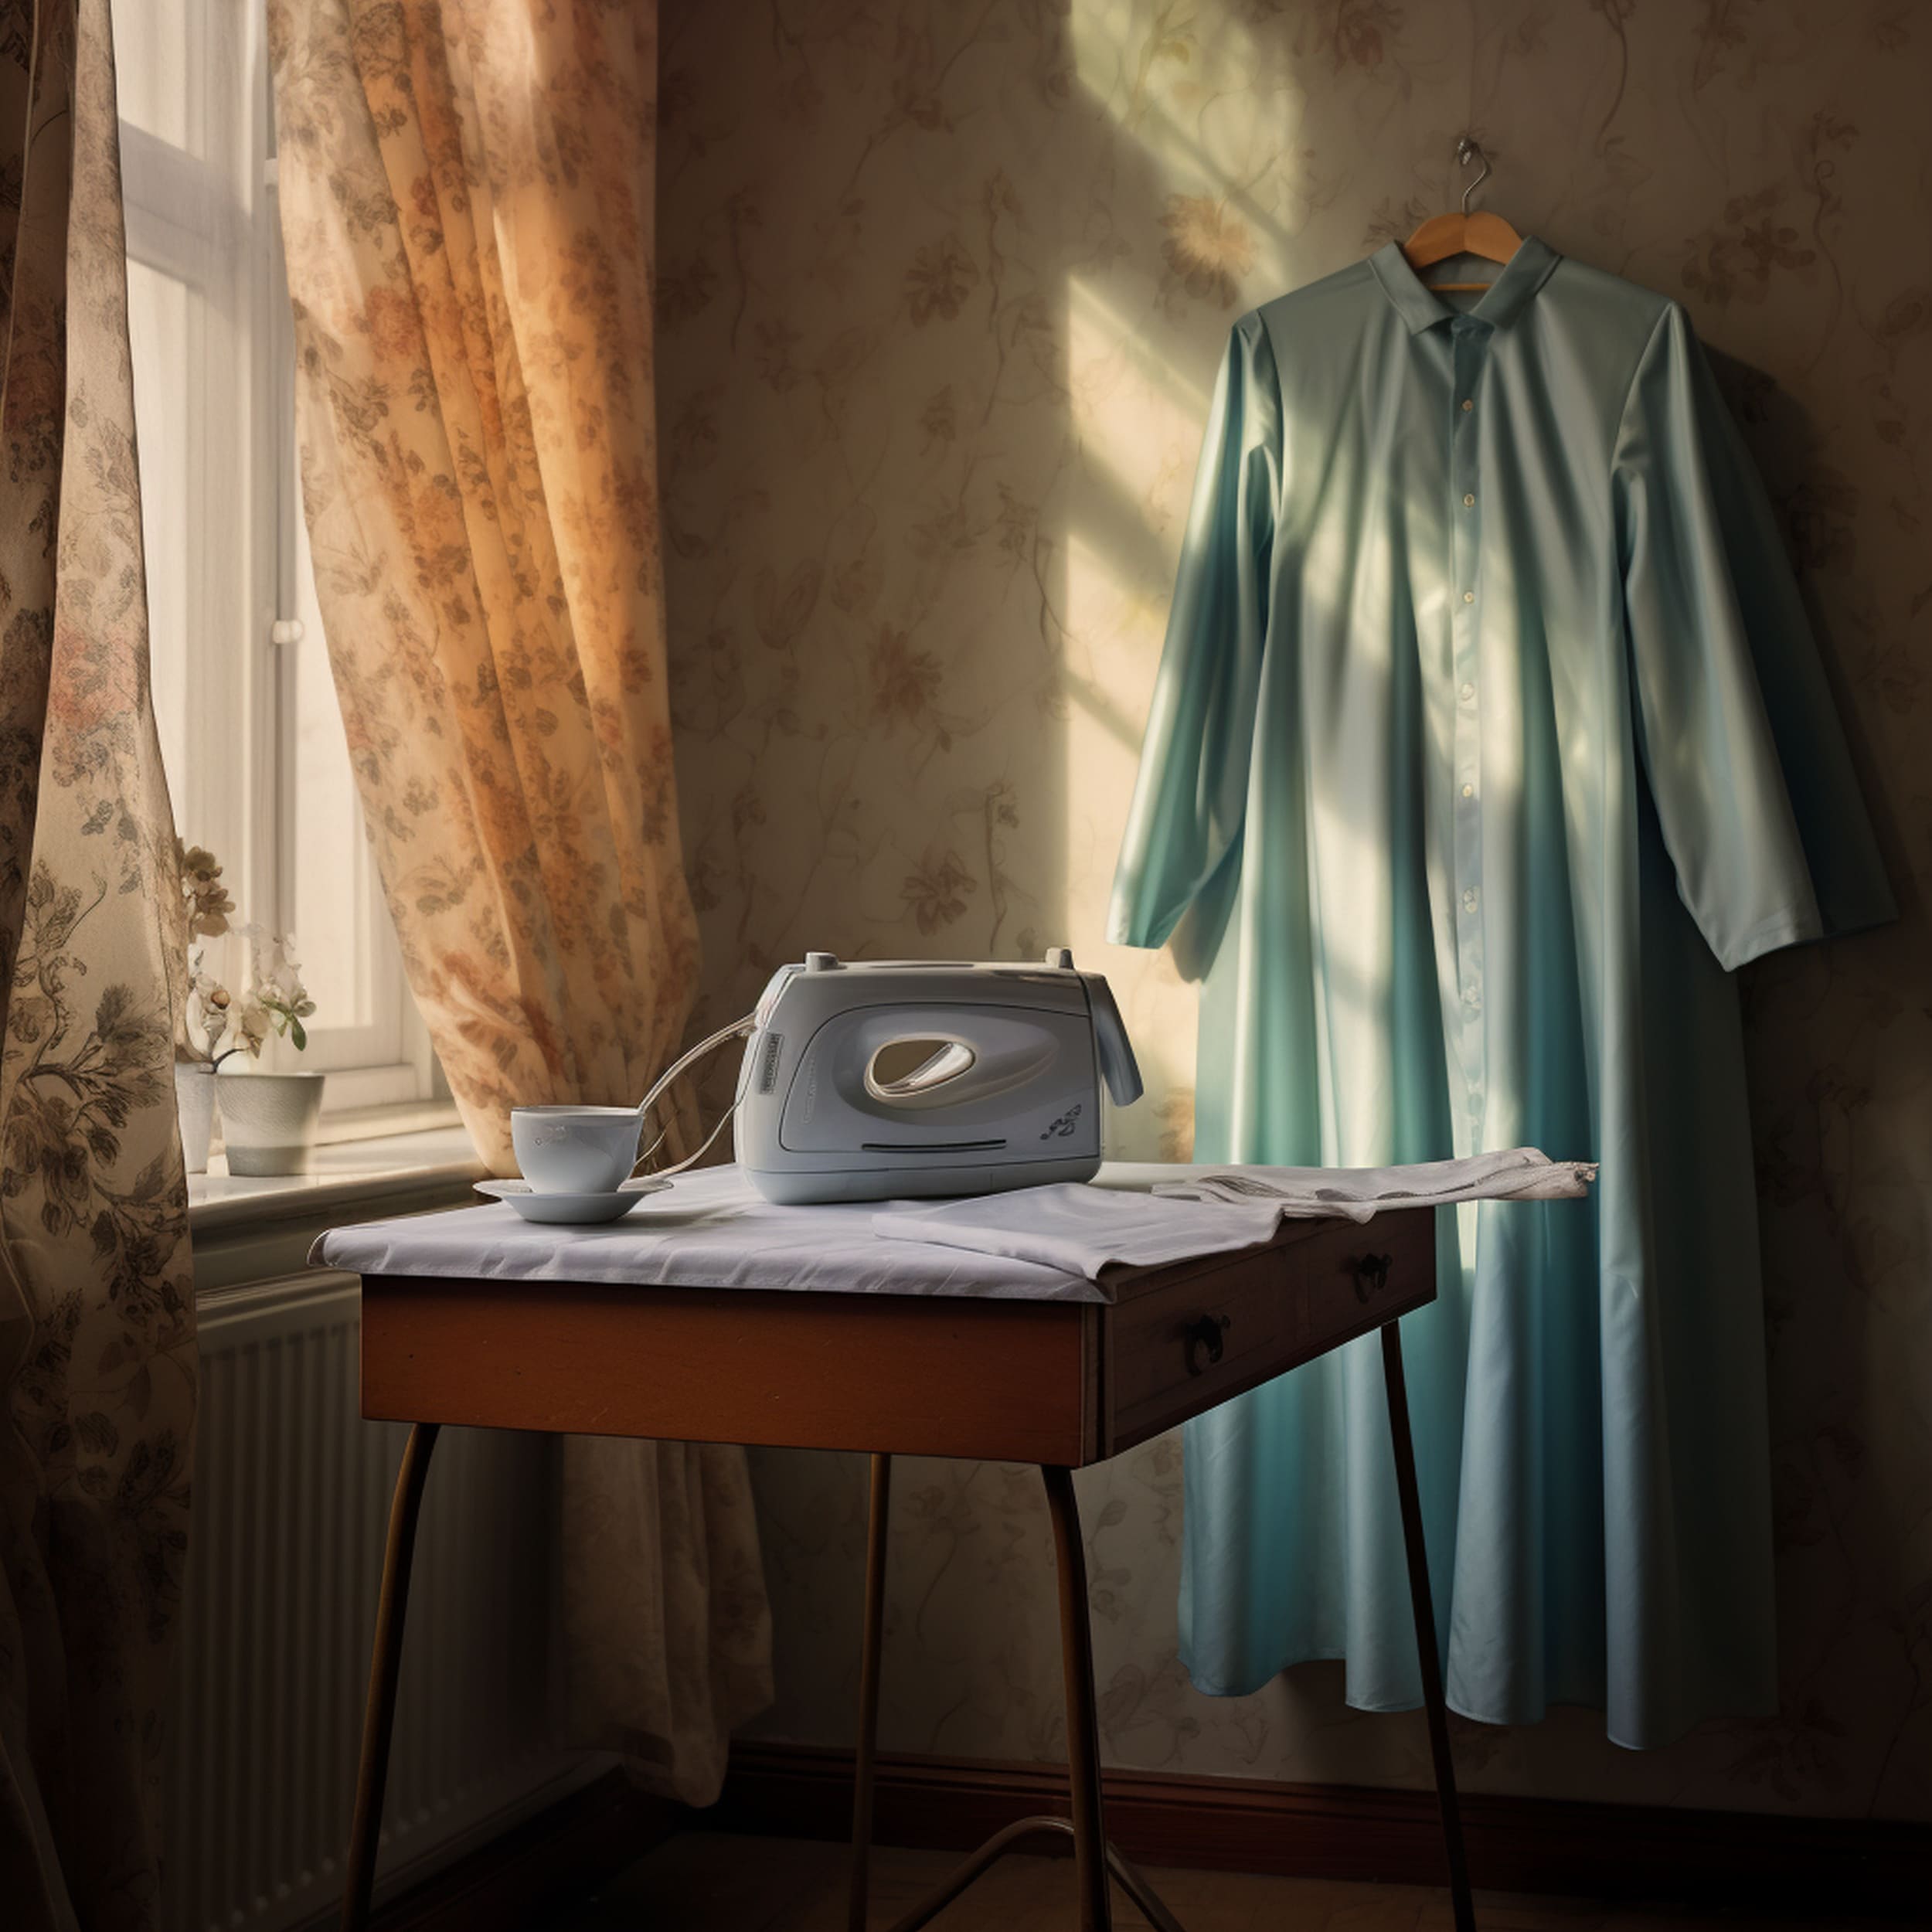
When setting up the ironing board, it’s recommended to avoid going too far from the window where you plan to hang the curtains. The goal is to reduce the chances of creating more wrinkles during the transport of the curtains. Pick the tallest position of the ironing board if it helps you mount the curtains to the rod with less effort.
3. Pick the Right Iron Setting
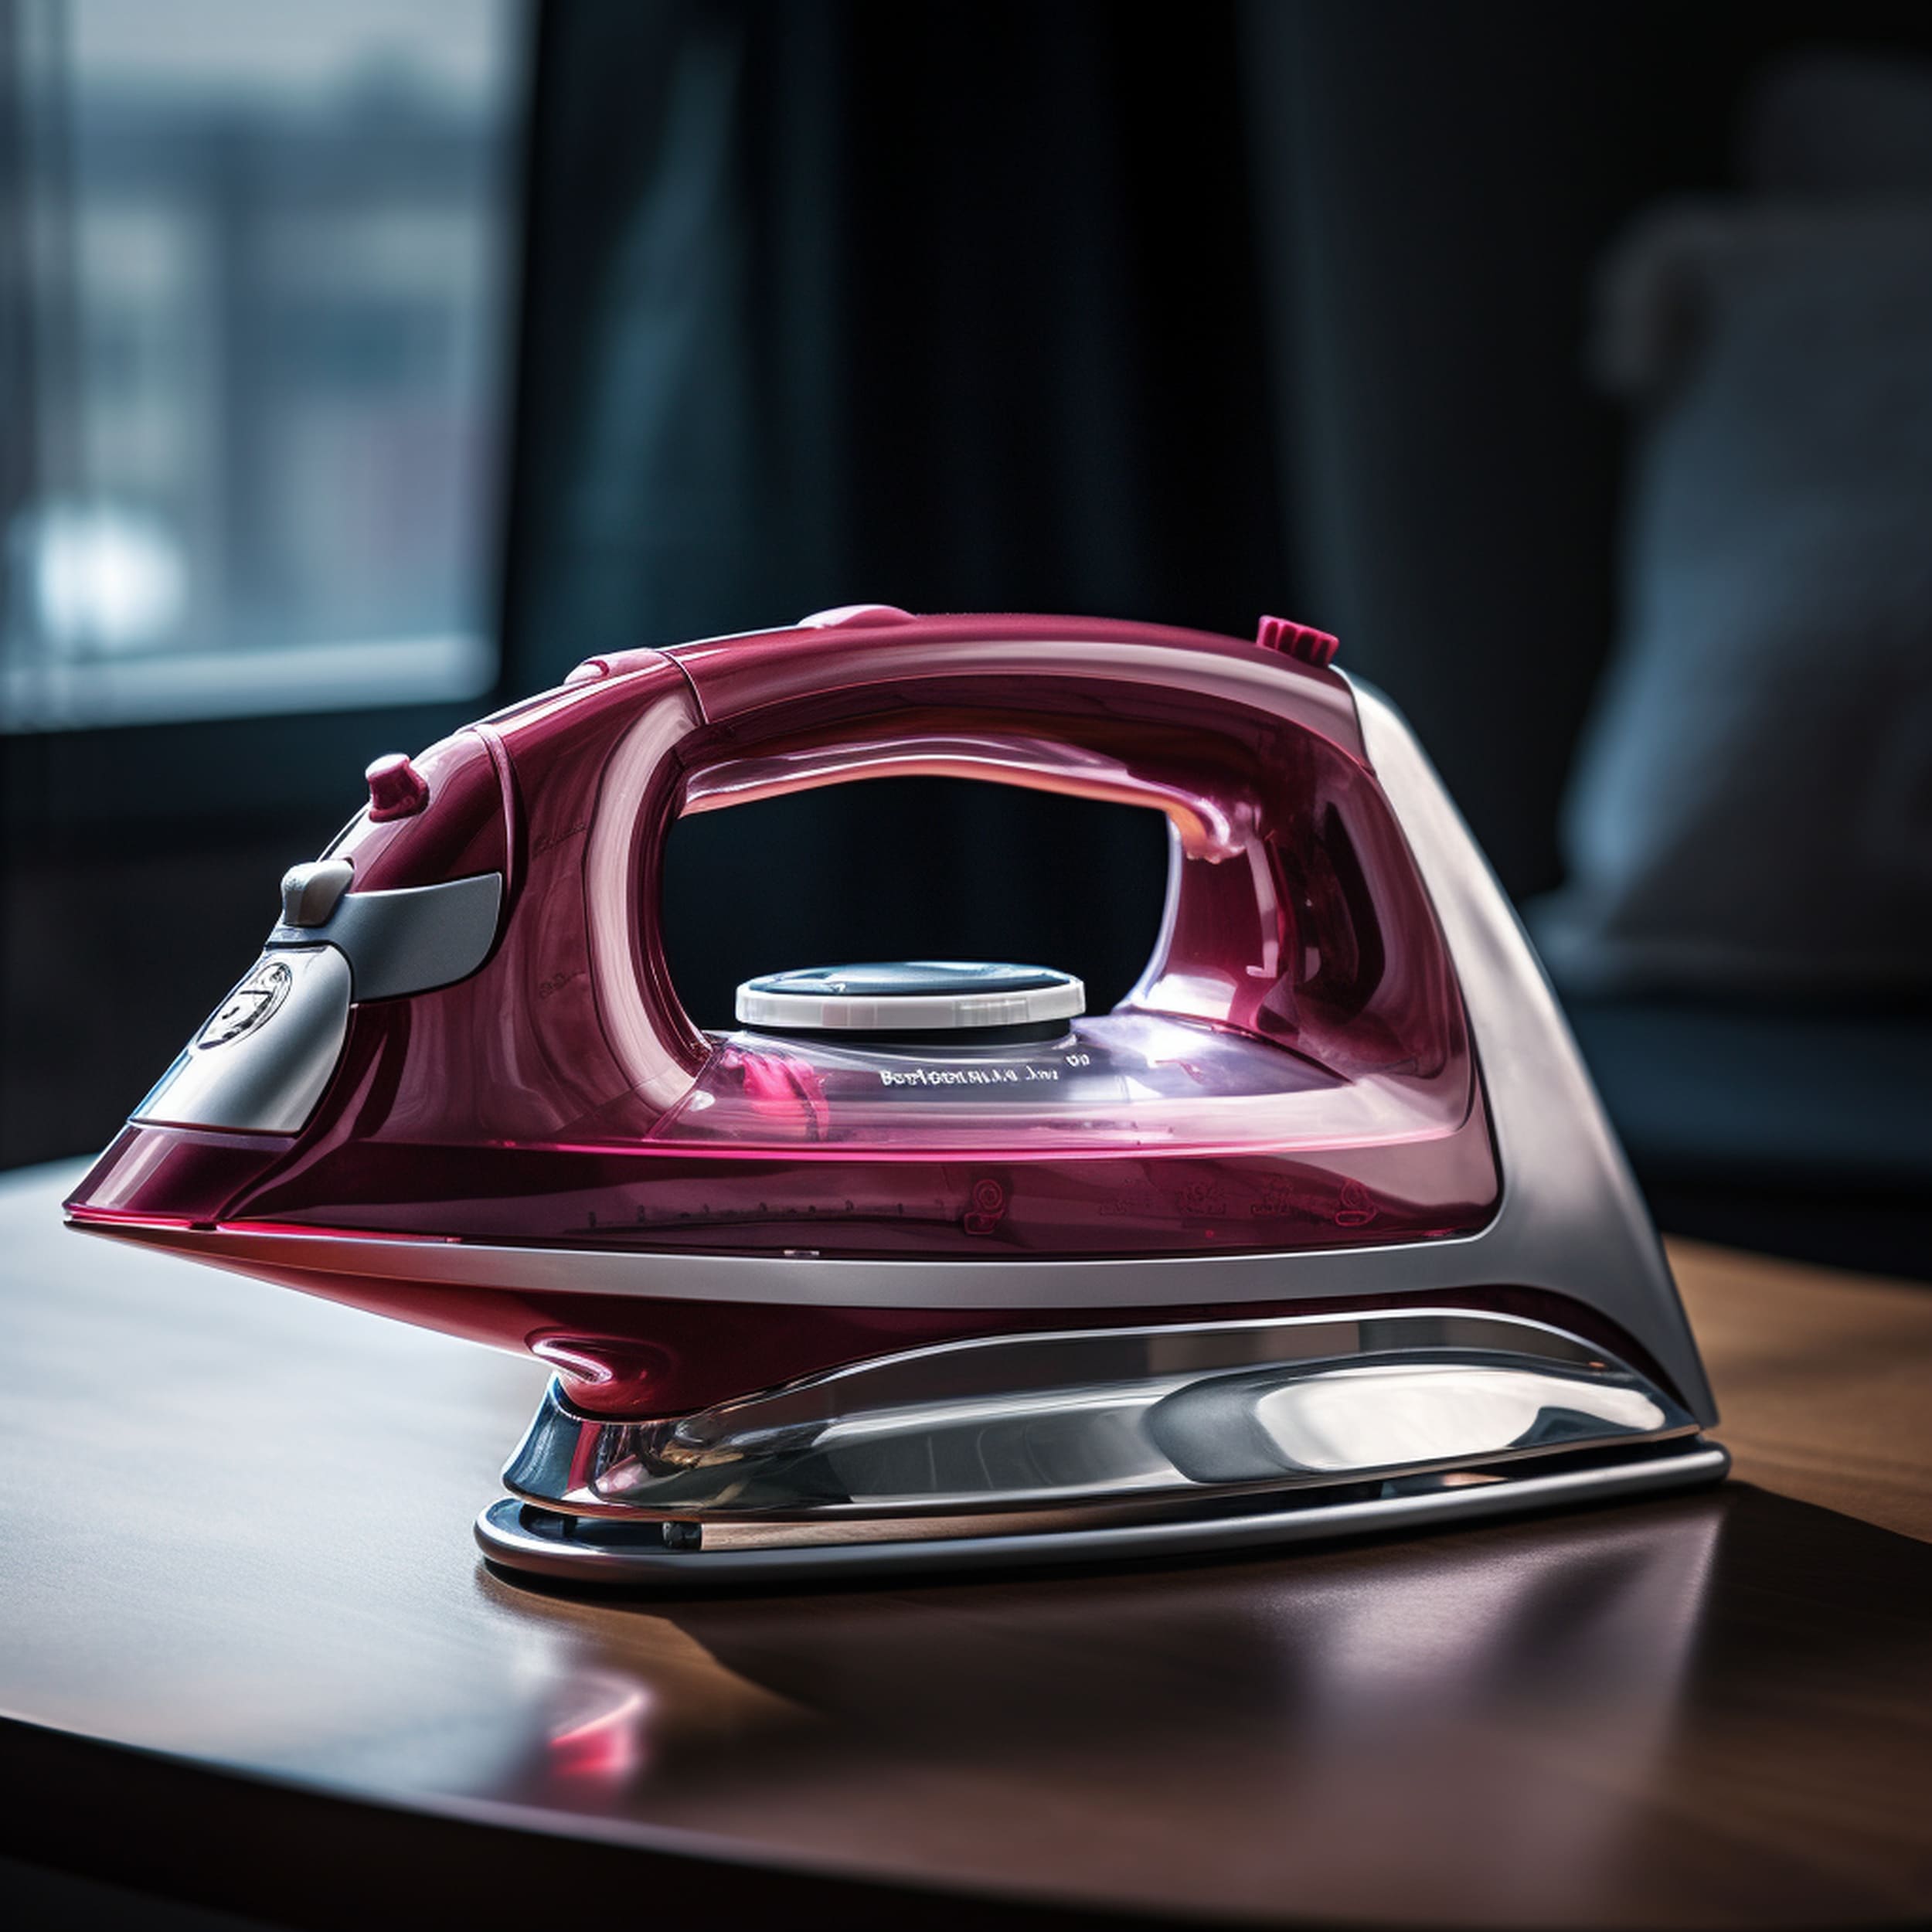
Modern irons feature a convenient dial that can be used to pick the ideal setting according to the fabric of the item. You simply need to check the care label of the curtains to figure out which fabric setting to use. Similar to other textiles, curtains can be made from cotton, polyester, silk, nylon, linen, and other common fabrics. If you fail to use the correct iron setting, it’s possible that your curtains can be damaged in the process.
4. Iron the Curtains
Now you’re ready to start ironing the curtains. Lay out each curtain panel and work on segments from the top towards its bottom section. When smoothing out the wrinkles of the curtain, it’s important to use the spray feature of the iron because you will get much better results on a slightly damp fabric surface. Iron the curtain panels across the width back and forth.
You can finish ironing all the segments of the curtain or stop to hang a finished portion if you’re worried about developing wrinkles in the meantime. Ironed parts should be hung as quickly as possible but the entire process can take some time. This is why it’s recommended to start from the top of the curtain as that portion can be mounted back on the rod while the un-ironed bottom segment can be finished last.

Leave a Reply