

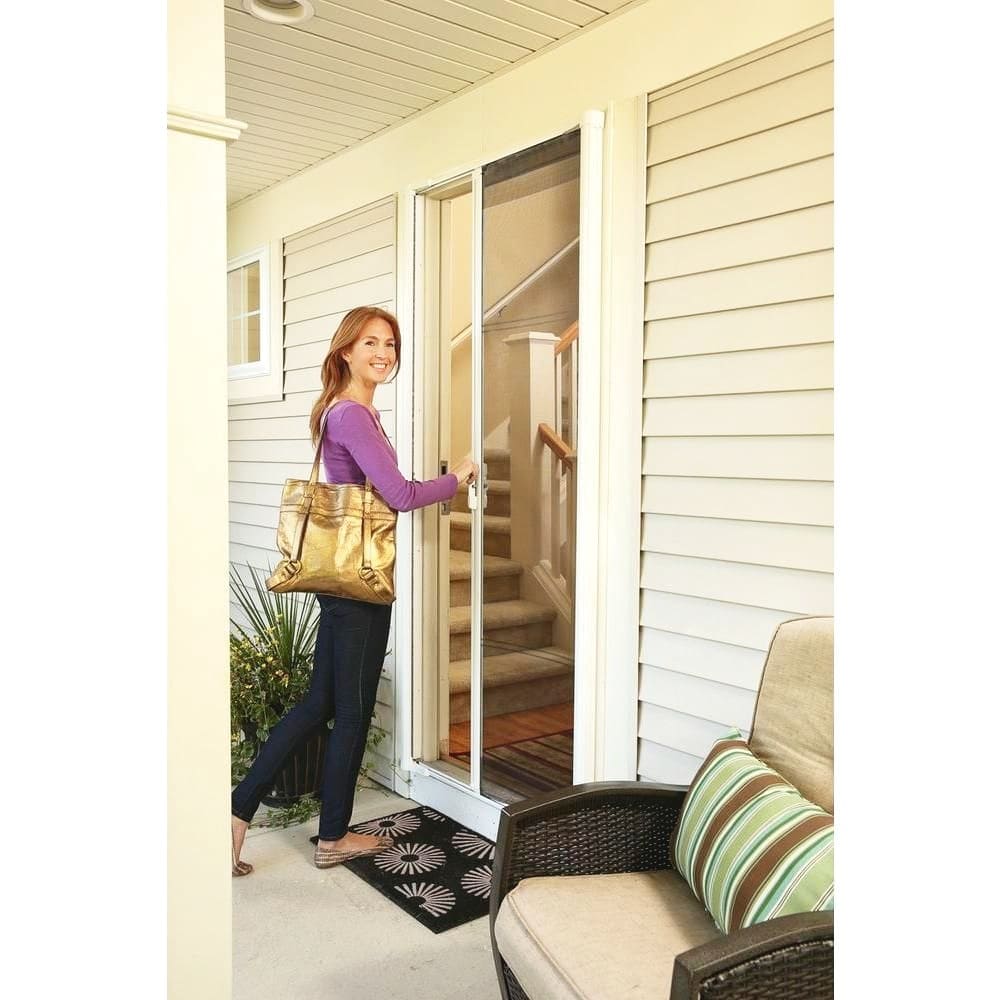
Having a sliding screen door can be incredibly convenient if you like to feel more connected to the outdoors while preventing insects or other pests from entering the home. It’s the perfect addition to an existing sliding glass door. If you’re interested in learning how to install an adjustable sliding screen door, check out the following step-by-step guide. Although the process itself isn’t particularly complicated, you will need to do some preparations to obtain the best results.
1. Select a Suitable Sliding Screen Door
Figuring out the correct size needed for your sliding screen door is essential to proceed with the installation smoothly. Use a tape measure to find out the width of the door frame. Most sliding screen doors on the market feature a standard size somewhere around 80 inches in height and 31 to 49 inches in width.
Visit your local home improvement store like Home Depot and check out the current offers of sliding screen doors. There are different construction materials available and distinctive finishes to suit your aesthetic preferences. Make sure it matches the size measurements taken from your sliding glass door to ensure proper compatibility.
2. Orient the Screen Door
Once you have your sliding screen door ready to install, you will first have to ensure that it will be properly oriented with the existing glass door. The handle has to be on the correct side just like the one on the glass door. Position the new sliding screen door until it’s ready for aligned mounting. Some Y-axis rotation could be required.
3. Loosen the Expander Screws
Found at the top or bottom of most screen doors, the expander screws are used for securing purposes. They need to be disengaged when installing the sliding screen door if you want to position it into the frame with minimal effort. If you have an adjustable sliding screen door, it should have its own integrated expanders that help to create the best fit.
4. Take Off the Weather Stripping
This black rubber strip found outside the door needs to be removed to install your sliding screen door. Pull it off gently because it needs to be reattached later on to seal the gap between the doors.
5. Install the Sliding Screen Door

Start by guiding the upper edge into the top rail. A slight angle is required when installing the screen door into the grooved channel of the frame. Then it’s time to lift the door and similarly secure it into the lower part of the bottom rail. Make sure the rollers will be set in the grooved track for a proper installation. Test the alignment by sliding the new screen door back and forth in the frame.
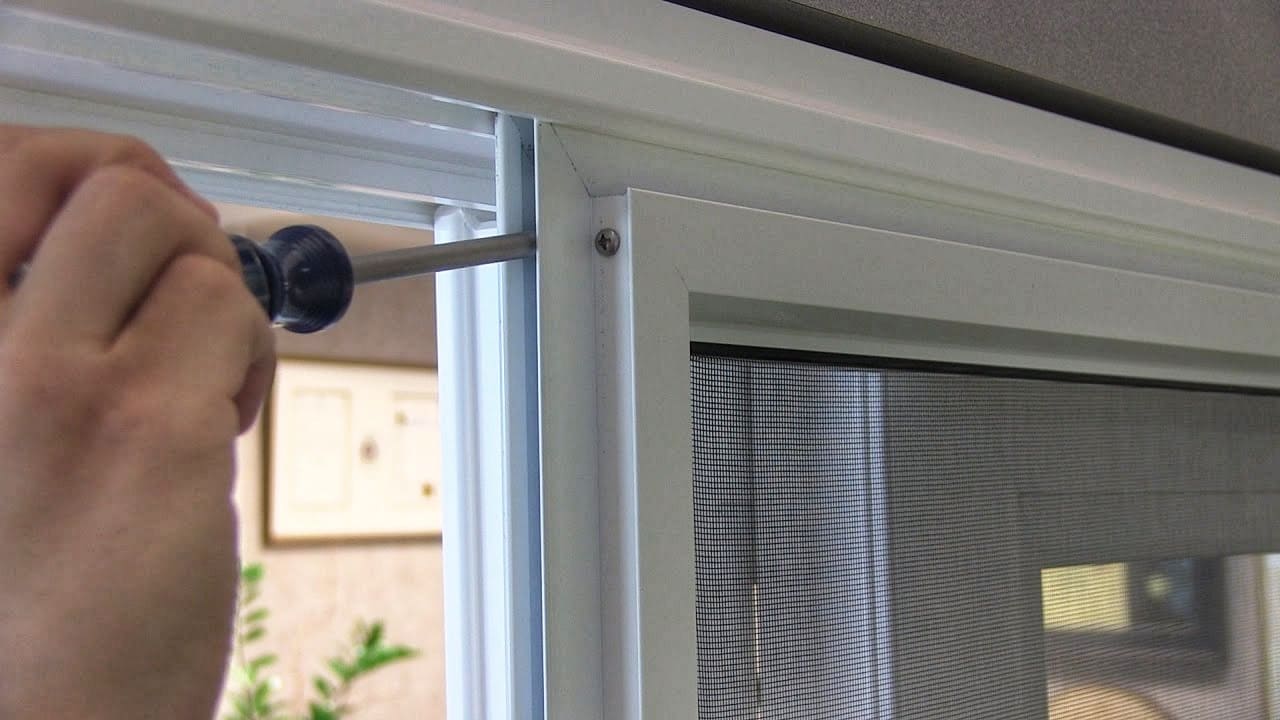
6. Adjust the Expanders
After the sliding screen door has been properly inserted, it’s time to adjust the expanders at the top or bottom to create a smooth gliding effect. Use a screwdriver to make the necessary adjustments until the screen door has the best fit. The expanders should be fully tightened to maintain the desired slide position.
7. Reattach the Weather Stripping
Now that you have the sliding screen door installed, you’re ready to bring back the weather stripping to seal all the gaps. Pay attention to how you’re reattaching the rubber strip as it needs to be securely seated without any loose spots.
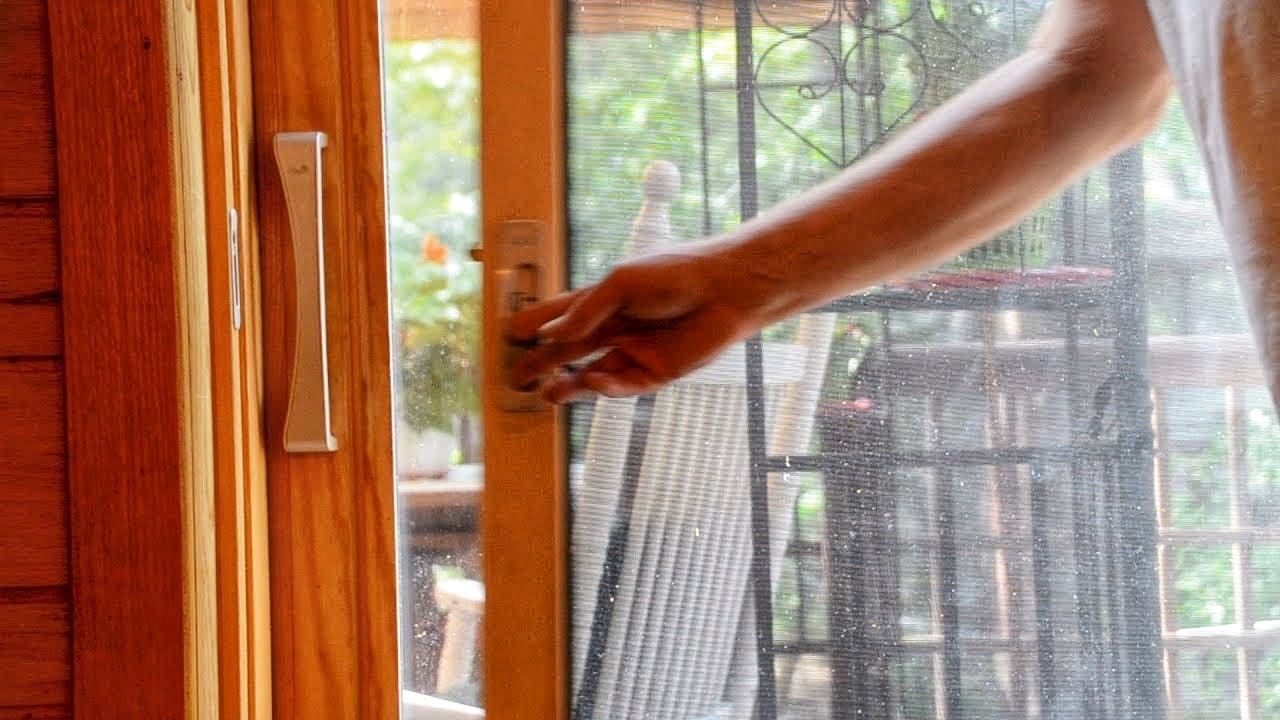
8. Install the Locking Mechanism
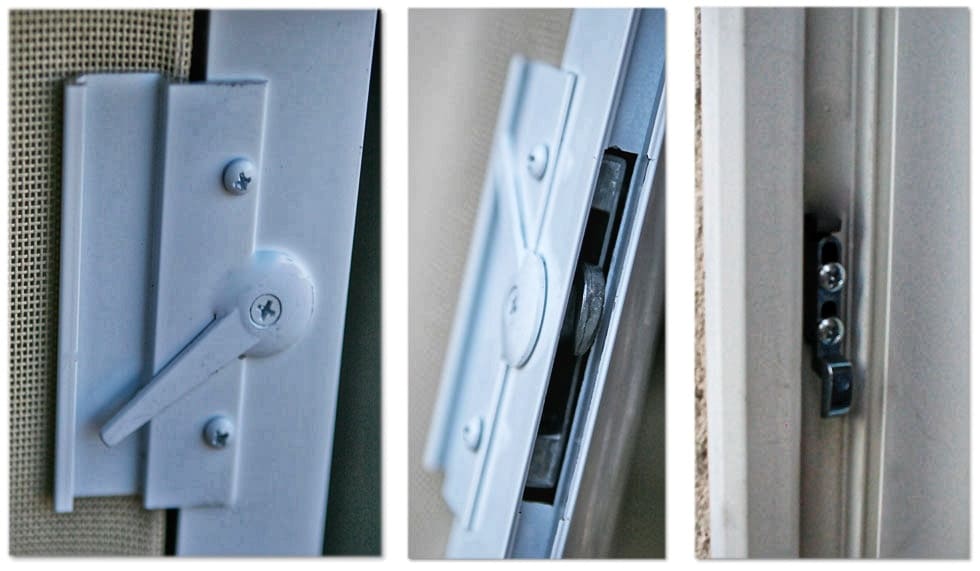
Sliding screen doors will typically arrive with some sort of locking mechanism that has to be installed as well. Whether you have strike plates or a latch hook, these can be mounted pretty easily using the supplied instructions. They have to be lined up correctly and attached with screws.

Leave a Reply