
Whether it’s made from wood or metal, the door sill has an important job when it comes to any exterior door frame. This component acts as a seal from the elements while being constantly worn down by foot traffic. It’s not surprising to find out that door thresholds need to be replaced after some time. Without proper maintenance, there’s a considerable risk of damage to the entire framework of the door. This is especially an issue for wooden door sills that are more vulnerable to rot.
If you plan to replace the bottom portion of the exterior door and install a new sill, check out the following step-by-step guide. We’ll take you through the entire process to make sure that your exterior door remains in top condition. Let’s see what needs to be done for a correct installation of a door threshold or sill.
How to Install a Wooden Threshold
1. Remove the Old Sill
Before installing a new sill, it’s important to get rid of the old one. To do so, you have to remove the door casings with a pry bar. Cut the old threshold with a circular saw in three pieces until you reach the toe kick. It’s best to switch to a handsaw at some point if you’re worried about cutting too deep.
Take a pry bar to pull each section of the sill free. In most cases, this process isn’t particularly challenging. However, sometimes threshold sections can be more stubborn and require breaking up for proper removal. Make sure you avoid excessive force in this step because you might damage the door stops.
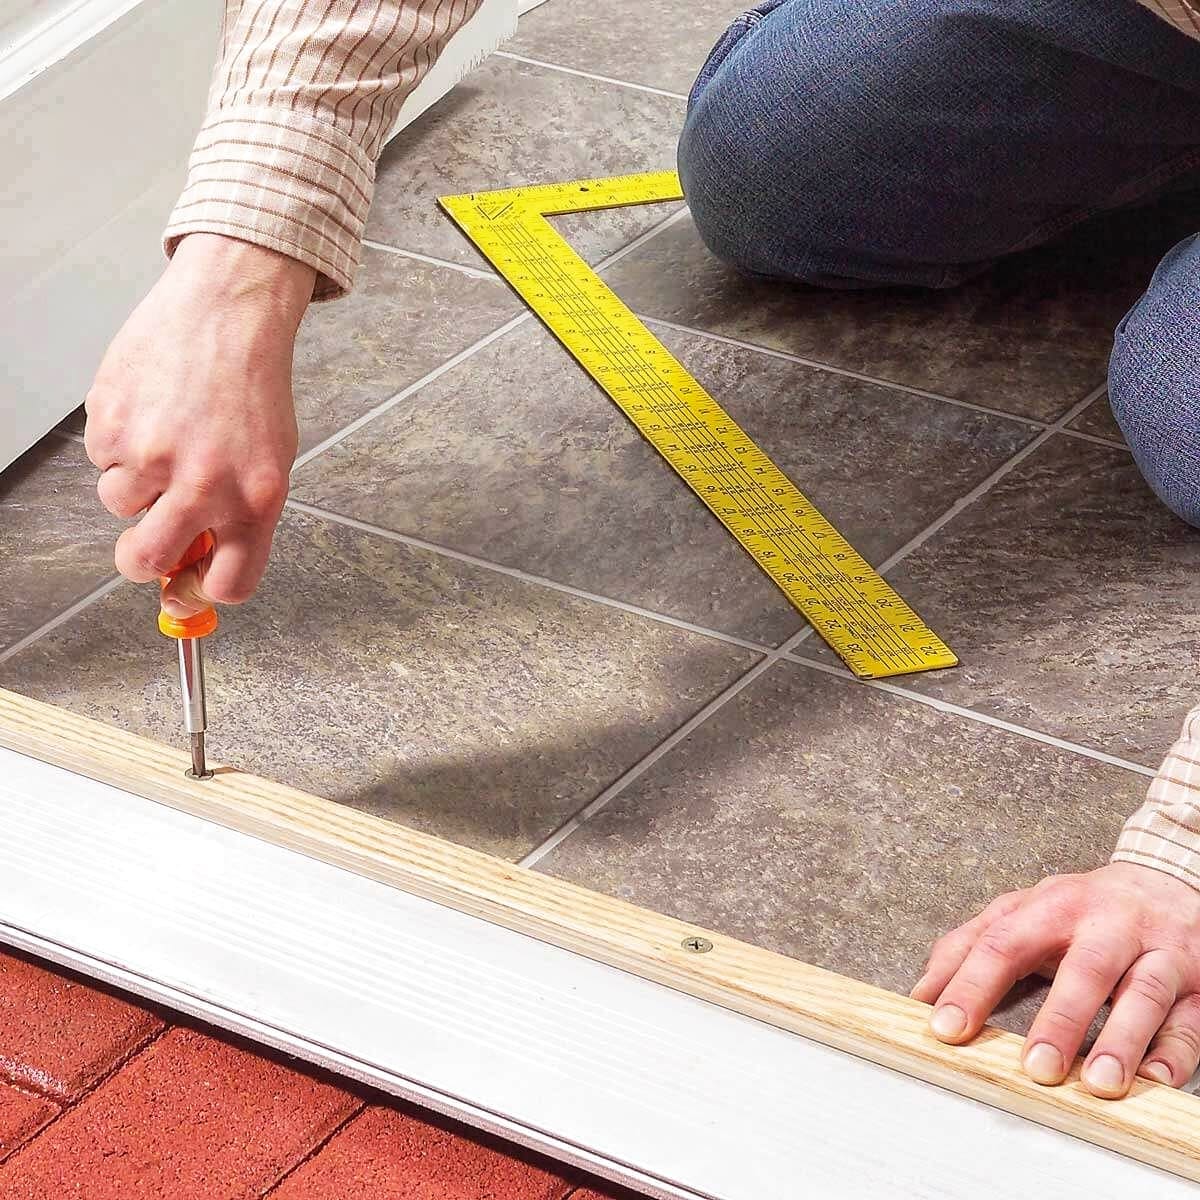
2. Measure the Door Sill
The new threshold has to have the same length as the old one. That’s why it’s important to measure the door sill and make proper adjustments using the circular saw to ensure that it will fit into place.
3. Install the New Threshold
Simply slide in place the new threshold while paying close attention to how it fits. If you’re satisfied with the result, take it out to prepare it for long-term use. The door threshold has to be correctly treated using a high-quality wood stain that will protect the material from moisture and UV damage.
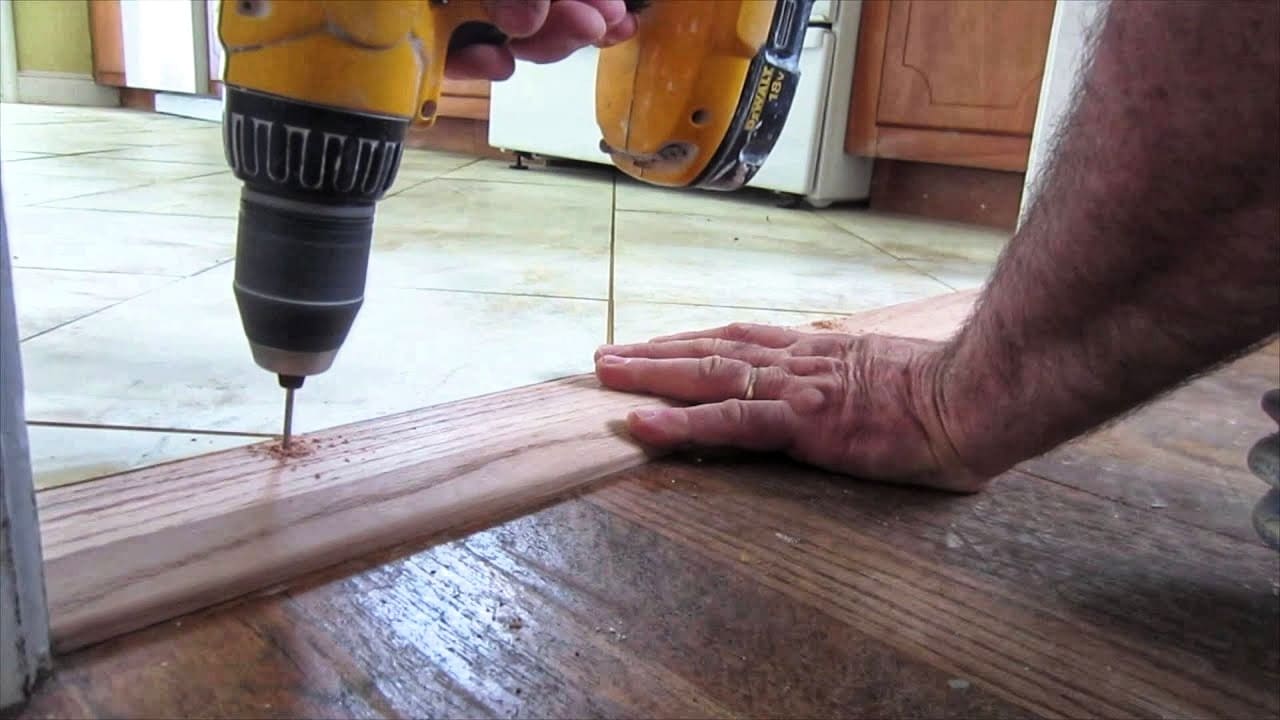
Once it’s fully dry, the threshold is ready to install in its place at the bottom of the door’s framework. The next step is using nails to hold it in place. Start by drilling pilot holes to help you drive the nails smoothly. With the help of a hammer, you can now insert the finish nails to secure the new door threshold. Make sure the nail holes are covered with wood putty. The only job left to do now is reinstalling the door’s casings back in place.
How to Install a Metal Door Sill
1. Take Measurements
If you have an old metal door sill that needs replacement, the first step requires you to figure out which length and width are needed for the new threshold. Measure the existing one to decide on a suitable replacement that will be compatible with the size of the door framework.
2. Remove the Old Door Sill
When it comes to metal thresholds, you can typically remove them more easily by unscrewing them from their anchors. Take a utility knife to get rid of any caulk that still secures the old door sill. Then simply use a pry bar to pull it up from the door frame.
3. Make Adjustments to the New Door Sill
Metal thresholds have to fit correctly around the door jamb. That’s why you will need to make some adjustments to the new sill that you plan to install. It’s recommended to take the old threshold and trace its exact shape onto the new one. A jigsaw needs to be used to cut that precise shape on the new threshold that’s been properly fixed on a work table.
4. Install the New Threshold
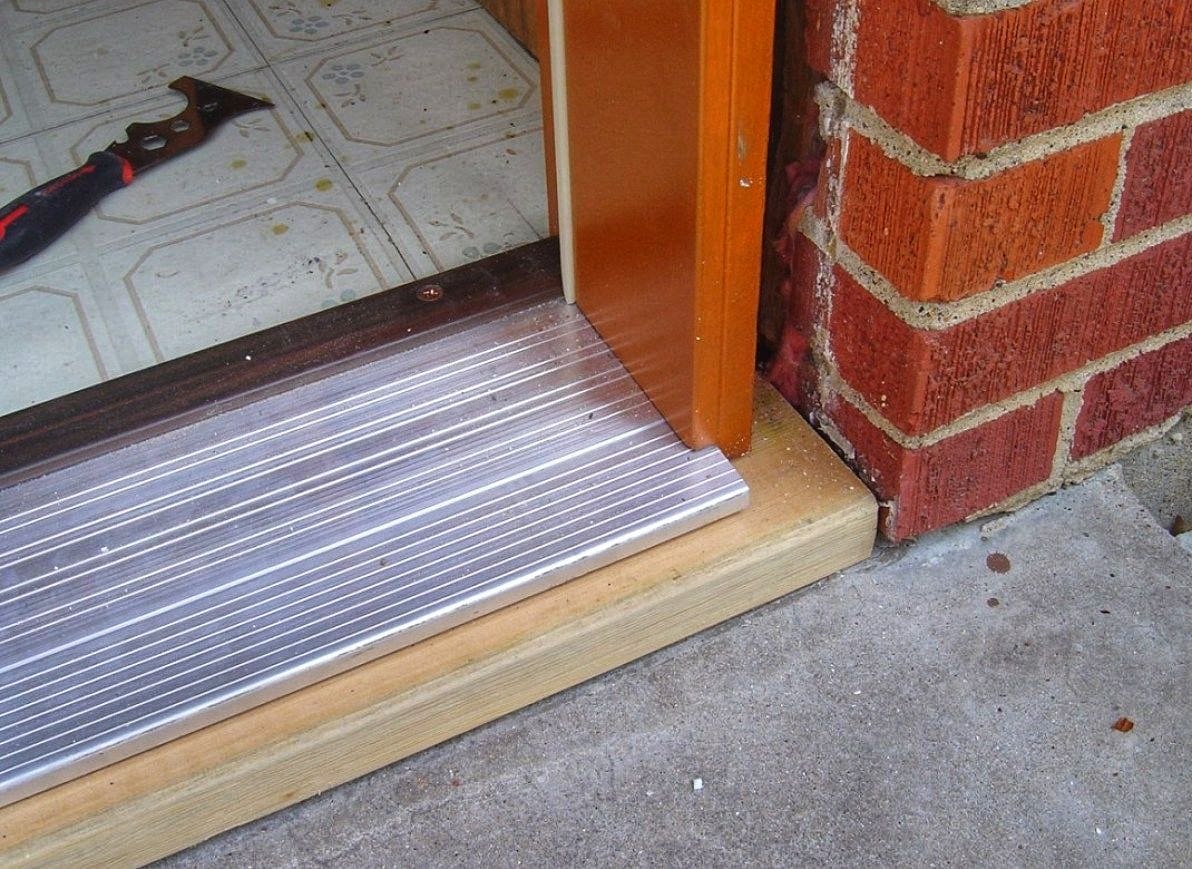
Before you screw the new door threshold in its place, it’s a good idea to test its fit. See if the door can be closed effortlessly and make adjustments if necessary. When you’re satisfied with the fit, it’s time to secure the door sill using screws and replace the caulk along its edges to provide an important seal against the elements.

Leave a Reply