
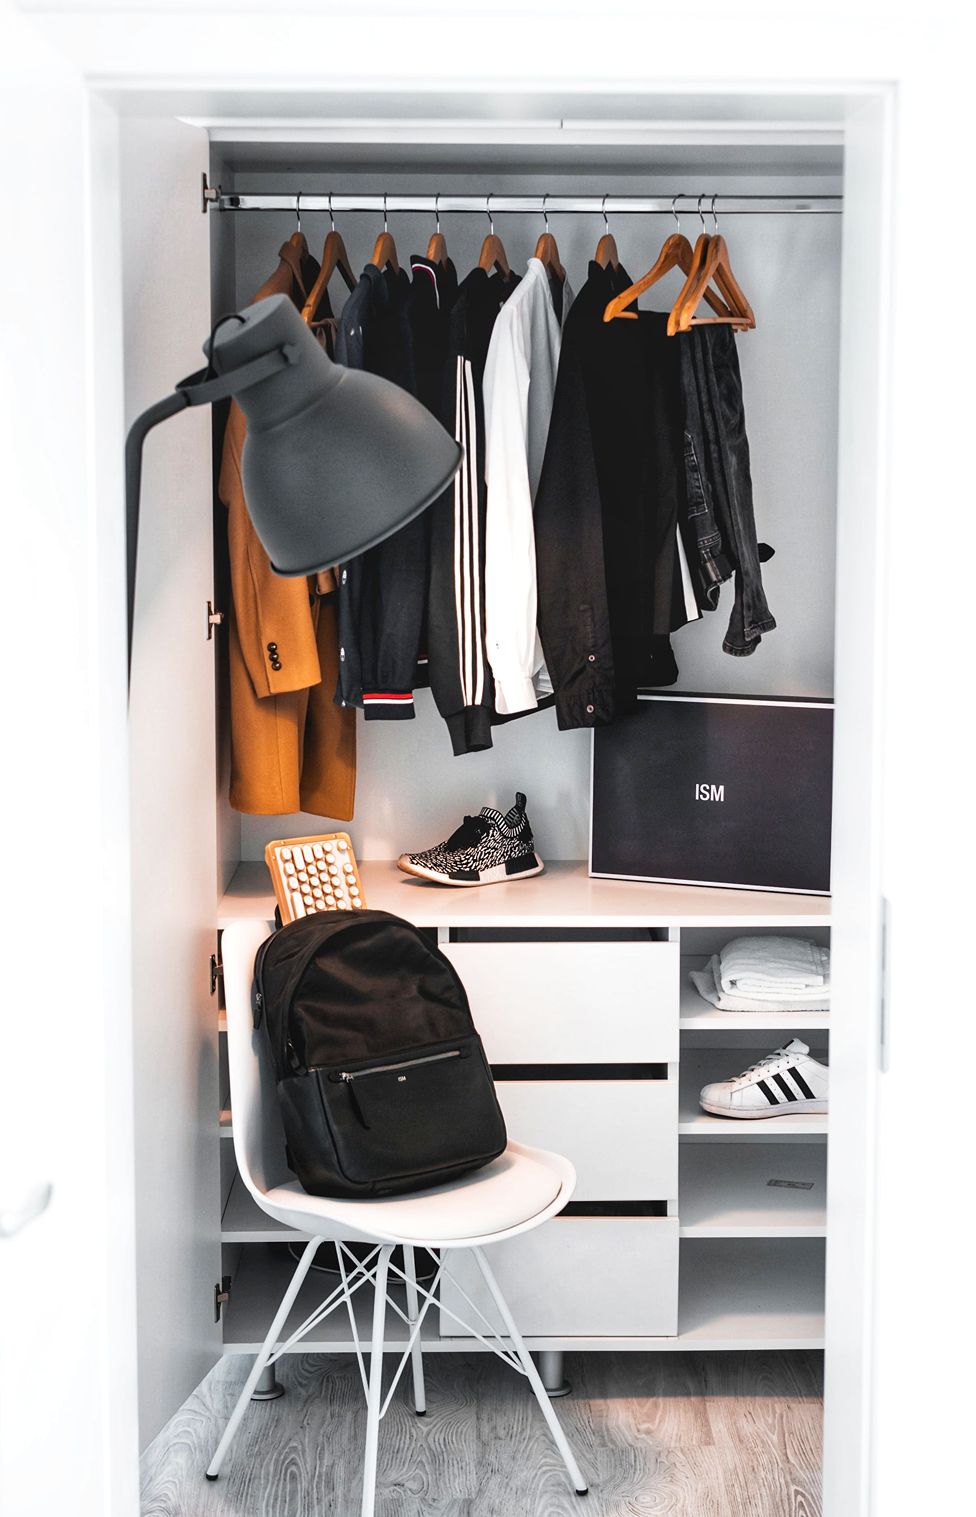
A closet rod can be considered a massive improvement when it comes to the organization of your clothing. If you’re interested in equipping the closet with an adjustable rod, check out the following step-by-step guide that will help you complete the installation. We’ll go over the necessary preparations for a smooth installation of the closet rod as well as essential tips to ensure that you can enjoy your new closet rod for a long time.
1. Take Measurements
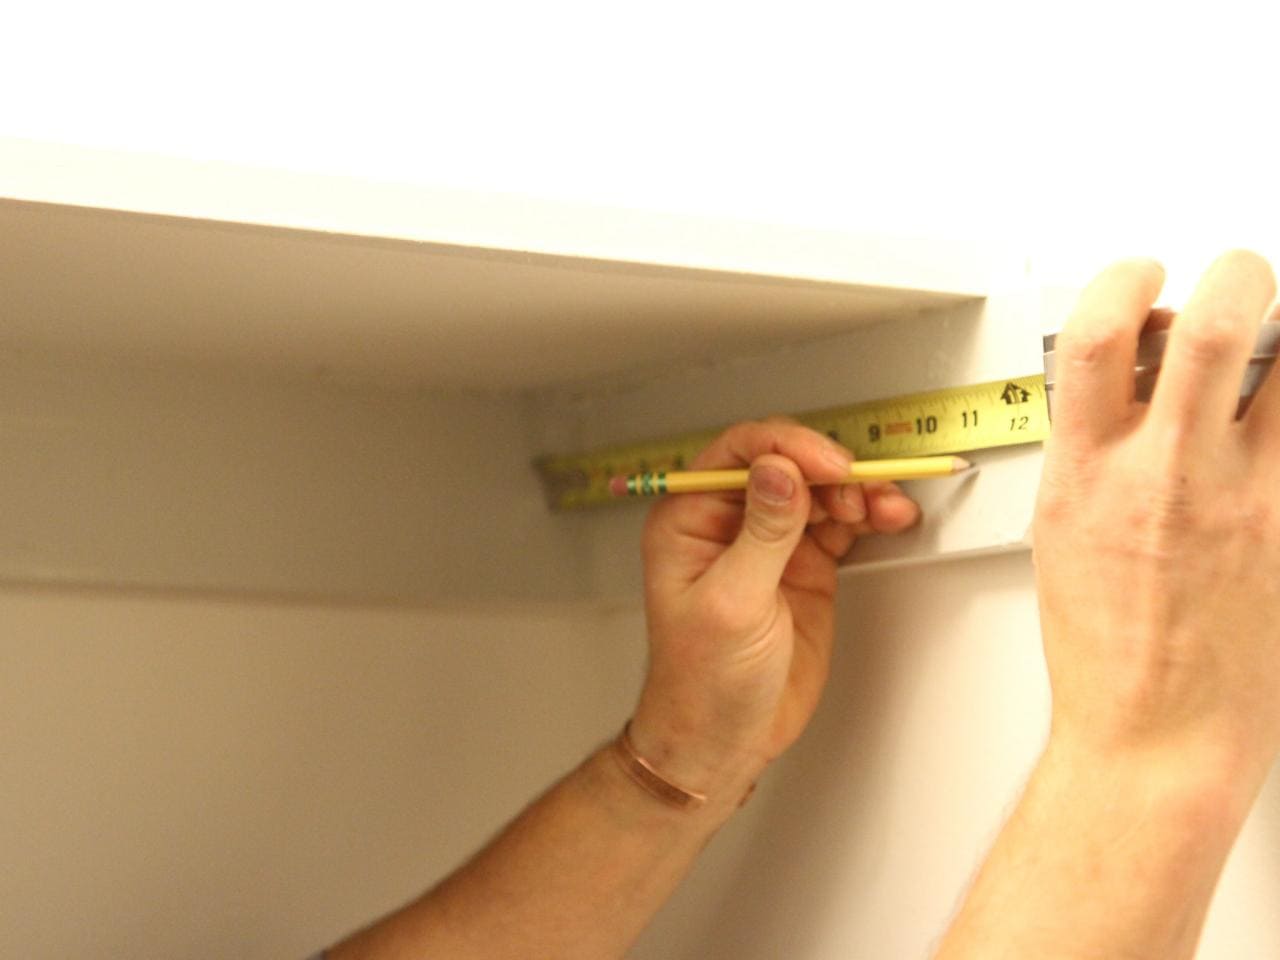
If you don’t have a closet rod already prepared for the installation, you need to figure out which size is required. The first preparatory step is to take some proper measurements using a tape measure to see which rod length is needed. Keep in mind that due to closet design variations, it’s possible to experience differences in terms of width from the bottom area to the upper area of the closet. Take proper measurements precisely in the area where you plan to install the closet rod.
2. Purchase the Closet Rod
Visit a home improvement store to find a compatible closet rod according to the length of your closet. An adjustable rod is usually better than others because it provides a better level of flexibility during the installation process. Aside from compatibility, it’s also recommended to make sure that you select a closet rod featuring an installation kit with all the necessary hardware such as sockets and anchors. Alternatively, you can purchase the sockets separately, allowing you to pick from a variety of different finishes.
3. Decide on the Right Height
Closet rods are typically mounted at a height of 5 feet for good accessibility and to ensure that longer clothing items won’t reach the floor. However, it’s completely up to your preferences when it comes to deciding on a suitable height for your adjustable closet rod. If you don’t plan to hang long dresses or similar garments, you can place the rod lower than 5 feet to gain more comfortable access to your shirts.
4. Figure Out the Correct Depth
Depth is another important aspect when it comes to installing a closet rod. It’s important to find a sweet spot where clothes can fit properly towards the back wall without obstructing the closet door. A distance of 10 inches from the back wall can be considered a standard level of depth to aim for when installing the closet rod.
5. Mark the Locations of the Brackets
Now that you know the optimal height and depth to install the rod, it’s time to mark the locations of the brackets. This is done properly with the help of a tape measure used correctly from the floor of the closet. Ensure that your marked locations are aligned on both sides of the closet. It’s recommended to pay attention to the ability of your marked position to provide good structural support according to the weight of your clothes.
6. Create Markings for Screw Holes
It’s time to install the supporting sockets of the closet rod. Start by marking screw holes with the help of the sockets. Hold each of the brackets in the correct position and create the markings inside the holes.
7. Drill Pilot Holes
With a suitable drill bit, you need to make pilot holes right in the location of your marks. This is an important step if you wish to avoid splitting wood problems when installing the sockets. Pay attention not to drill deeper than the length of the screws used.
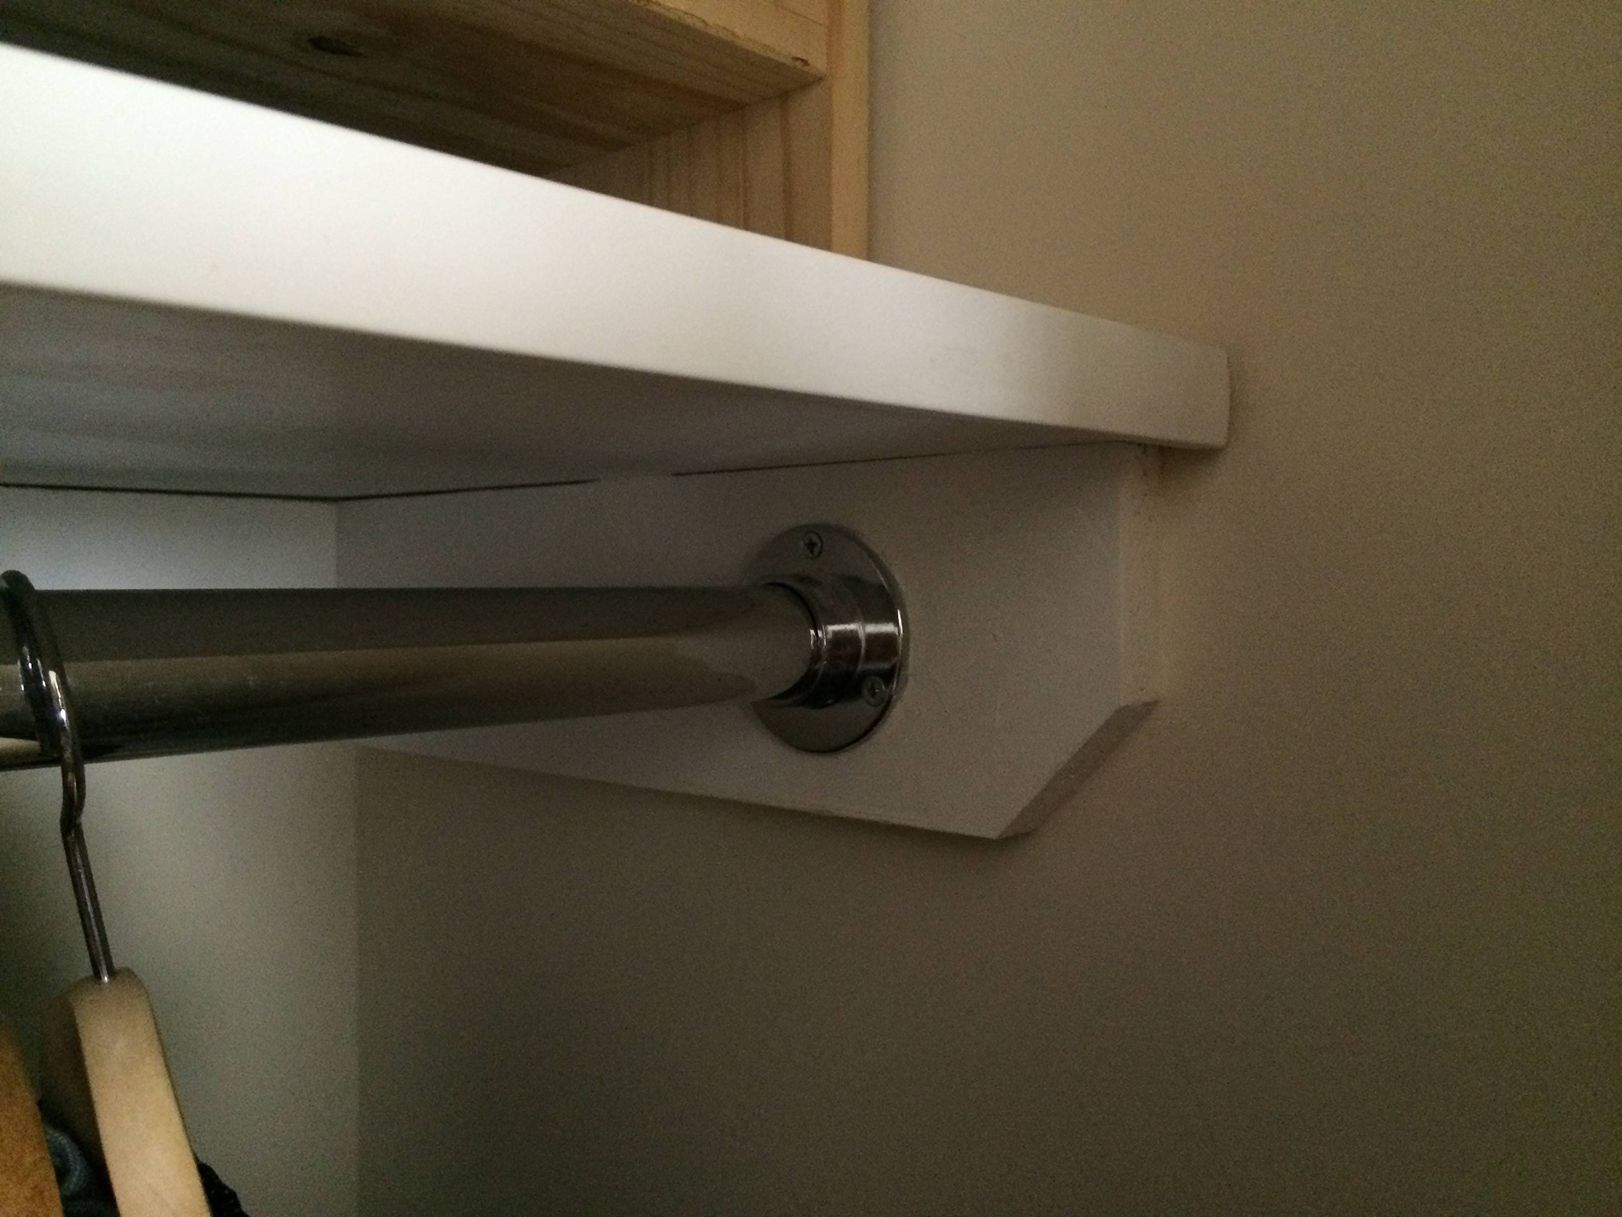
8. Attach the Sockets
Now you’re ready to attach the sockets using the pilot holes you’ve created. Simply put the socket on them and use the screws to mount it on each side of the closet. The screws have to be fully inserted to put the rod into the sockets without difficulties.
9. Insert the Rod
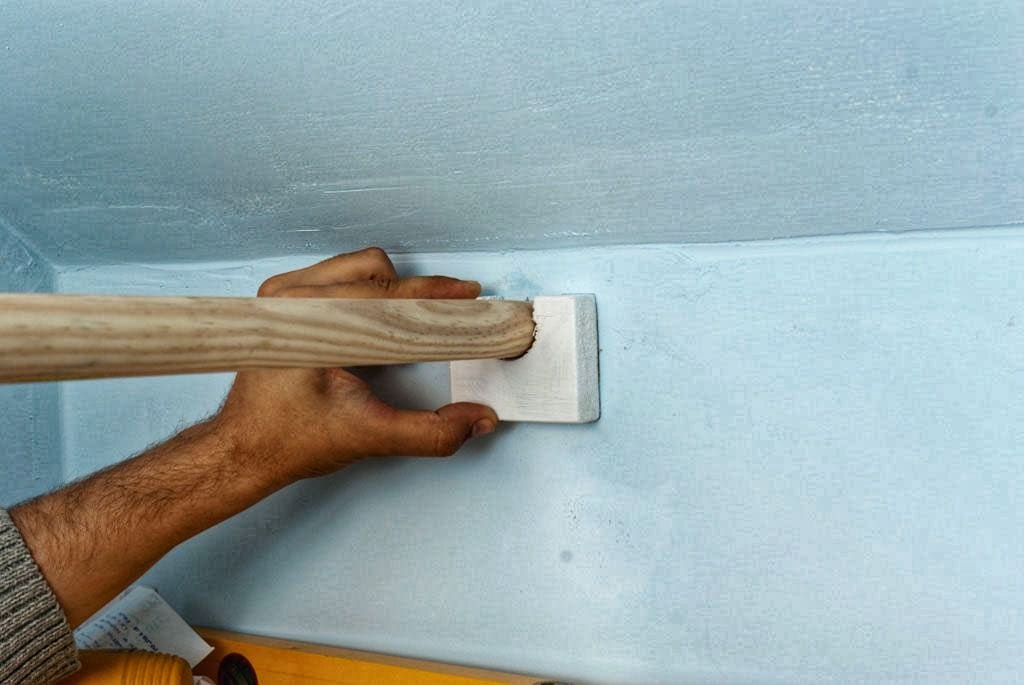
Given that you’re using an adjustable closet rod, you just need to follow the instructions to adjust it to the proper length. Inserting the rod is pretty straightforward because you simply have to put each end in the installed sockets. Pull down from the bar using a small amount of force to ensure that it feels stable in place.

Leave a Reply