

Owning a coffee-making machine such as a Keurig model can bring a lot of conveniences if you enjoy a fresh and delicious cup of coffee each morning. Some home brewing enthusiasts might dislike the idea of using this kind of machine but not everyone has the time to deal with a complicated process when creating their daily caffeinated beverages.
Keurigs are great investments for coffee lovers but keeping the unit working properly requires a consistent maintenance process. Limescale is a problem that can appear in any appliance that relies on evaporating hot water. These chalky deposits aren’t just unsightly to look at but they can also cause a change in the taste of your regular coffee.
If you don’t get rid of that limescale buildup in your coffee maker, you might even run into more severe issues such as the Keurig malfunctioning. In that case, it makes sense to learn how to manage routine descaling for your favorite coffee-making machine. Defending against limescale isn’t a particularly difficult process but it takes a bit of effort and some additional supplies.
1. How Often is Descaling Required?
Before we explore in close detail the process of descaling a Keurig, it’s important to understand how often is needed. It’s generally recommended to get rid of the limescale that accumulates after 5-6 months. However, the descaling frequency depends on how often you use your coffee maker. It’s best to go through this maintenance task after around 3 months if the Keurig is used more heavily.
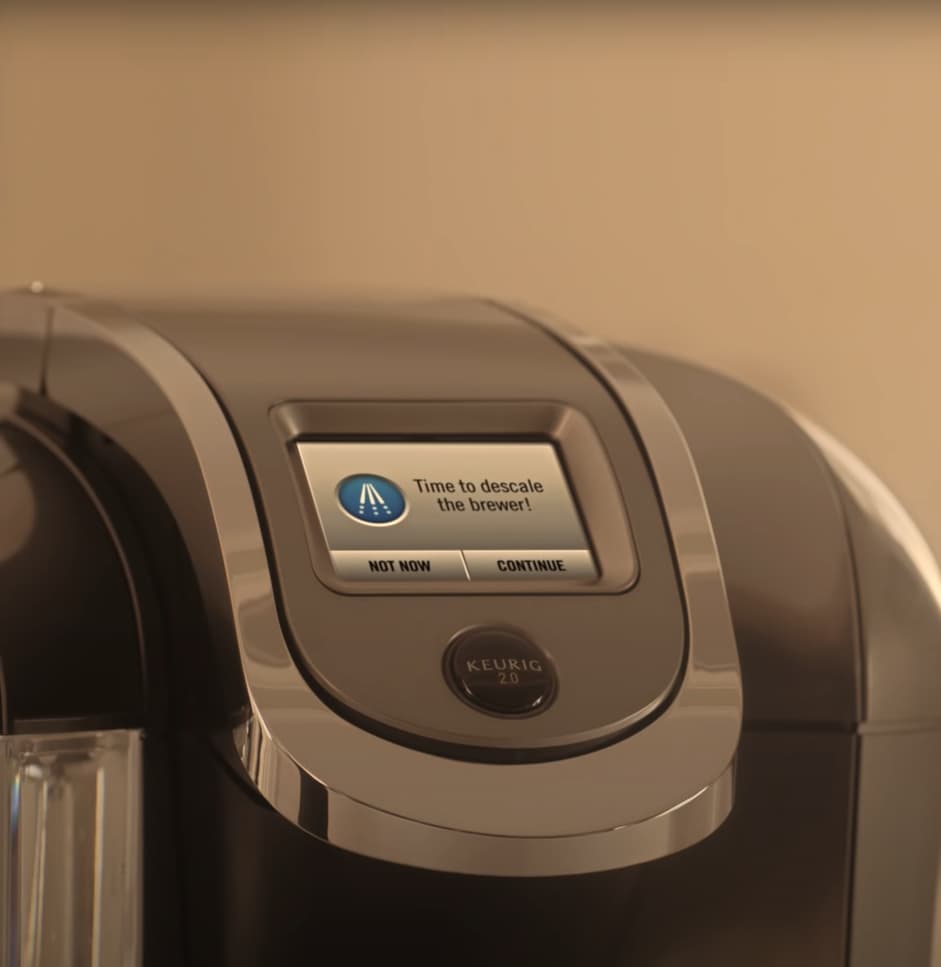
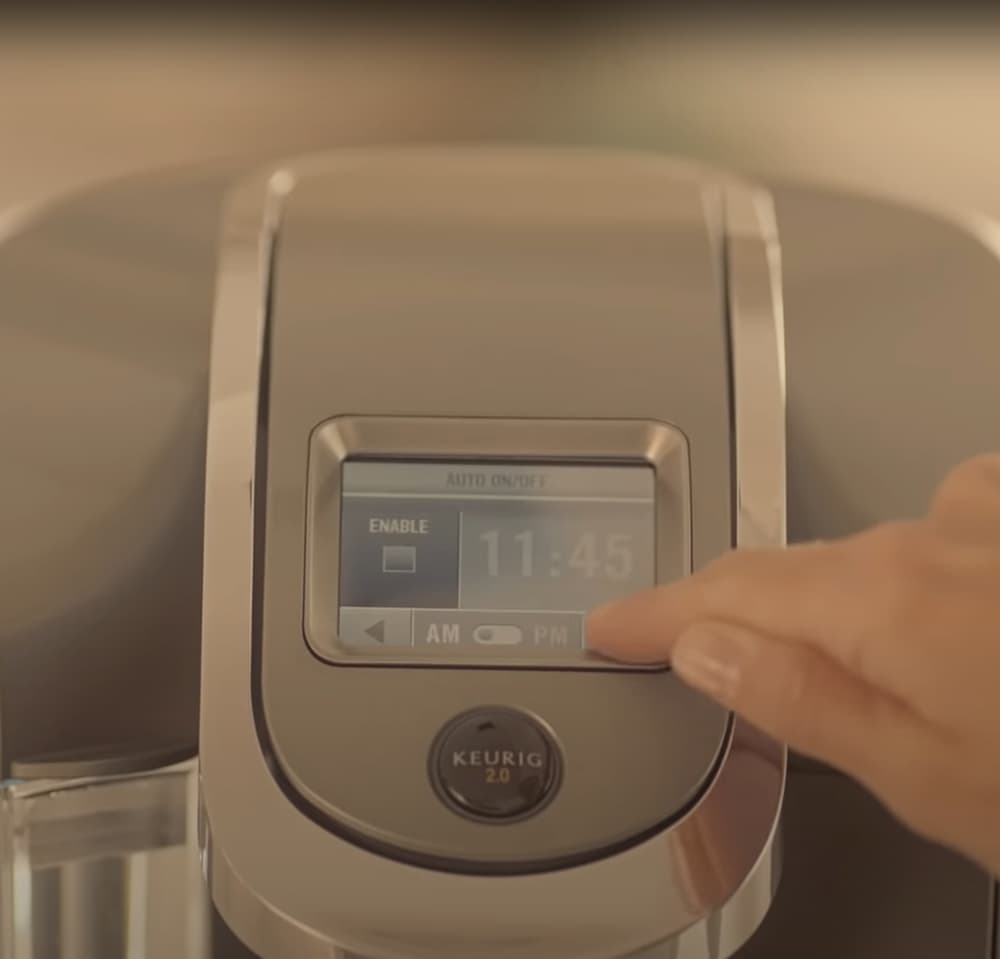
Another aspect to consider is the hardness of your water. Those who live in places with higher mineral content in their water should descale the Keurig more often than usual. Alternatively, try getting a water softener that can minimize this issue. This is a recommended descaler system available on Amazon that offers great value for the money. Some Keurigs arrive with a descaling reminder built-in so you don’t even have to remember the next date to clean up the limescale.
2. Descaling Methods
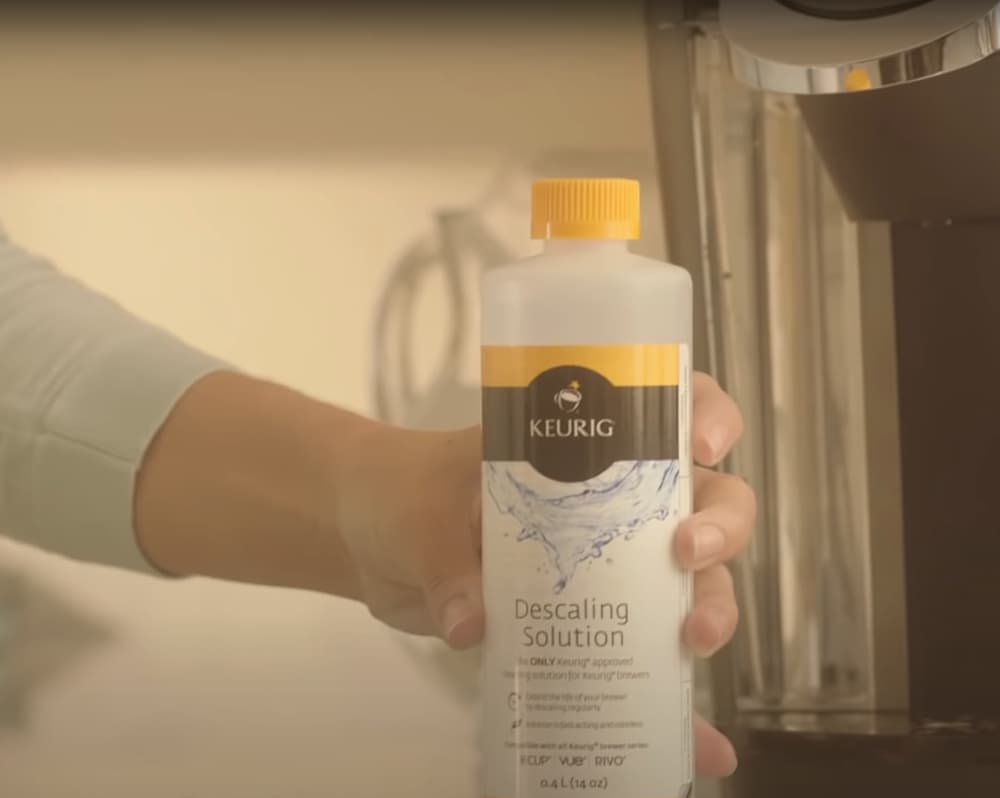
There are two main descaling solutions that you can try. One of the most effective is the special cleaning agent provided by Keurig, available on Amazon. You don’t necessarily have to purchase the branded descaler product because universal-style descalers should work just as fine. Check out this pack of descaling solution that’s compatible with all kinds of Keurig coffee machines and offers superior value for the money.
The second method involves using white vinegar for descaling. This is a decent solution if you favor a homemade option that relies on a common ingredient found in your home. Vinegar can be quite effective in terms of limescale removal but not as a reliable long-term solution. If anything goes wrong with the machine, Keurig might not resolve warranty issues unless you’re using their product.
3. How to Descale Your Keurig Machine
Whether you prefer the homemade vinegar solution or the typical descaling agent method, take a look at our step-by-step guide to get rid of limescale and improve the functionality of your Keurig coffee maker unit.
-
Step 1
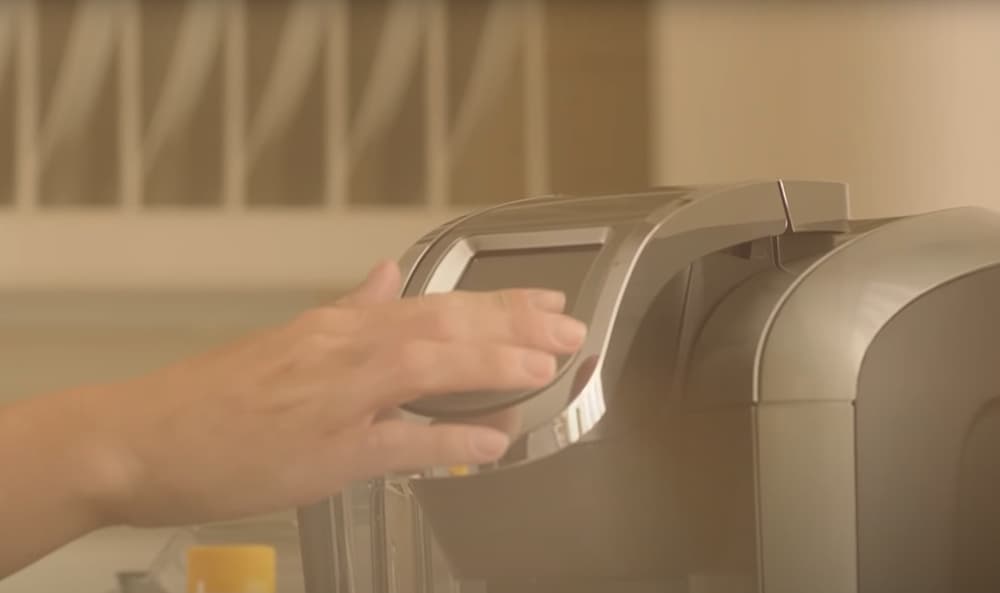
Power off and unplug the machine from the outlet before you start the process. Make sure you take off all the detachable parts and that there’s no leftover water into the reservoir. You should clean all these individual pieces with a bit of soap and water. Insist on the area close to the pod holder where some dirt buildup can appear.
-
Step 2
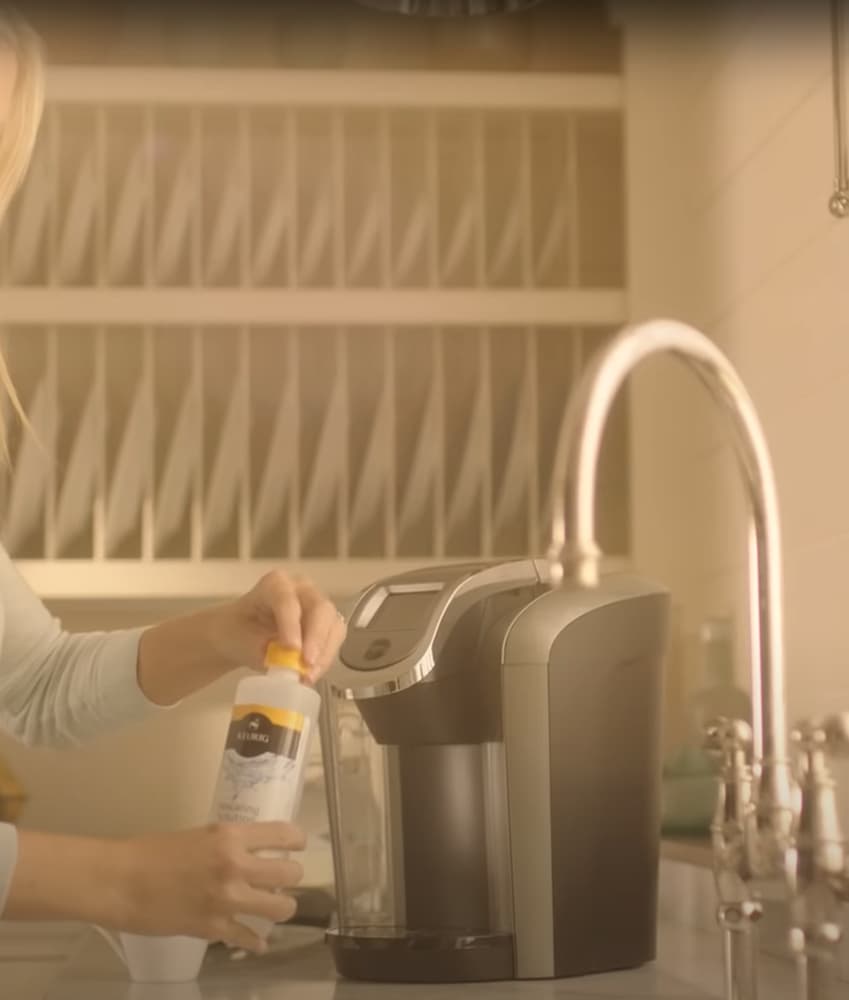
Now it’s time to apply the descaling solution and remove the mineral deposits from the water reservoir. There should be more specific instructions for the descaling solution to know precisely how much is needed. If you can’t find these instructions, it’s generally recommended to fill the reservoir with equal parts descaler and water.
-
Step 3
Once the water reservoir has been properly filled, turn on the coffee machine. Then it’s simply a matter of activating a rinsing brew cycle to allow the descaling agent to work. There’s no need for adding a coffee pod but you should add an appropriately-sized mug on the drip tray. Once this simple cleaning cycle has been finished, you just need to throw away the water. It will be necessary to repeat the process until all the limescale deposits disappear.
-
Step 4
The descaling solution or white vinegar goes through the machine so that it clears all the traces of mineral buildup. If you’ve opted for vinegar cleaning, make sure you repeat the entire process but with clean water to eliminate any strange aftertaste. It’s recommended to go through some fresh water brews with the branded descaler as well. That’s pretty much it. Your Keurig is now clean from limescale and can brew delicious coffee with an authentic flavor free of mineral bitterness.

Leave a Reply