
Although clean, white-painted trim used to be a traditional style of many homes, colorful makeovers are becoming more popular nowadays. If you’re a creative homeowner, you might look to bring a color accent by painting the baseboards, door frames, moldings, or trim. This kind of approach works very well for instantly refreshing the vibe of the space, whether you’re switching to a bold color or simply rejuvenating the classic white with some crisp-looking paint.
Assuming you use the correct painting technique, painting over wood trim is not particularly difficult. It’s similar to other painting projects around the home. That beautiful finish of the trim gets worn down quite easily considering how the general exposure of the surface. To avoid that dingy look and restore the beauty of the trim, check out our step-by-step painting guide.
1. Gather Materials
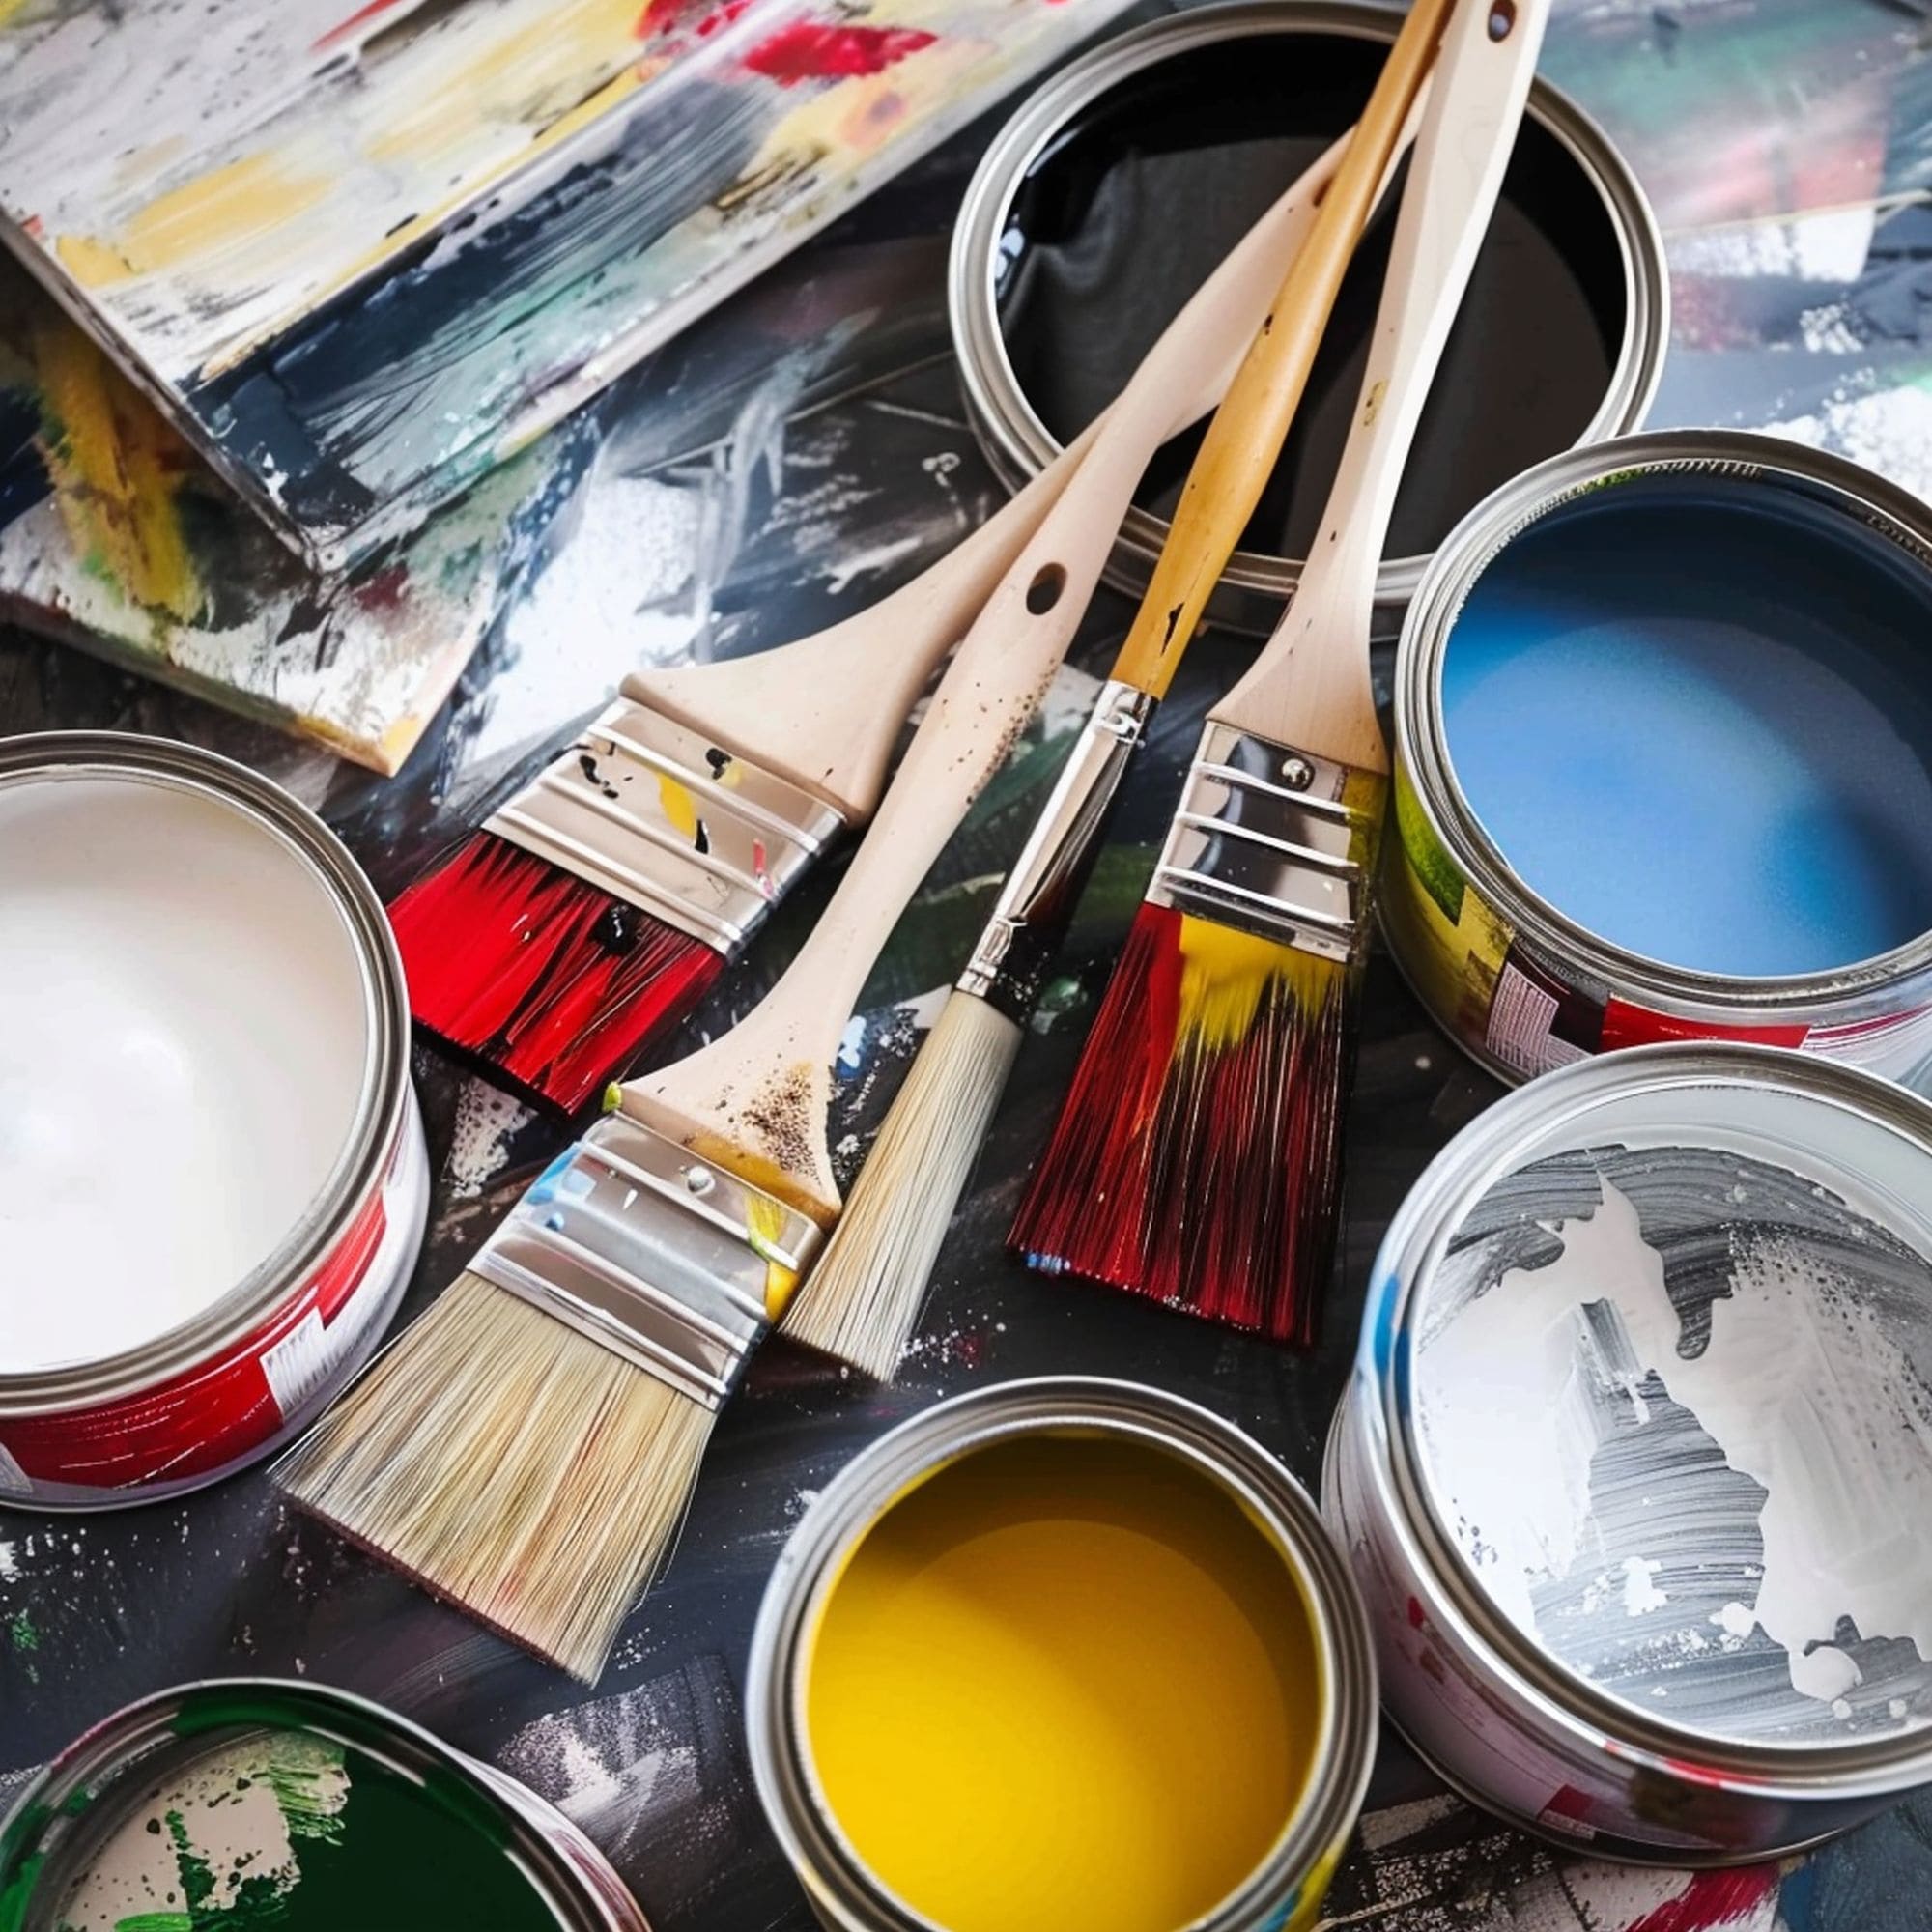
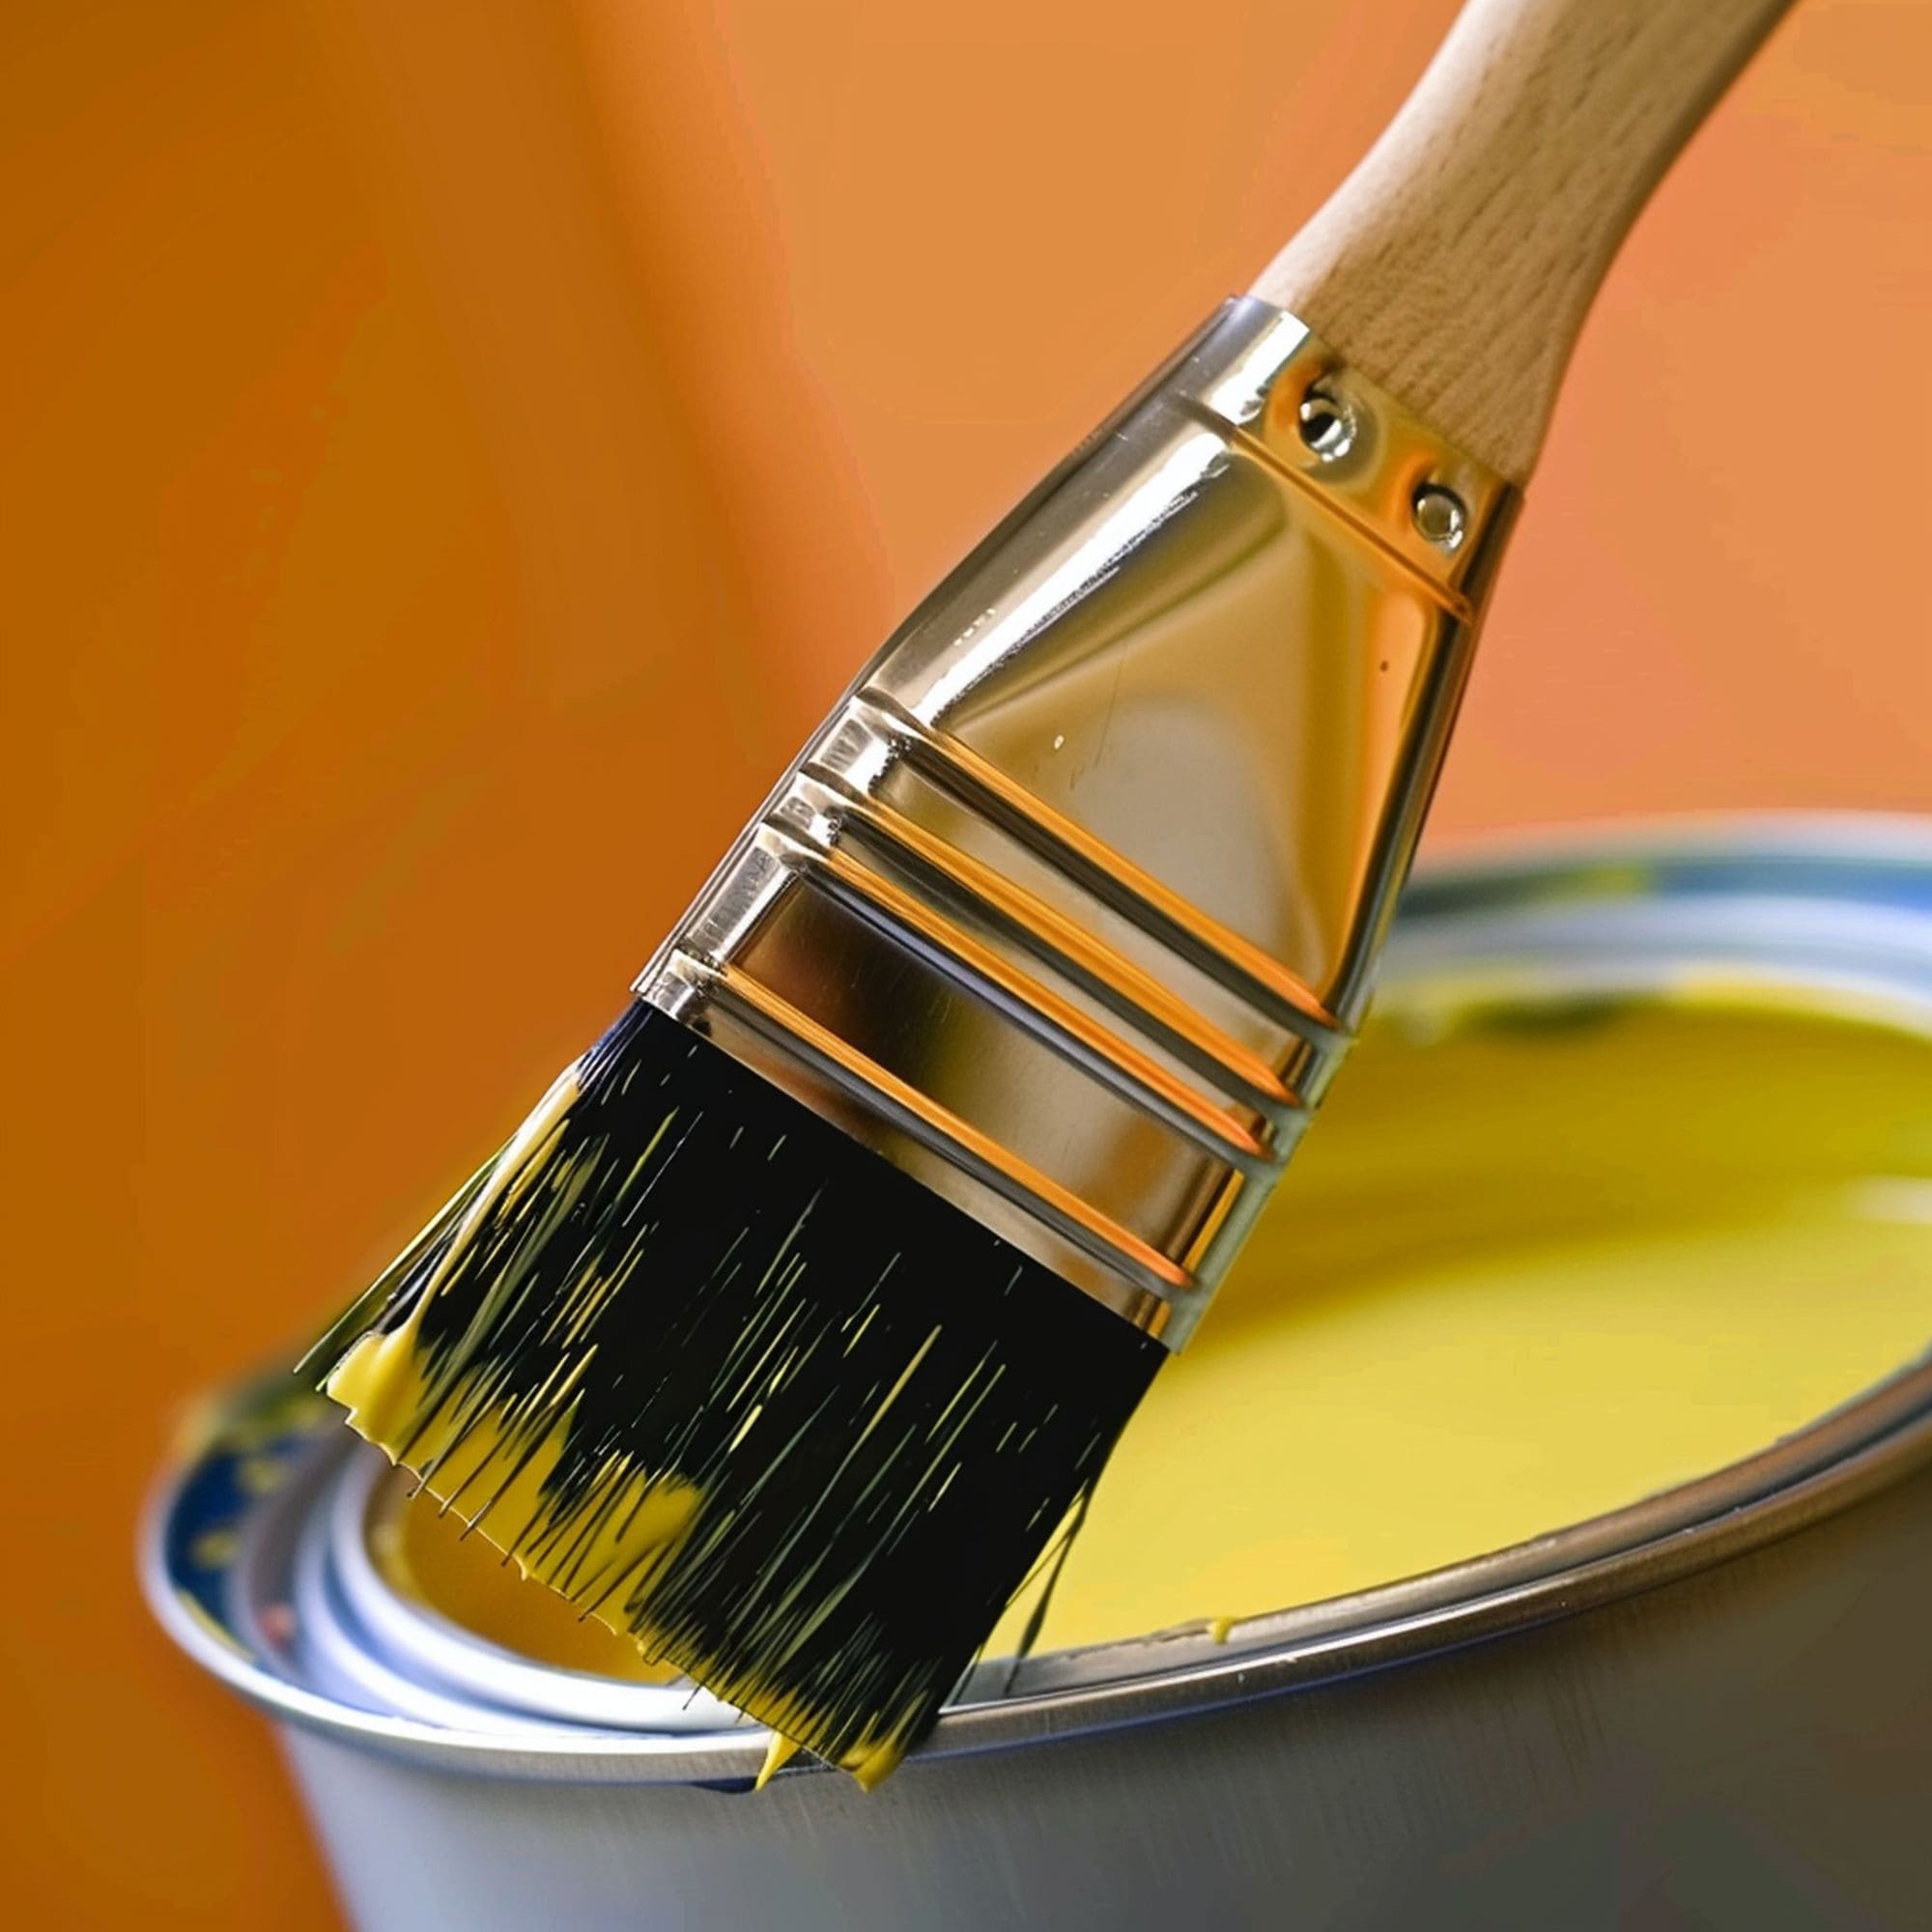
With the help of the right tools, this painting job will be a breeze to handle. Among the essential materials required, we can count the paintbrush, painting tray, paint, and primer. You will also need useful accessories such as sandpaper and painter’s tape. This type of painting project works best if you choose a short, angled paintbrush. Try this great model.
When it comes to picking the best paint, you’ll typically have to decide between latex and oil-based paints. They both have their advantages and disadvantages but most homeowners prefer latex paints because they’re generally more convenient to use. Oil-based paints show off better long-term durability but are prone to yellowing and release strong fumes. Regardless of preference, make sure you select a good primer that matches the type of paint you use for obtaining the best finish.
2. Prepare the Painting Area
Getting the painting area ready is important to simplify your work even if it appears to take a considerable amount of time. Painting the trim throughout the whole house can be a fairly time-consuming project. To avoid being overwhelmed by the work, it’s recommended to focus on a single room at a time or particular areas that need to be painted.
Getting the furniture out of the way represents a good idea to ensure that drops of paint won’t accidentally land on it. If that’s not always practical to do, you can cover furniture pieces with protective drop cloths made from plastic. The floor also needs to be covered with cloth or special protection paper. Use painter’s tape to separate the edges of the paint area and create proper separation between the wall and the trim.
3. Check for Holes or Crevice
Before painting the trim, it’s important to ensure that no leftover holes or crevices could potentially ruin the finish. Consider using some spackling compound if you discover any holes. It’s also recommended to check the area where the trim is attached to the wall. Make sure there are no unsecured sections that might affect the smooth flow of the painting process.
4. Clean the Surface
Now that all gaps are filled and the trim looks good, you’re almost ready to paint it. The process begins with a thorough cleaning to remove any kind of residue that might prevent proper paint adherence. Get a damp rag to clean the trim and use a bit of dish soap for particularly dirty areas. Finish off the cleaning work by sanding the surface with the help of sandpaper. This ensures a smooth surface ready for painting.
5. Prime the Trim

Applying the primer is strongly recommended, especially if the old surface has been painted with oil-based paint. It’s safe to say that your new paint will have some difficulties sticking as expected in the long run unless you use a primer. This step is pretty much a requirement for areas whose gaps have been filled with spackle. Apply a primer coating in long lines while working gently to avoid making splotches.
6. Sand the Area
Light sanding is necessary for removing any brush strokes after the primer has dried. The painter’s tape has to be removed for this step and then reapplied after the sanding. It’s recommended to use 220-grit sandpaper for the job. Wipe the surface of the trim with a damp cloth.
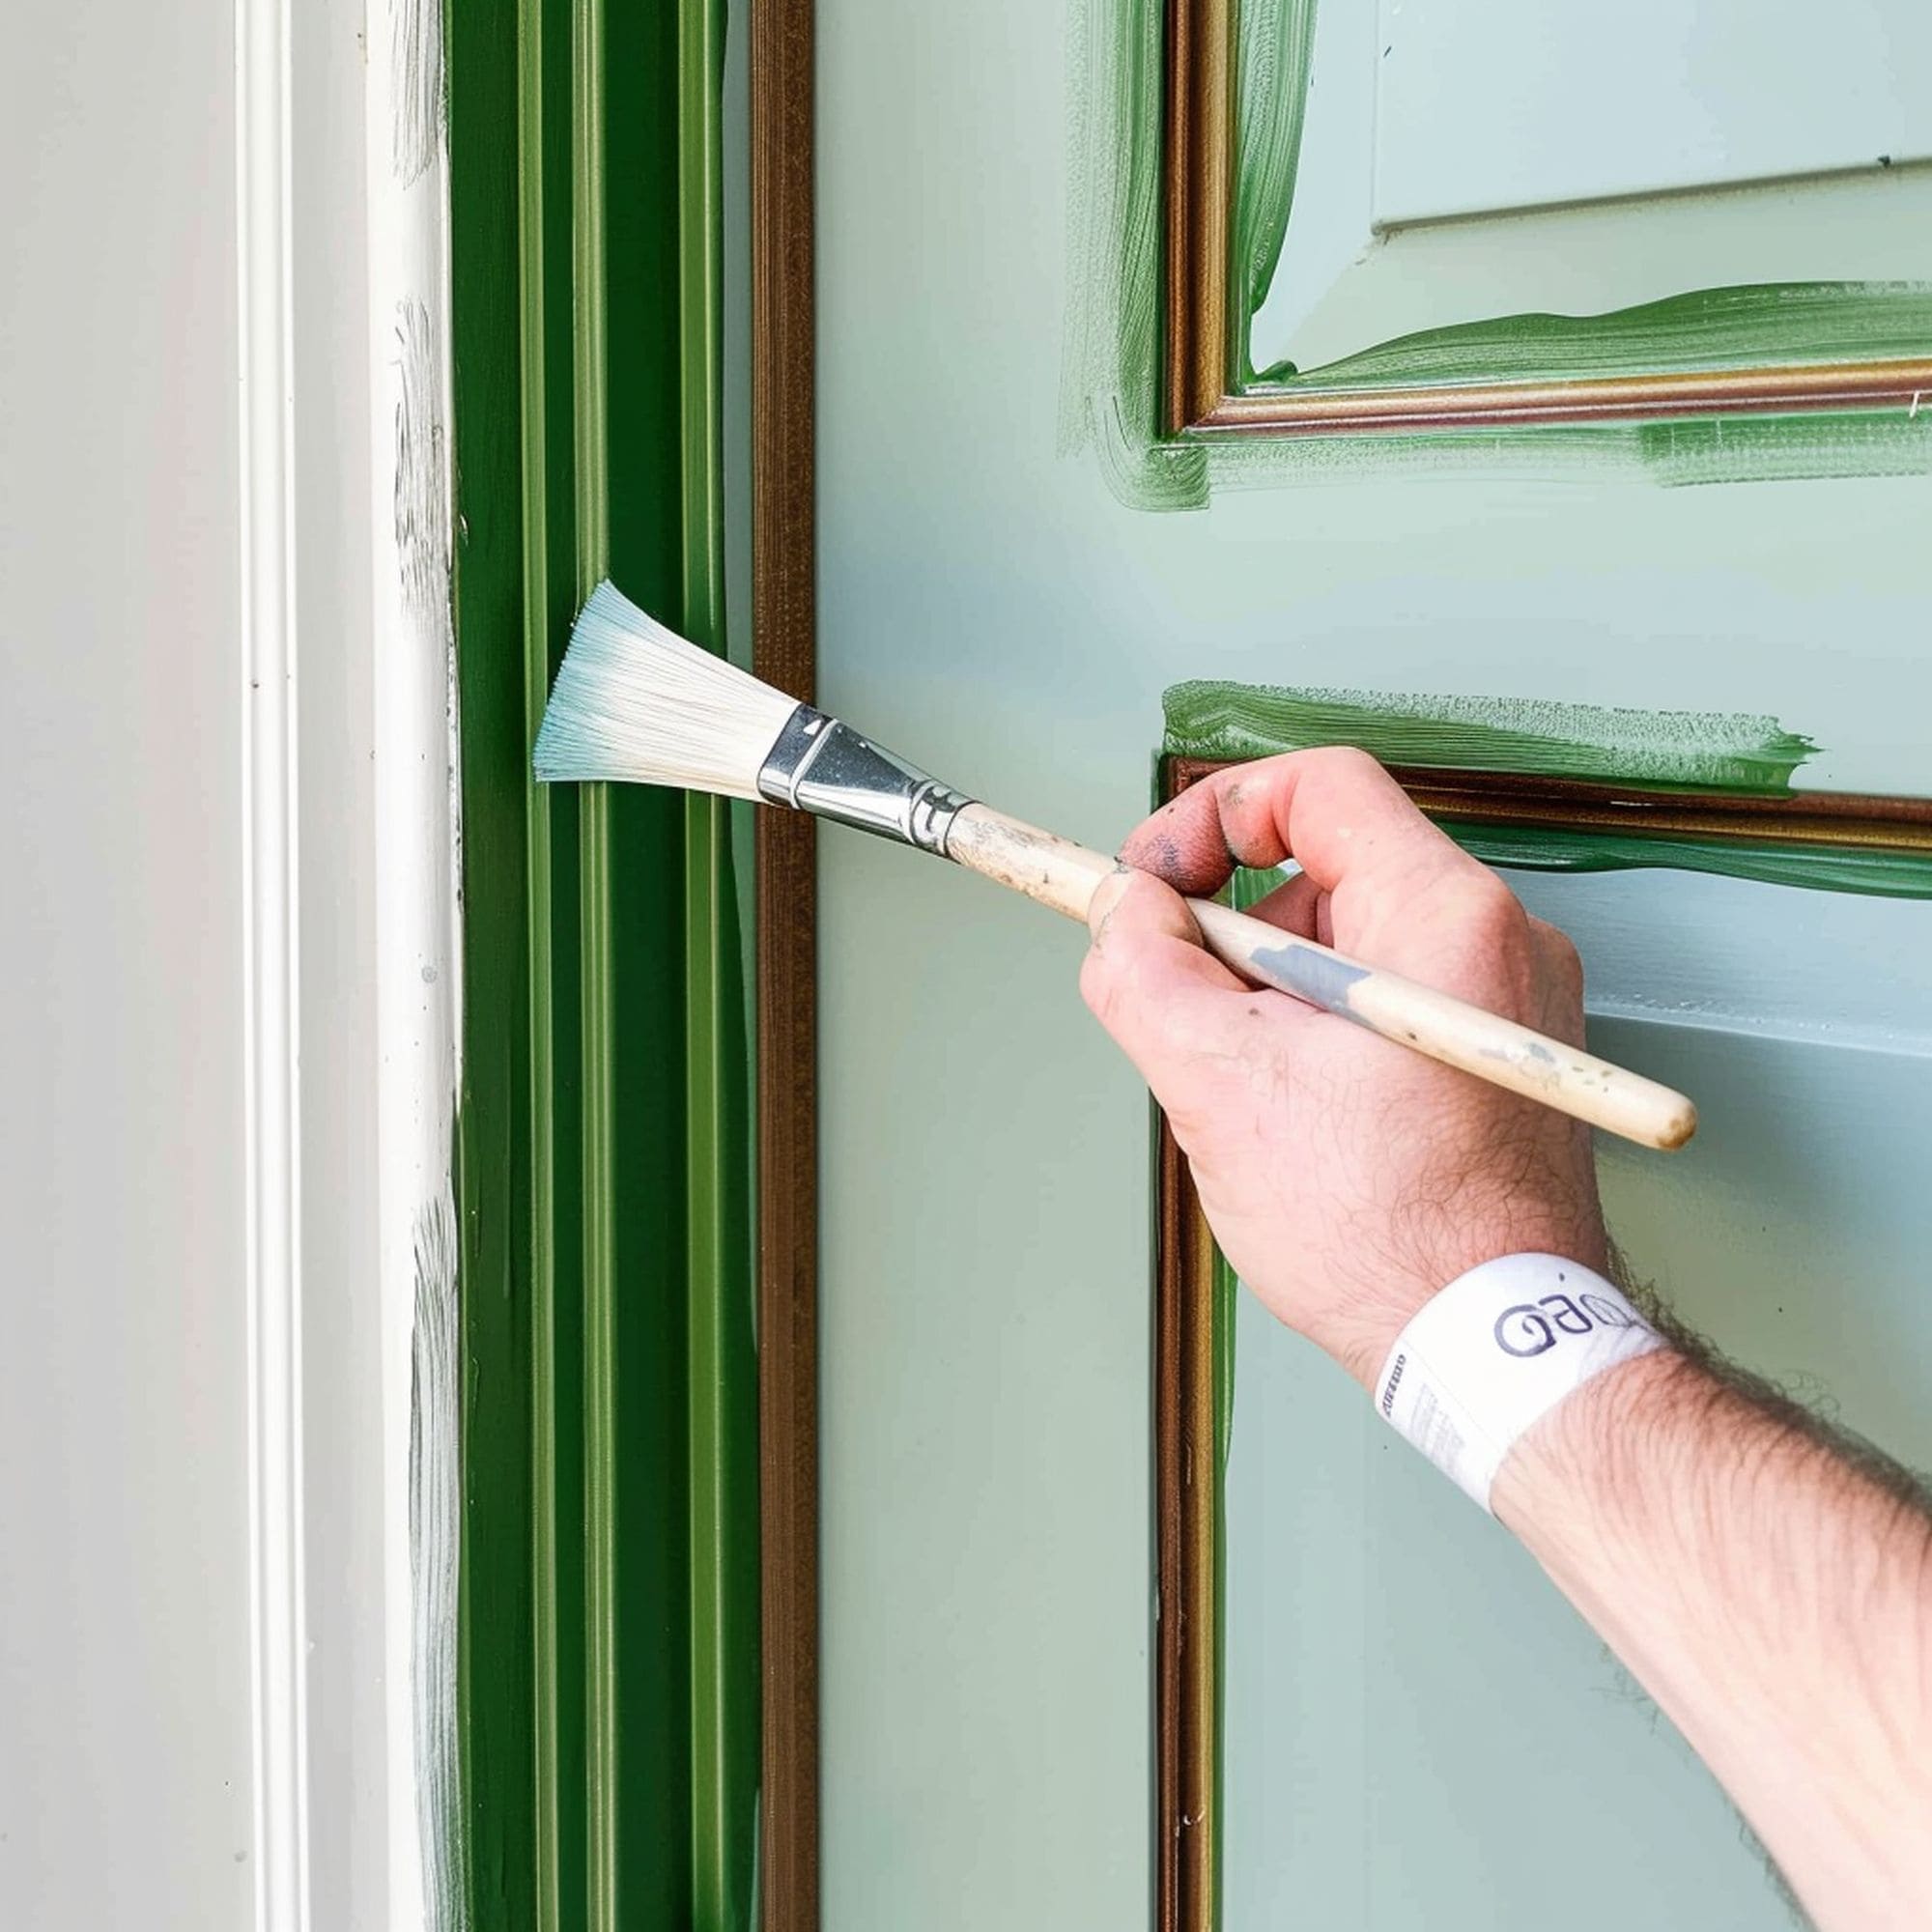
7. Paint the Trim
Add the paint of your choice to the tray and start applying the first coat. There’s no need to cover the paintbrush with too much paint. Dip the tip and use short strokes. Any leftover brush marks can be covered by using a long final brush stroke. A second layer of the paint is often necessary for a durable finish. Wait for the first one to dry properly and then add a second coat of paint.
8. Remove the Tape
After the paint has fully dried, take off the painter’s tape with care to leave only clean lines behind. Although it’s not required, you can peel off the tape more easily with the help of a utility knife. Just make sure you don’t damage the new paint in the process.

Leave a Reply