
An easy and inexpensive way to refresh the look of your lampshade is to paint it in a different color or give it a new vibrant design. You shouldn’t have difficulties when it comes to finding inspiration for lampshade ideas. If you’re in the mood for some DIY crafting, learning how to paint a lampshade is quite simple. The whole process can be fun, and the result is sure to be rewarding if done correctly.
There are multiple paint finishes used by crafters in this kind of project. We’ll show the most common methods and look more closely into what steps you need to follow for each painting technique.
A. Watercolors
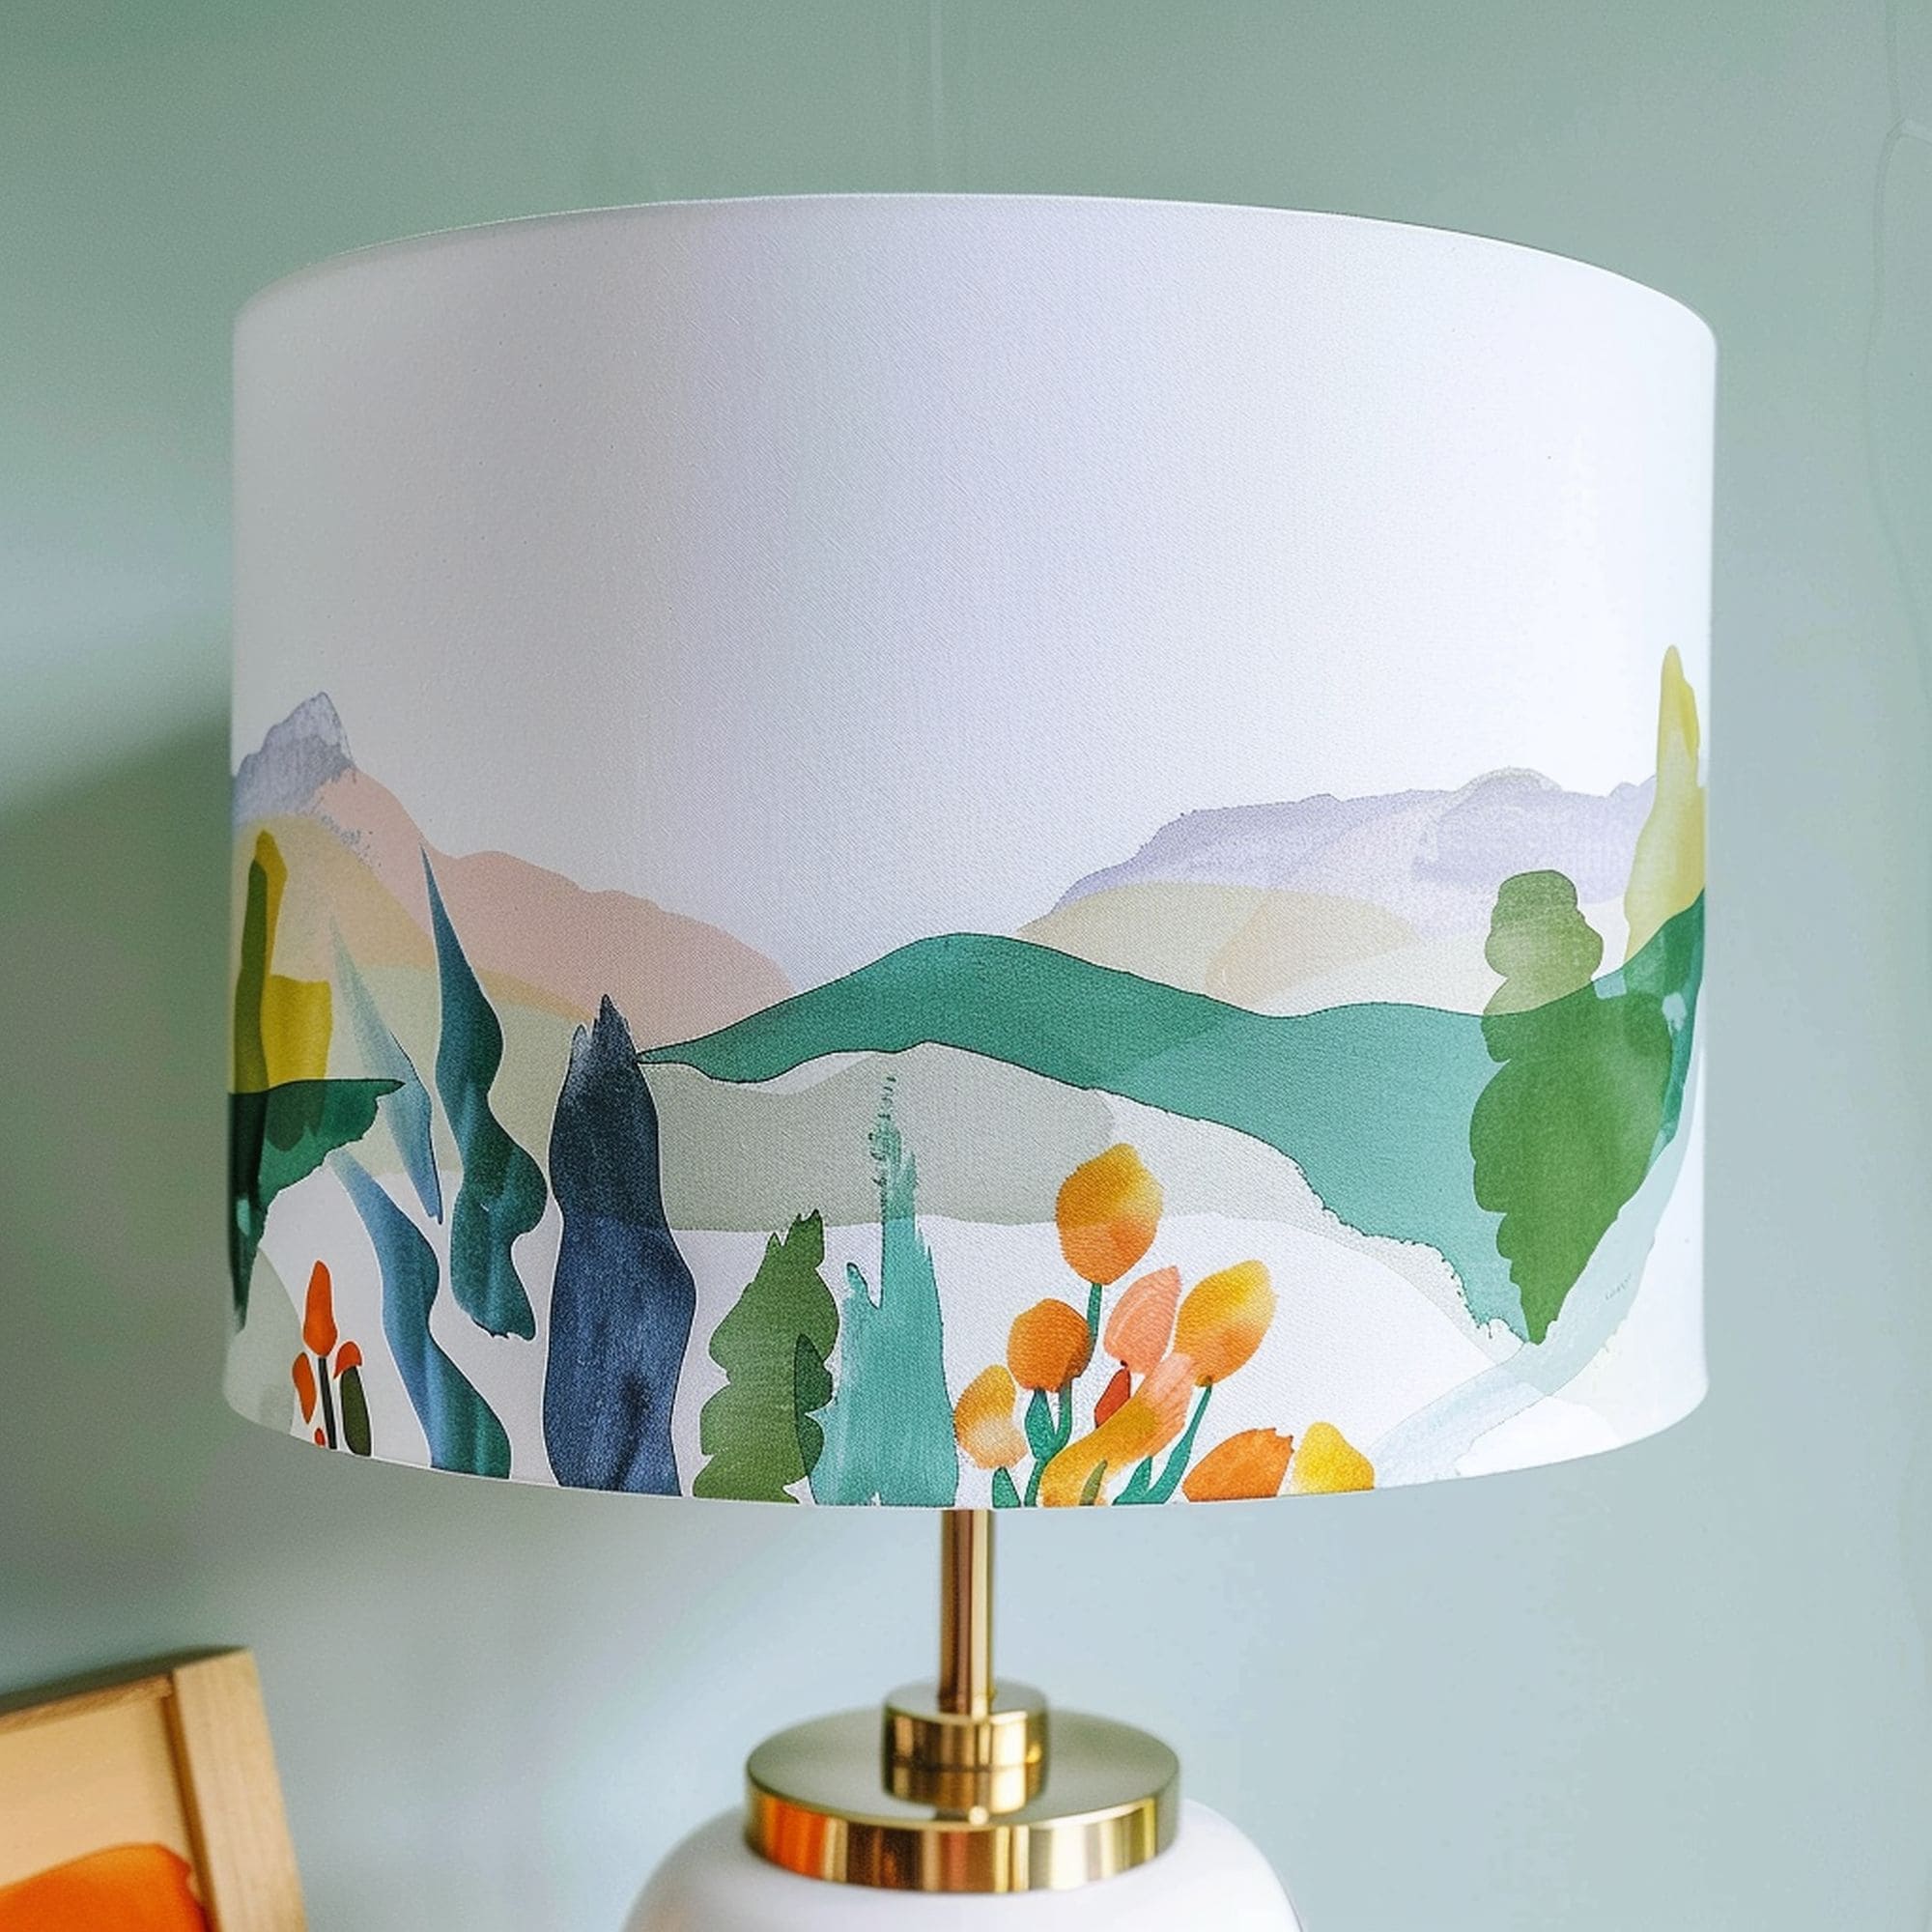
This is one of the best methods to paint a lampshade if you plan to add a one-of-a-kind look. If you have an artistic soul and wish to craft a statement piece, a paint finish done with watercolors represents a powerful solution. You will be able to turn any white paper shade into something that boasts a wide range of colors.
Watercolor paints can be purchased in all kinds of vibrant colors. You can get a large set with multiple tubes in vivid colors such as these models from Amazon. It contains 24 watercolor paint tubes that can be used for various crafting purposes. Let’s look at the step-by-step tutorial to paint the lampshade using watercolors.
1. Gather Supplies
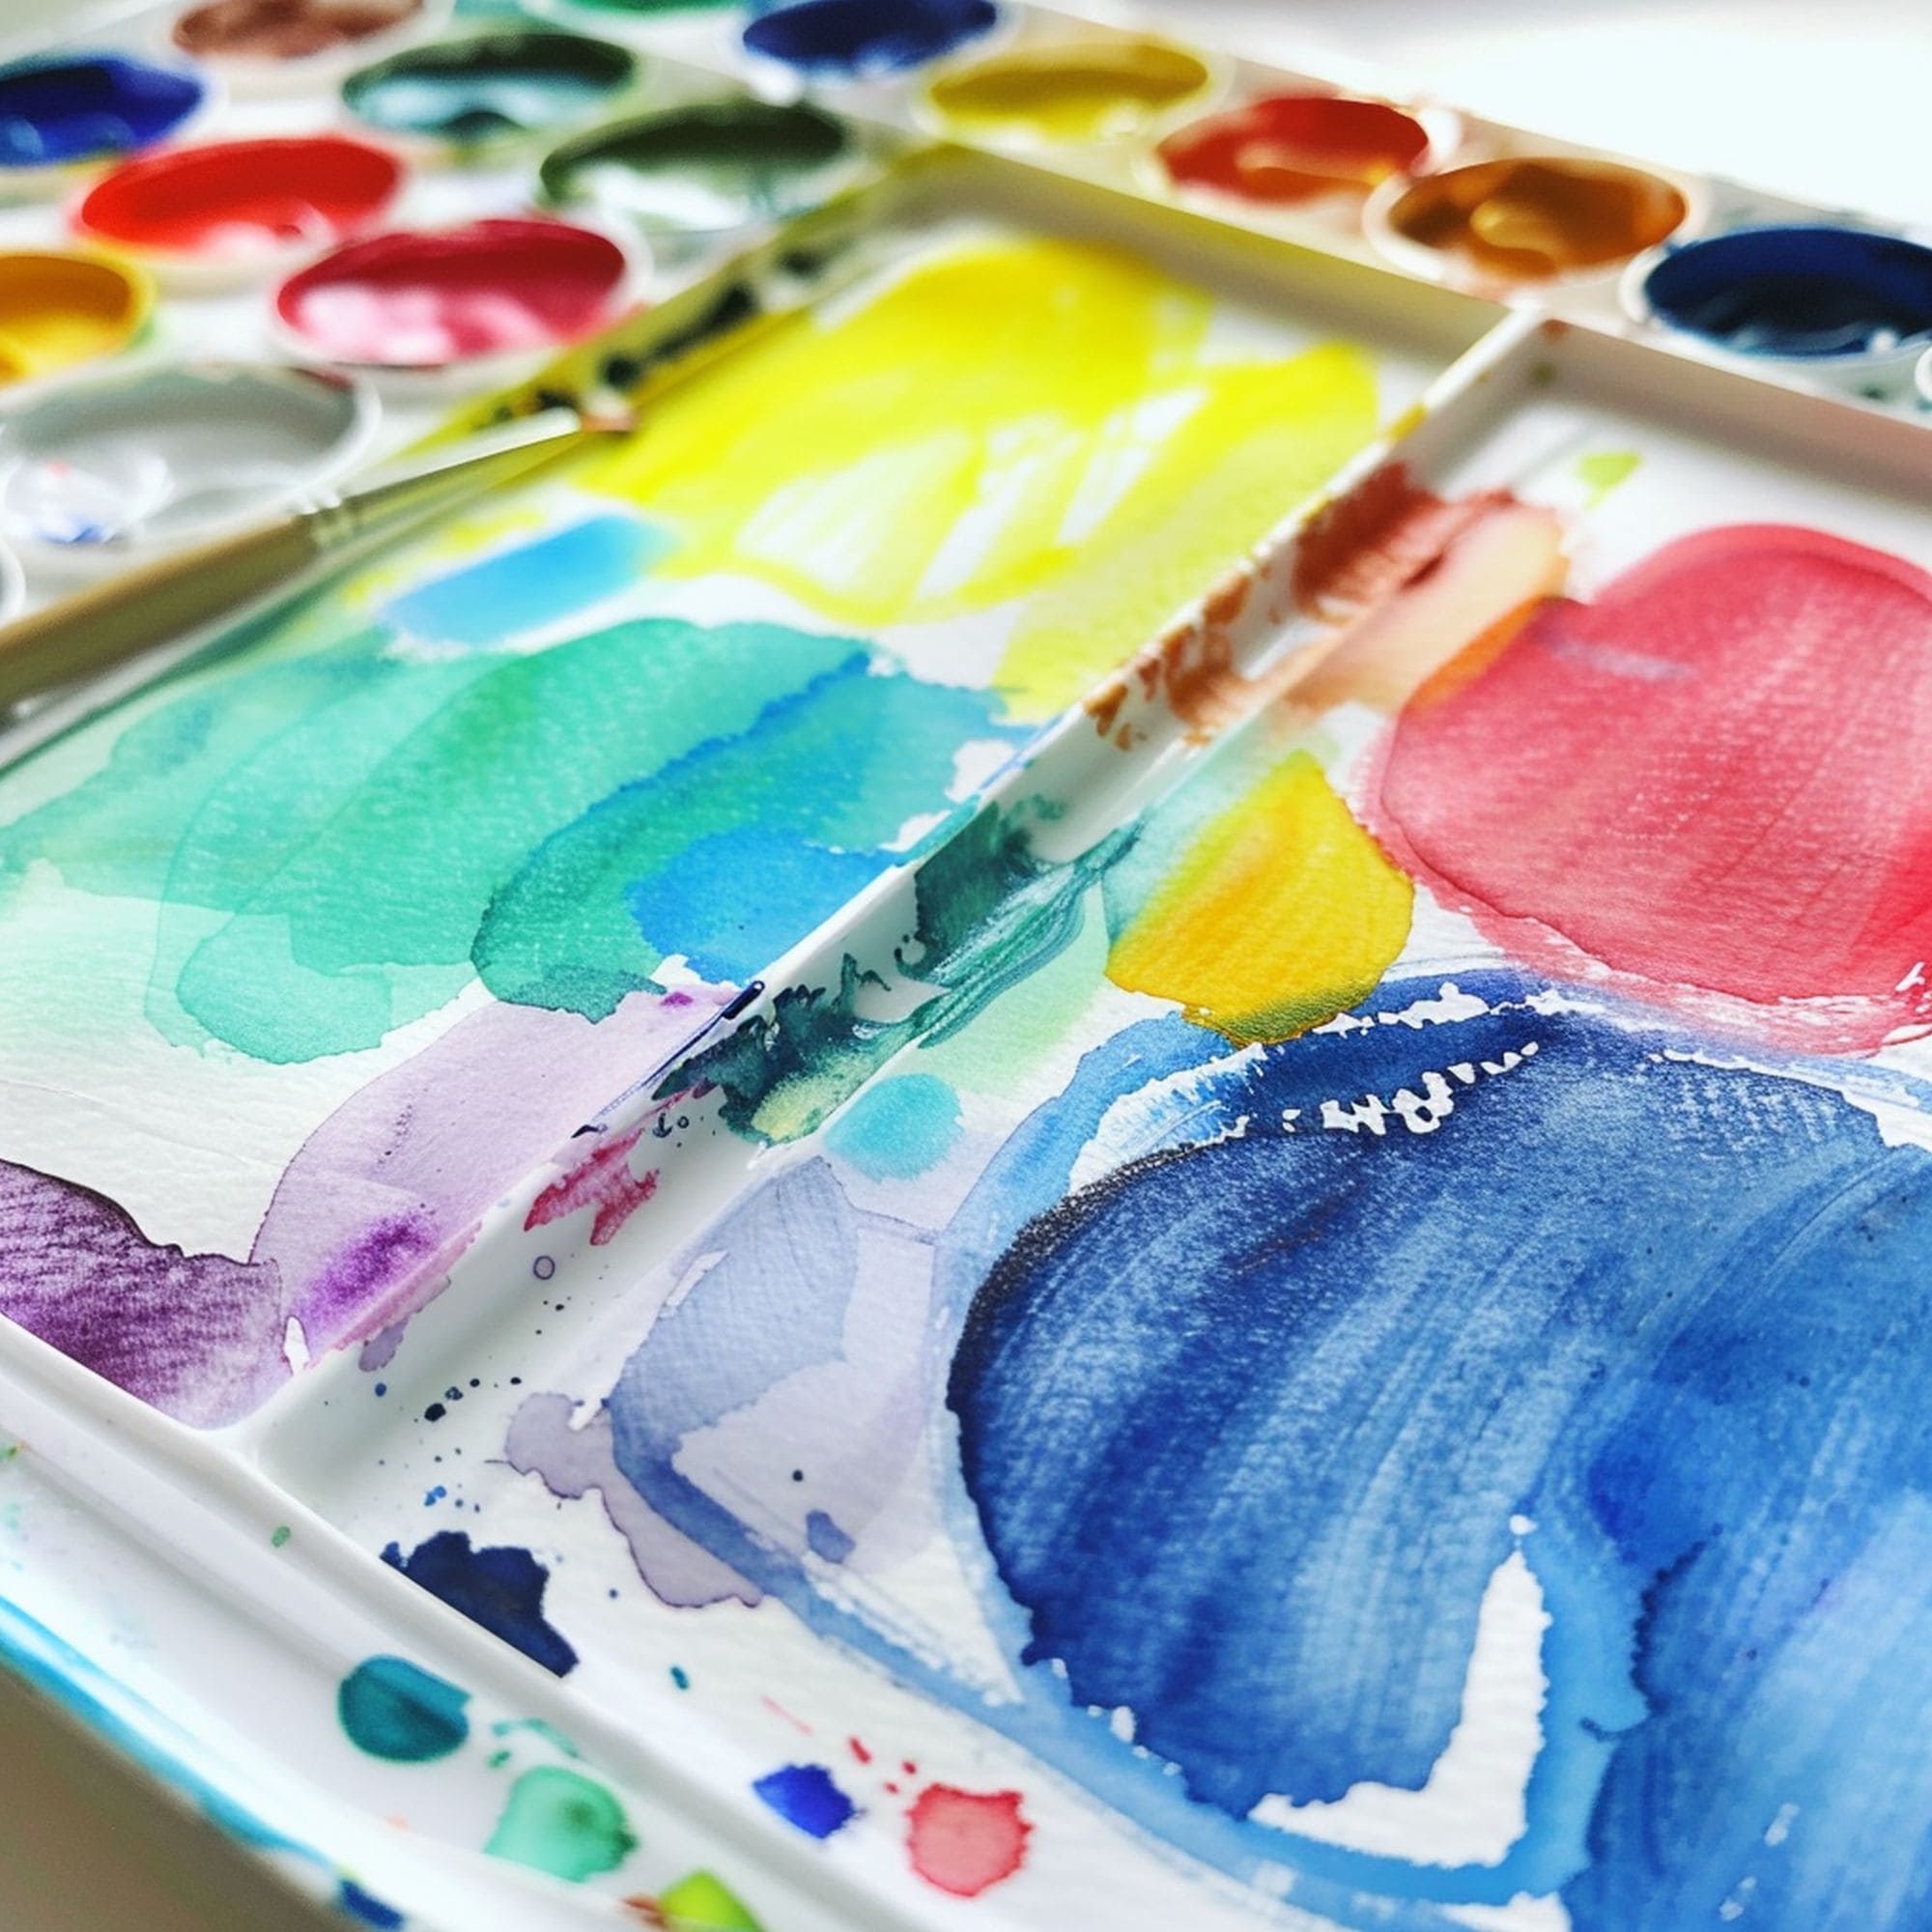
The set of watercolors represents the main element needed, but there are other supplies that you have to buy as well. You will also need a paintbrush, paper towels, and a palette.
2. Clean the Lampshade
This step is essential because you don’t want dust particles or other debris to get stuck with the paint. Use a vacuum cleaner to ensure that your lampshade is spotlessly clean. Lint rollers are recommended if you want to be gentler.
3. Choose the Colors and Start Painting
It’s a good idea to stick to just a few color shades when painting the lampshade. Something like 3-4 colors should suffice to make sure you can integrate it into your existing décor. When you start painting, go for the lightest color shades first and apply the paint using the palette. With the help of a brush, add water into the mix until you reach the ideal paint consistency.
4. Blot the Watercolor
At some point, you might experience a watercolor bleeding effect when painting the fabric of the lampshade. This commonly happens when you add too much water. Grab some paper towels to blot around the fabric quickly before the watercolor dries. It’s important to do this for a well-polished look.
5. Add all the Colors
Once the first color has been successfully applied to the lampshade, it’s now time to repeat the last two steps for all the other watercolors, including darker shades. This is a great benefit of watercolor painting as it’s highly customizable. More layers of paint can mix together and finish off a more complex design. Make sure you blot the excess color every time you add paint.
6. Let the Paint Dry
After all the watercolor paint layers have been applied, it’s time to let the newly painted lampshade dry. If you’re not happy with the finished result, you can still add some extra layers of paint after the lampshade has been completely dried. Sometimes it’s hard to see the final look unless you let the paint dry.
B. Spray Paint
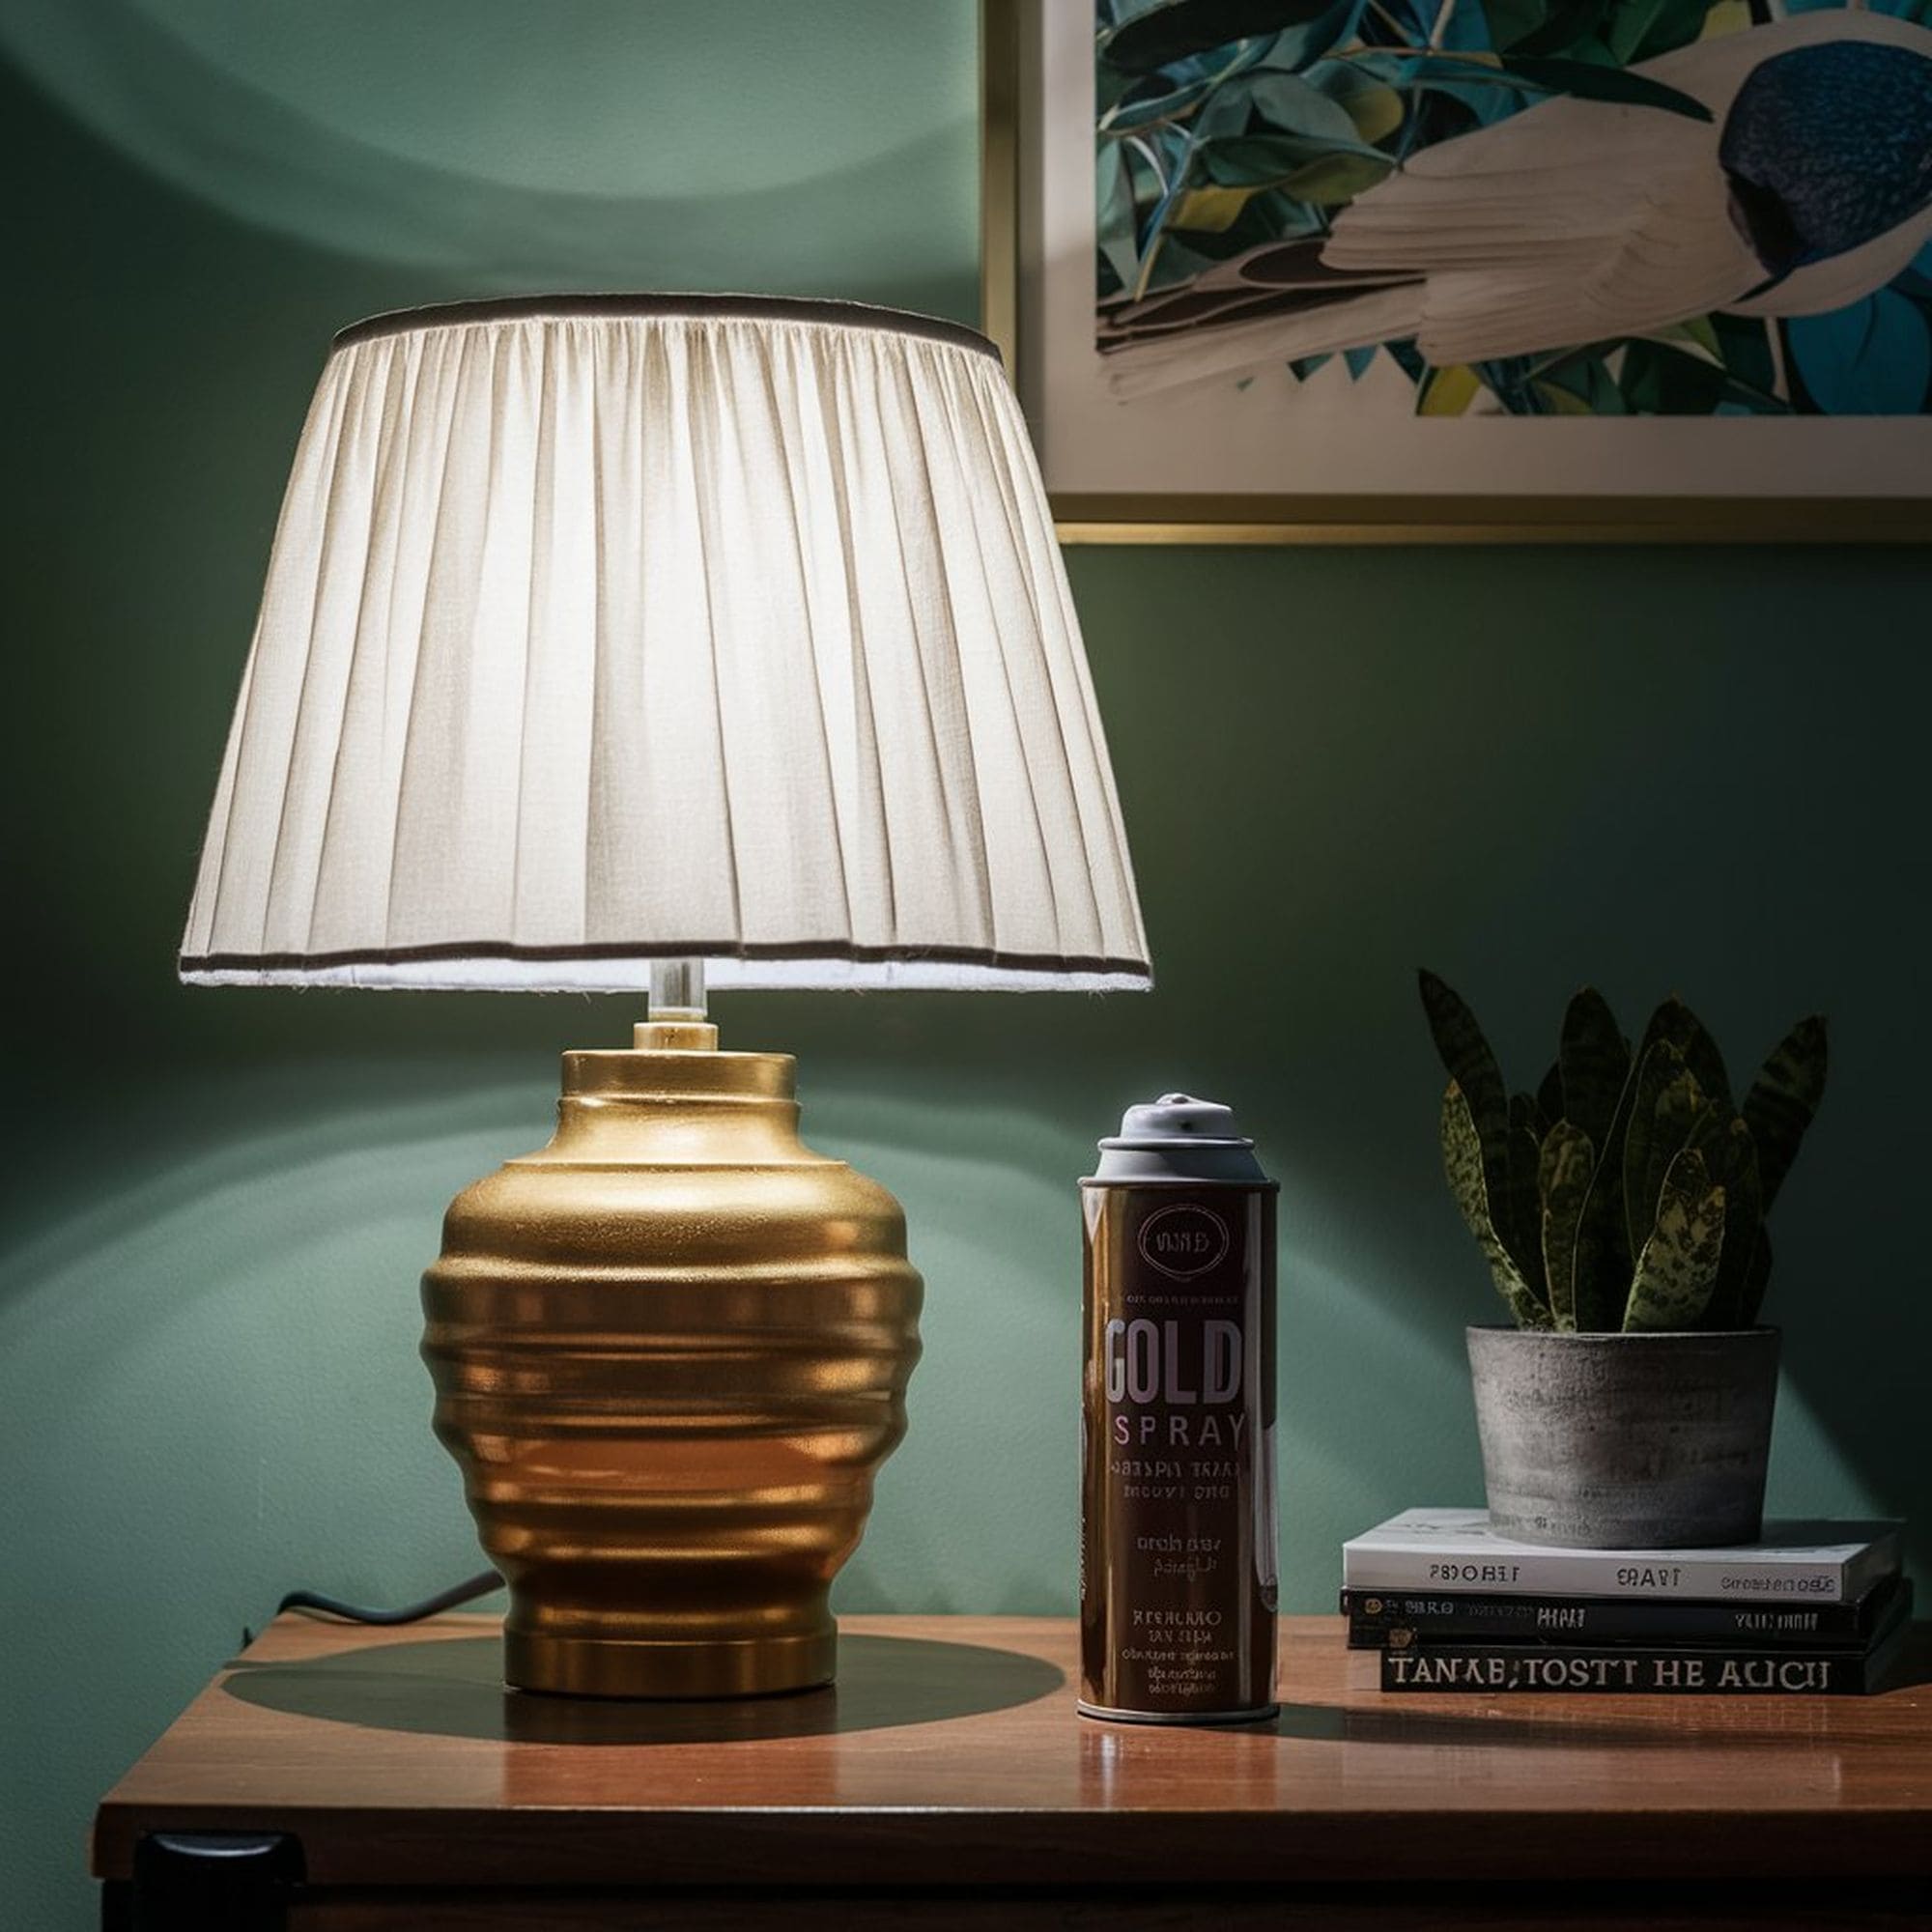
Those who don’t wish to add intricate patterns with a blend of colors might have better success with using spray paint to update the look of their lampshades. This is a great option for changing the solid color completely to another one. Experienced users can attempt to spray paint with multiple colors, but the process isn’t as precise as the watercolors method. Let’s see what you have to do to paint the lampshade using spray paint.
1. Get the Right Type of Spray Paint
Most spray paints are versatile enough to be used on multiple surfaces. If you plan to paint a fabric lampshade, it’s recommended to choose a spray paint that’s safe for fabrics. Here’s a great set of spray paints from Amazon. It’s primarily designed for dyeing clothes and it should work well for lampshades made of fabric.
2. Protect the Inner Lining
Before you start applying the spray paint, it’s important to take out the lampshade from the lamp and craft a protective cover for its inner lining. You wouldn’t want to paint the metal hardware inside so place a circular piece of plastic or paper inside the lampshade and fix it firmly with some tape.
3. Find a Good Spot
The spray painting method releases a strong chemical smell so that means you should find a well-ventilated outdoor area to work. If you live in an apartment and don’t have access to a backyard patio, at least make sure you cover the work area and the surroundings with newspapers. No matter how careful you are, there’s still a high chance to overspray and affect the floor or the nearby furniture.
4. Start Painting the First Coat
As the instructions of the spray can tell you, shake it well before use. Start applying the first coat of paint in vertical strokes. The lampshade needs to be turned around during the spray painting process to ensure a uniform coating. Don’t forget to take some breaks and shake the spray can.
5. Add the Second Coat of Paint
After the first coat of paint has been dried, it’s time to apply another layer. The second coat of spray paint is lighter and now you need to work in horizontal strokes. Similar to the last step, slowly turn the lampshade for total paint coverage. Finally, let the painted lampshade dry completely and then enjoy the new color.
C. Stenciled Designs
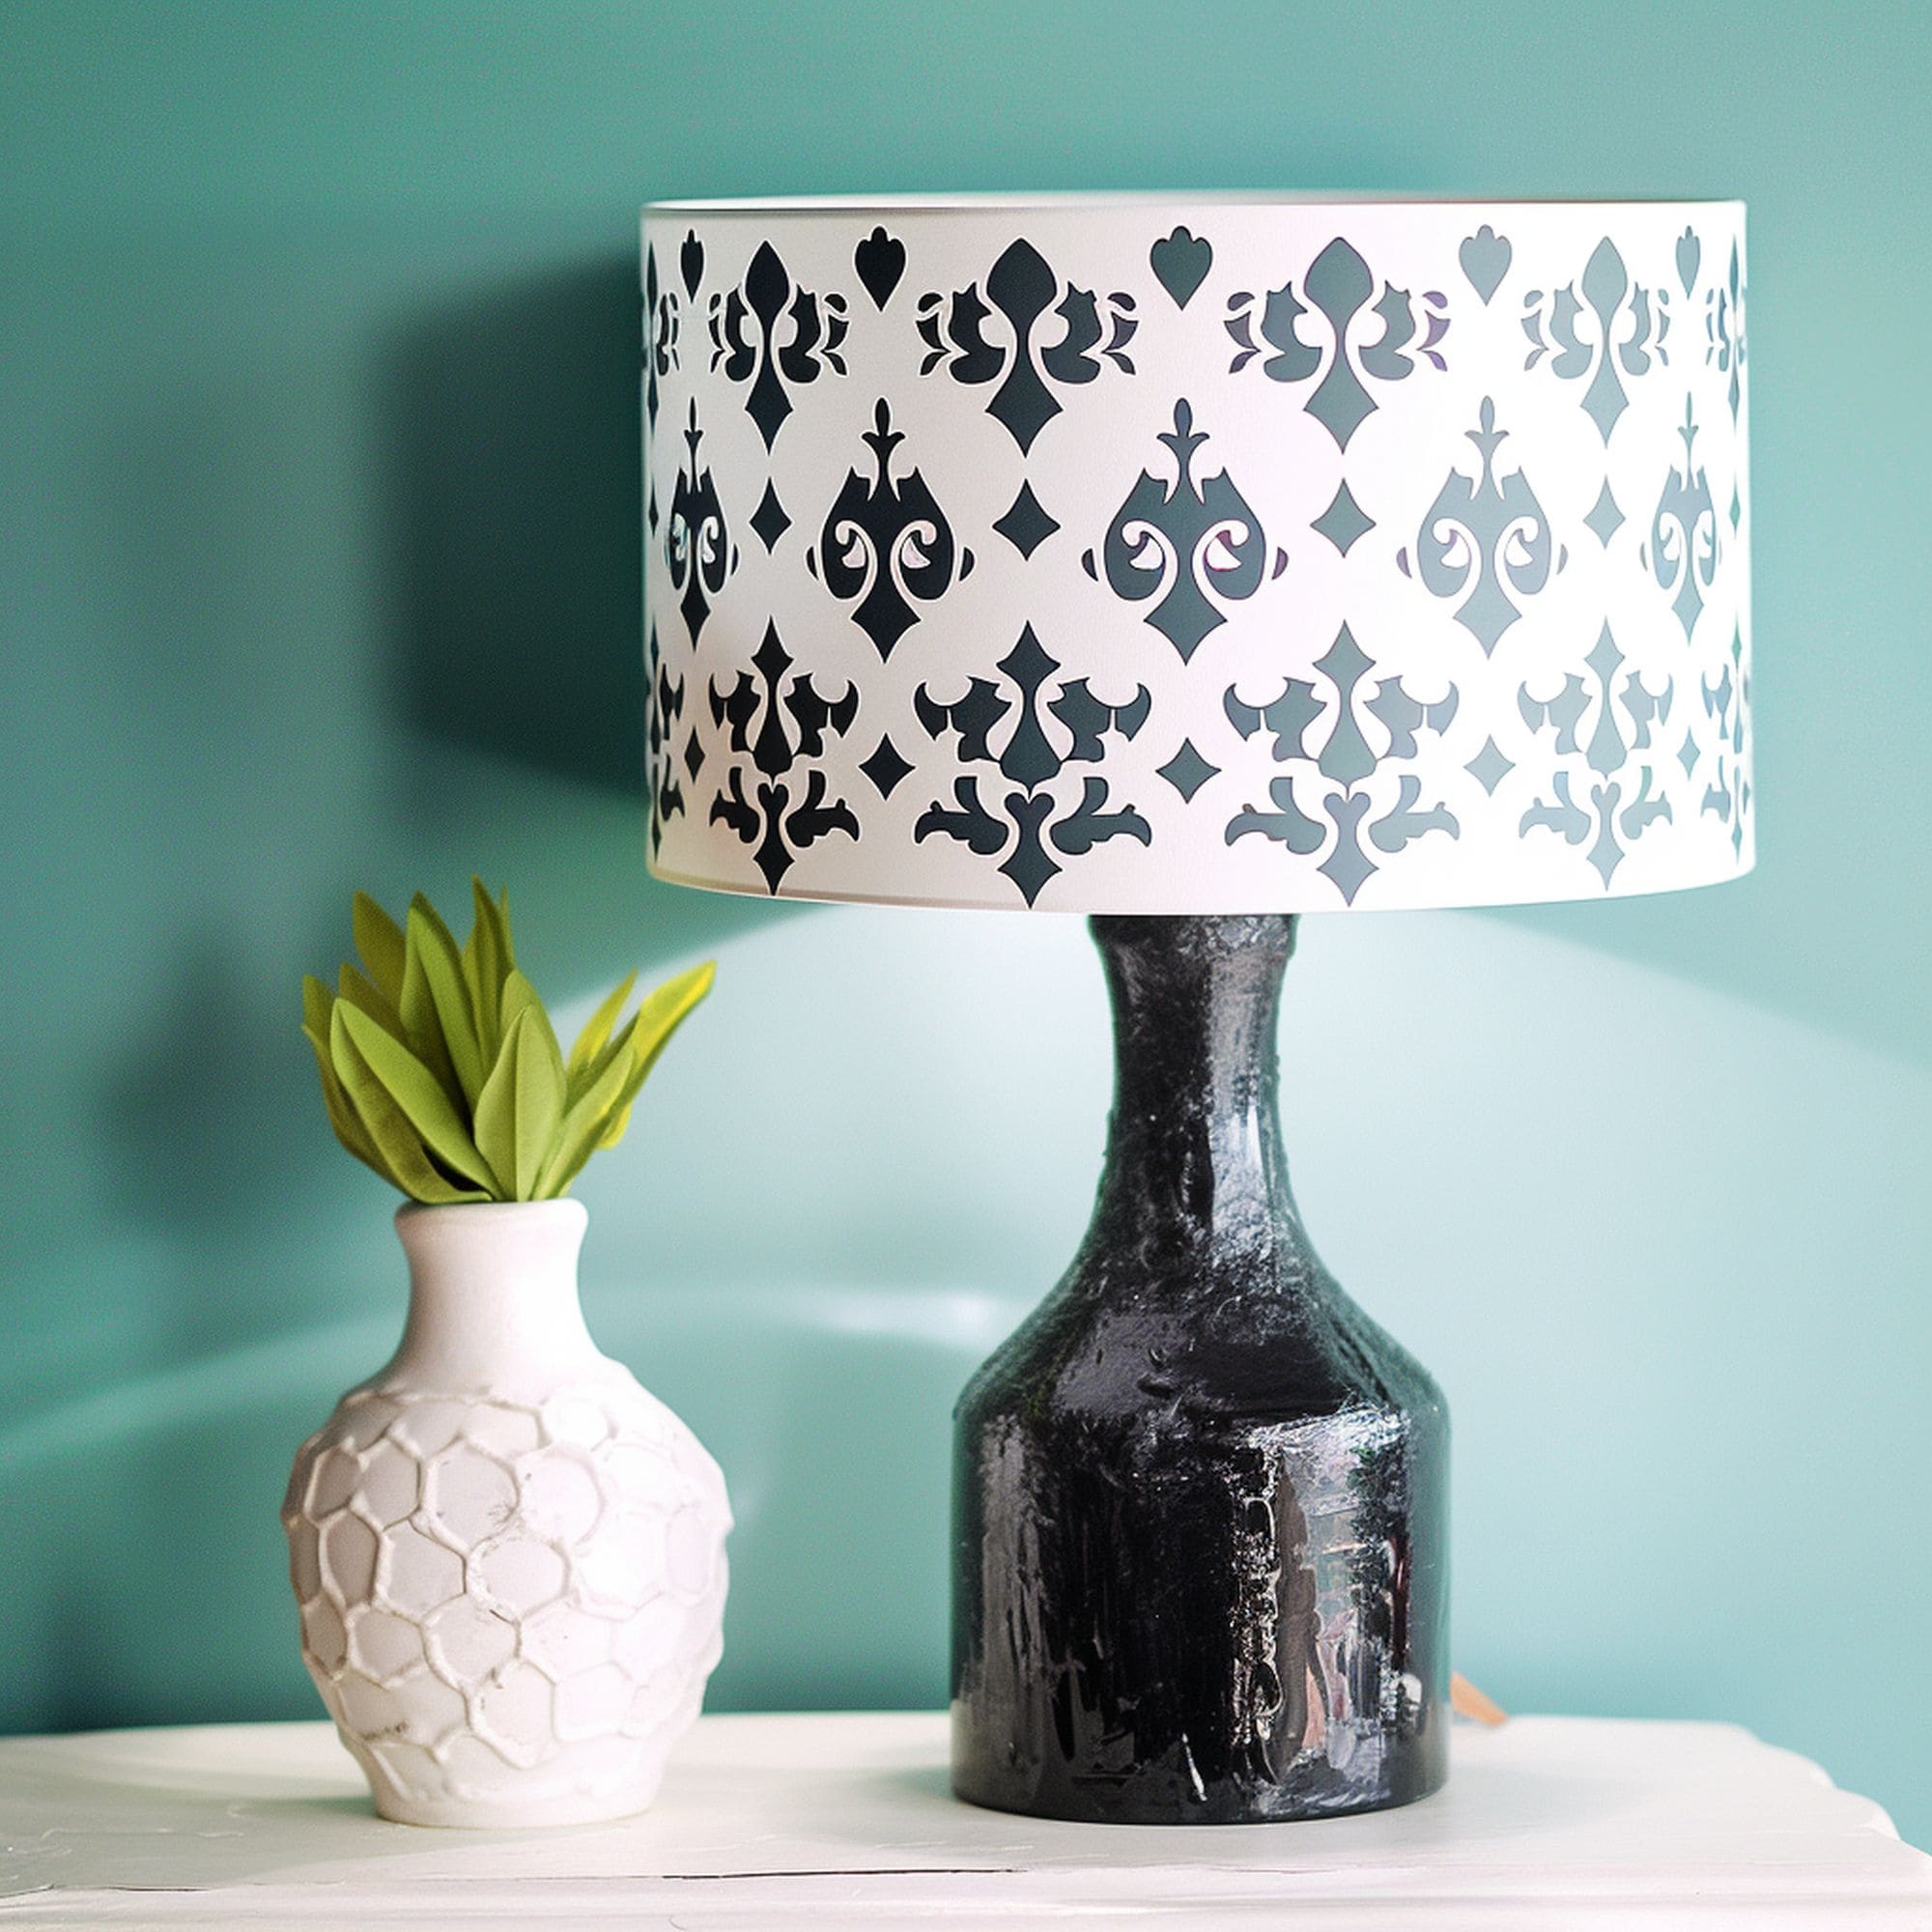
A very convenient method to use if you want to add some creative patterns relies on stenciled designs. With their help, you will be able to bring in some healthy doses of color and pattern to any plain-looking lamp. While stenciled designs work nicely for virtually any flat surface of a lampshade, the method can be used best for drum-shaped models. Follow these steps to apply some stylish stenciled designs to your lampshades.
1. Get a Set of Stencils
Find a good set of stencils that can be applied to this kind of project. There are lots of models to choose from and you can opt for either regular stencils or self-adhesive types. Take a look at this pack of stencil designs from Amazon that can be reused for different projects.
2. Clean the Lampshade
Removing all the dust and other residues from the lampshade to work on a clean surface. Take the shade off and clean it with the help of a vacuum cleaner. Use some wet wipes with alcohol to eliminate any oil from the surface. This is especially useful if we’re talking about a glass lampshade.
3. Stick the Stencil
Now that you’ve got your hands on your favorite stencil design, it’s time to adhere it over the lampshade. Peel it off and press it firmly onto the surface.
4. Apply Paint
Start painting against the stencil design. If the lampshade is made out of glass, use glass paint and a foam pouncer. Make sure that all the edges of the stencil are covered with paint.
5. Remove the Stencil
Don’t let the paint dry as you need to take off the stencil without the risk of peeling off the paint as well. Once all the paint has been applied, remove the stencil design carefully to avoid smearing the paint. Try to lift it straight up for the best results.
6. Let the Paint Dry
Now you can safely allow the paint to dry. Glass paint will take hours to dry completely while other types are much faster. In the meantime, you should clean the stencil with some rubbing alcohol so it can be reused. Wash your cleaning tools such as the pounce and the palette if they can be salvageable.
7. Repeat the Process for Other Stencils
Go through this guide again for applying multiple layers and craft a more intricate design. Stencils can be used for other parts of the lampshade as well.

Leave a Reply