
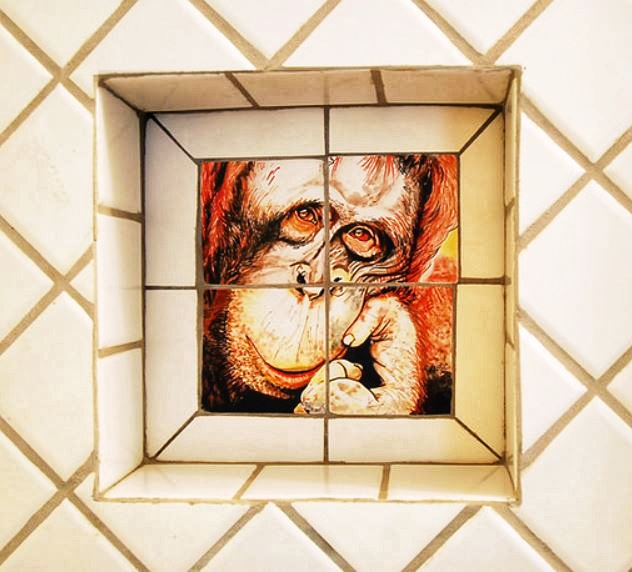
Shower niches are very practical to have because you need a convenient spot to gain access to your shampoo or other cleaning products when you’re in the shower. If you’re experiencing a bathroom leakage, it’s likely that your shower niche isn’t waterproof. This area can often cause leaking issues because it’s essentially like a window into the wall. Proper waterproofing treatments are mandatory to prevent moisture buildup from causing mold growth or other problems.
The materials used for building a shower niche aren’t impervious to water seeping through and leaking through the wall. This is why you need to apply an additional waterproofing membrane. Even if the shower niche seems sturdily built, it doesn’t necessarily mean that it won’t cause leaking issues. Make sure the niche isn’t lined with standard drywall but with something more reliable such as a wet room tile backer board. Here’s a step-by-step guide for waterproofing a shower niche:
1. Gather the Tools
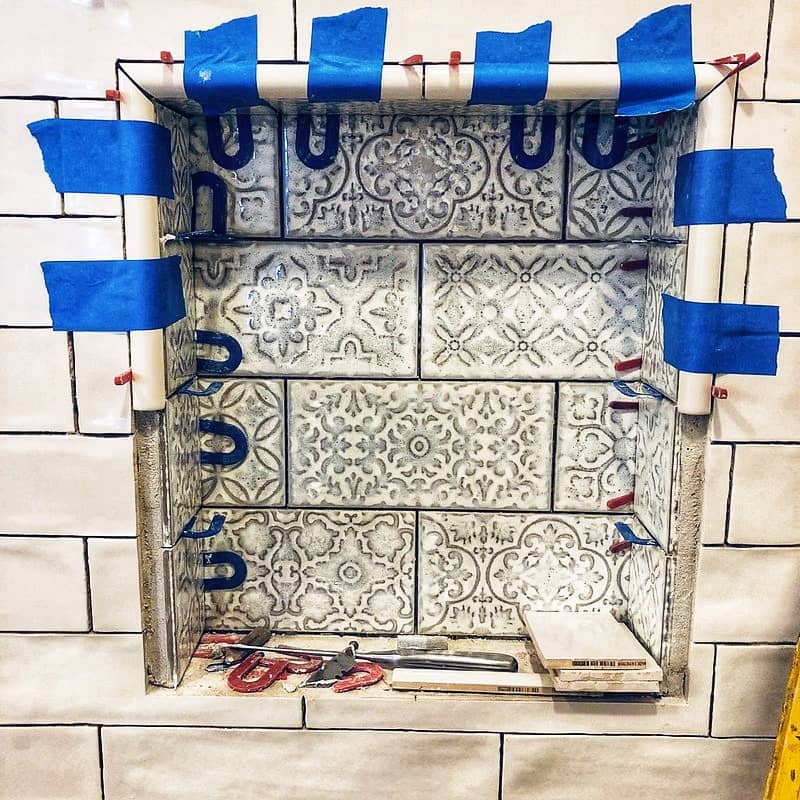
This project requires some tools and materials. First and foremost you will need a waterproofing membrane such as this high-quality model. The other items you will need are fiberglass tape, scissors, and a putty knife.
2. Cut the Fiberglass Tape
You will need to cover the niche very thoroughly with fiberglass tape. It’s best to cut larger pieces of the material for the uniform coverage of all the edges.
3. Apply the Waterproofing Membrane
Next, you have to use the putty knife and apply the membrane inside the seams of the niche and outside corners. Make sure you also add the membrane over the fiberglass tape.
4. Add the Fiberglass Tape
Now that fiberglass tape pieces are ready to use, you can start covering all the corners and seams with them. Focus on the weak points that are more vulnerable to water infiltration. Cover the whole niche, including the internal corners with the tape and membrane.
5. Leave to Dry
Once all your fiberglass tape with the waterproofing membrane is applied, you need to leave the shower niche to dry properly before it will be ready to be tiled.

Leave a Reply