
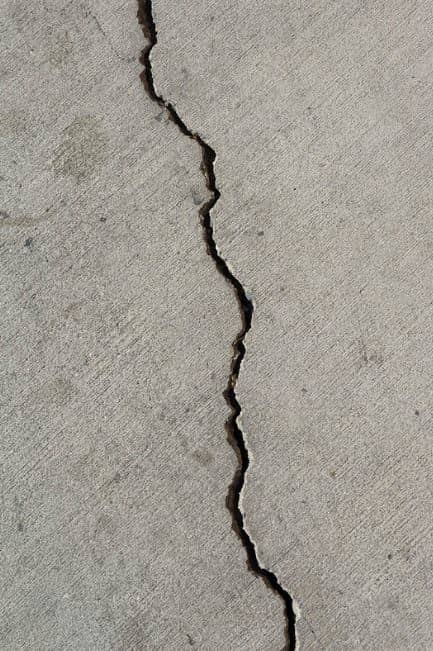
Concrete is a tough material that doesn’t usually require a lot of maintenance. However, it can still be vulnerable to cracking and chipping. Even if you only have to deal with small cracks in your concrete floor, it’s still a good idea to tend to the issue. There’s no need to worry about potential structural damage but if you leave the cracks untreated, it’s safe to say that they can develop further from extra wear over time.
Garages often make use of concrete floors, and this is one area where you can expect to discover some cracks. Many people discover these signs and try to find a professional repairman to handle it but it’s actually not a difficult process so you can do the work yourself. If you’re not afraid of dirtying your hands, check out the following guide that shows you how to repair those unsightly cracks in the concrete floor.
1. Make Preparations

As with other repair jobs, you will need to visit your local home improvement store and do some shopping. Among the required tools, you will need a cold chisel, circular saw, and trowel. When it comes to materials, you will need a quality concrete mix and a resurfacer. It’s essential to get your hands on a good latex modifier as well. Some extra accessories like a bucket and dust mask that you may have lying around can come in handy.
2. Enlarge the Crack
This might sound counterintuitive but it’s important to chip out the cracked portion of the floor completely. This is where the cold chisel will be useful. If you’re dealing with a larger crack, you might need a good maul as well. Get the circular saw and cut a groove on every side of the crack so you can correctly repair it.
Some cracks can be particularly wide and deep. You might end up with a lot of concrete dust in the whole garage or basement. This is why the dust mask can be practical as you’ll most likely need to find a way to blow out the dust from the area. Power-wash the crack to prepare for the crack filler. Large chipped pieces needs to be removed before that so you can start with a brand new surface.
3. Fill the Groove With Concrete
Now it’s time to fill the groove with a fresh mix of regular concrete and latex modifier. It’s important to fill the crack only to within 1/2 in. of its height as you will need to add the resurfacer later on. Give the concrete mix time to set up for some days when it can dry completely and become a good solid base to work with.
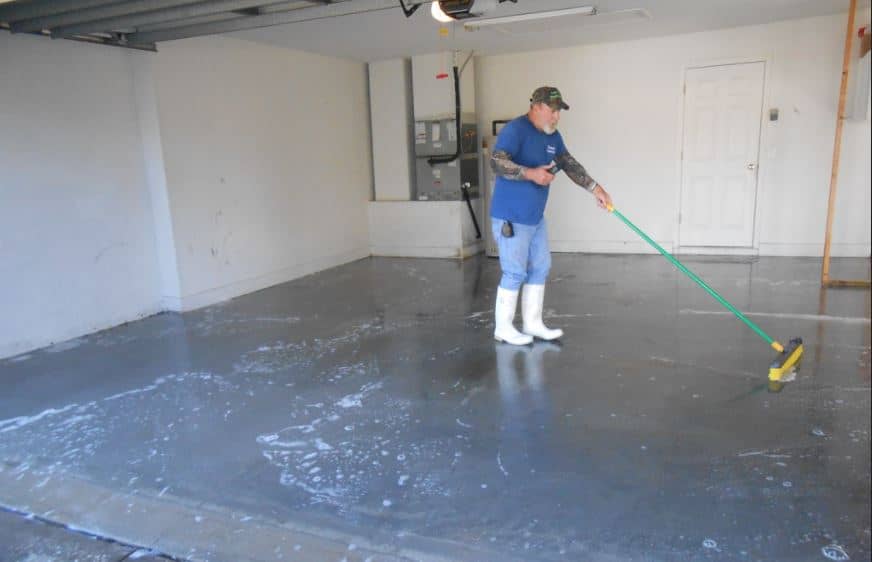
4. Bring in the Concrete Resurfacing Mixture

Finally, you can add the concrete resurfacer to smooth out the crack and finish off the project. Here’s a good product to try from Home Depot. Make sure you add enough water to get the right consistency for the filler. The final mixture should have a similar texture to pancake batter. Smooth the crack over with the help of the trowel or using a floor squeegee. The repaired patch will need plenty of time to cure so leave it undisturbed according to the resurfacer’s instructions.

Leave a Reply