
As its name suggests, the flow restrictor on the shower head is a special component added by manufacturers to limit the flow of water due to US regulations. This isn’t typically a bad thing when taking into account the savings on your water bill. However, the flow restrictor has a detrimental effect in areas affected by low water pressure. By removing this simple part of the shower head, you will be able to improve your shower experience by lifting the imposed limit on the flow of water.
1. Gather Your Tools

Removing the flow restrictor isn’t necessarily a complicated process but you need to prepare a selection of useful tools such as an adjustable wrench and needle-nose pliers. Additionally, tweezers and a paperclip should come in handy. You will essentially have to disassemble the shower head to extract the flow restrictor and then put it back together.
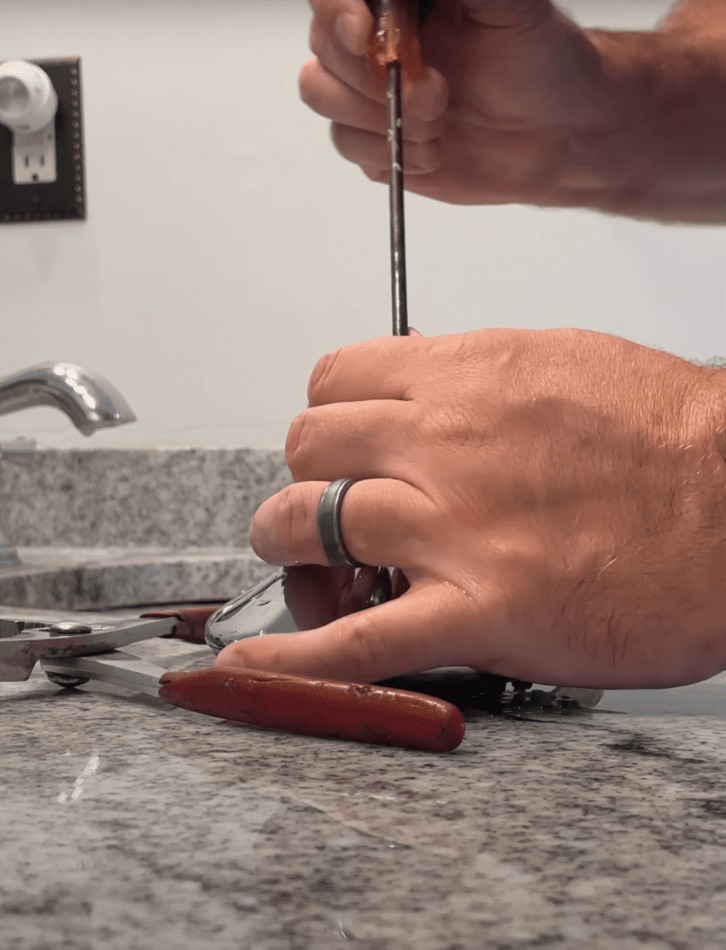
2. Detach the Shower Head
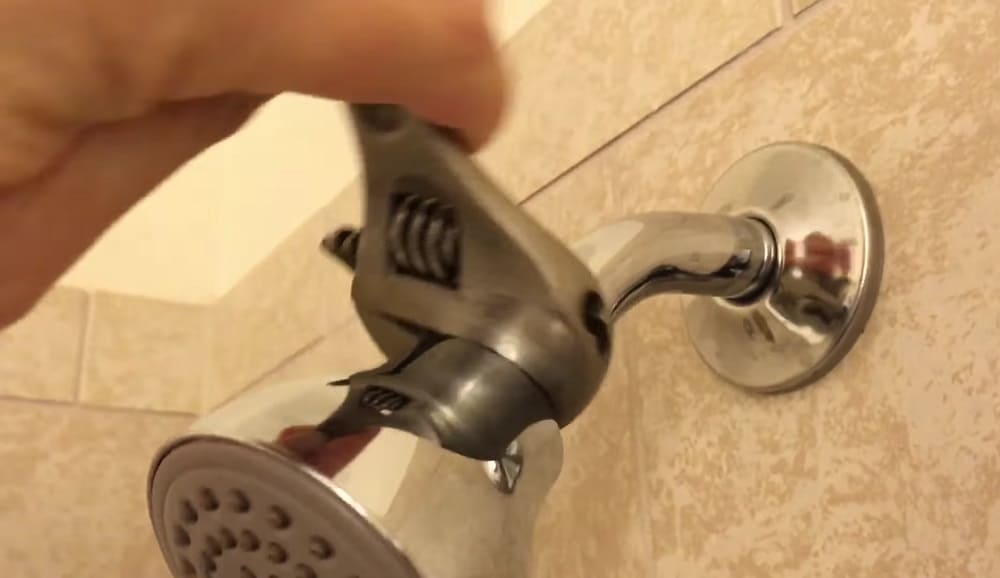
Make sure the water isn’t running and grab the adjustable wrench to start loosening the nut that’s used for attaching a fixed shower head in place. Keep in mind that this step isn’t necessary if you have a handheld style of shower head. In some cases, the shower head can be removed from the wall by hand, depending on the model.
3. Remove the Filter Screen
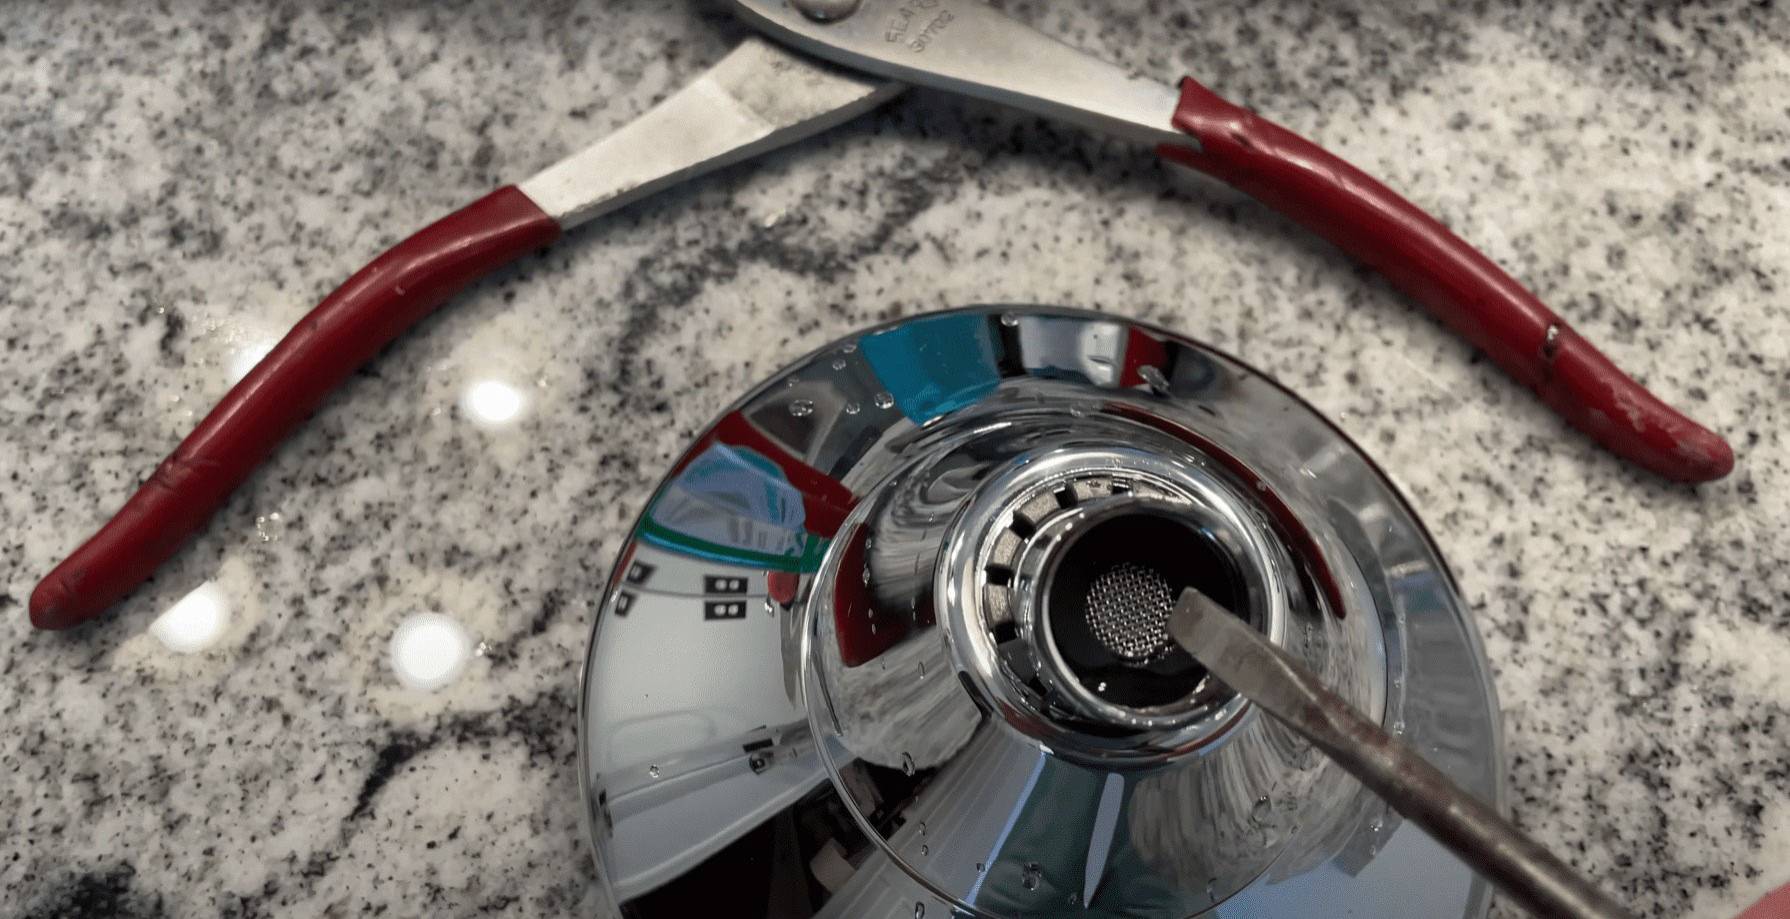
With the shower head detached, it’s time to look for the flow restrictor. Your view inside the connector nut is usually blocked by a filter screen. Take the pliers to gently remove this piece without damaging it. Don’t misplace the filter because it needs to be repositioned during reassembly. If the screen looks very dirty, you might as well use the opportunity to clean it with water and dish soap.
4. Take Out the O-Ring
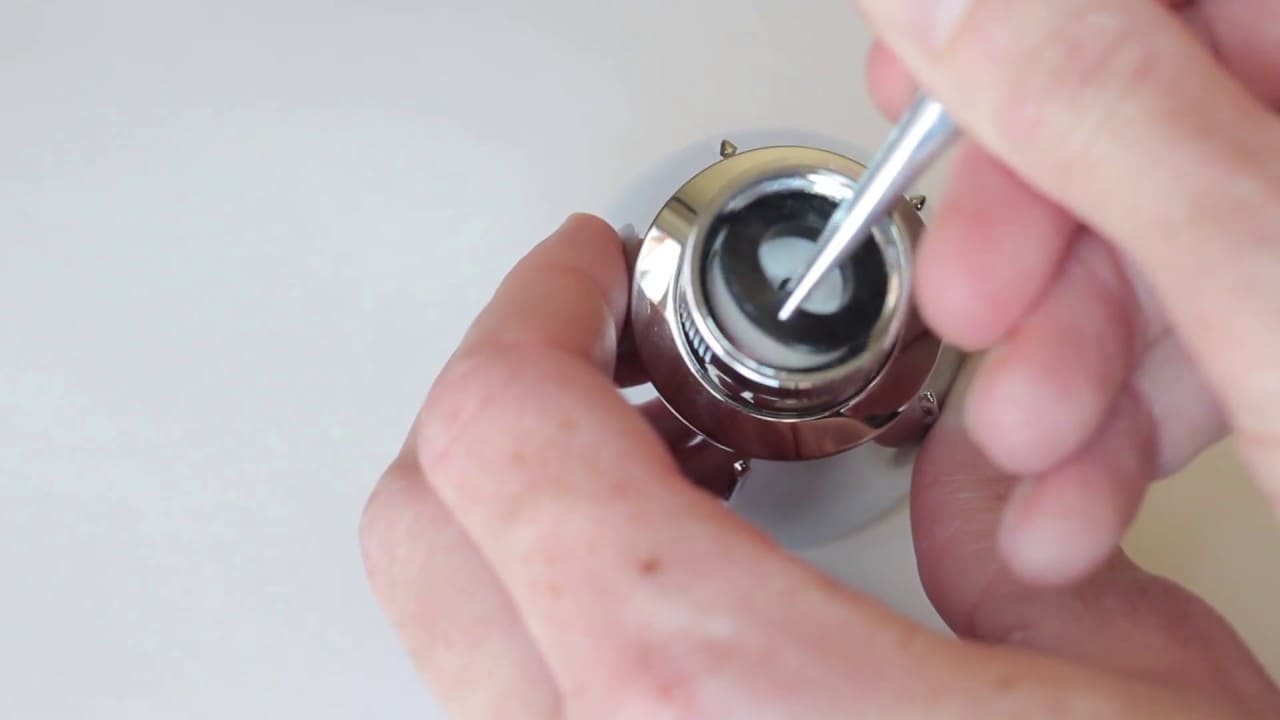
After removing the filter screen, you still need to extract one more item before getting to the flow restrictor. There’s a tiny circular rubber piece called an O-ring that works like a seal against water leaks. Although it looks cheap and insignificant, it can be a pain to replace so pry it out gently with the pliers and set it aside.
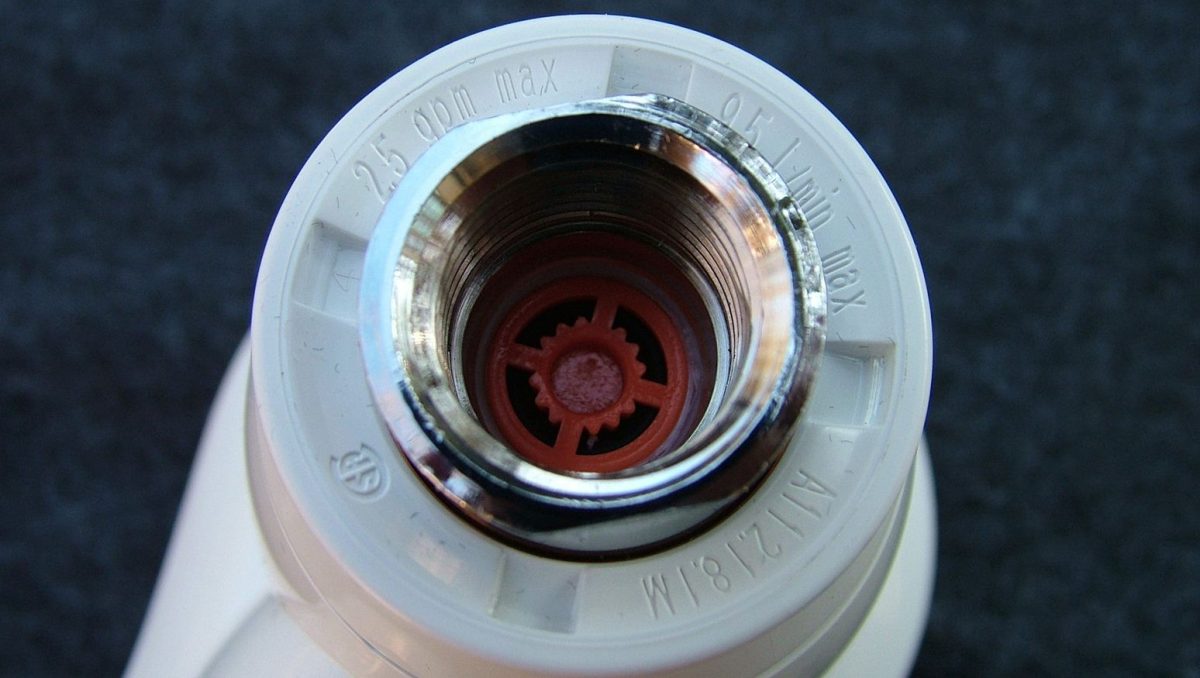
5. Extract the Flow Restrictor
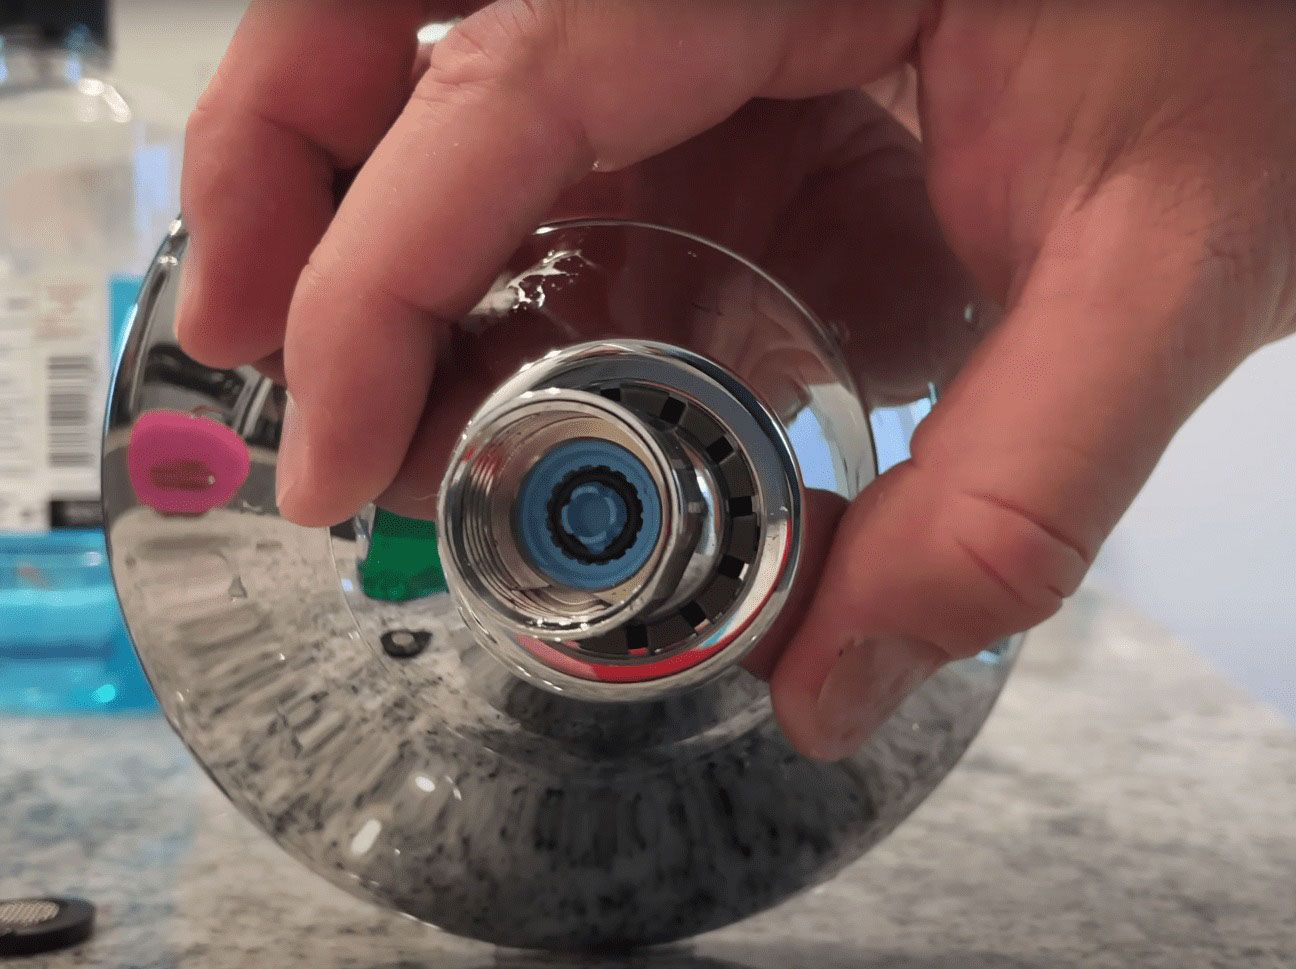
Locating the flow restrictor should be pretty easy once the filter screen and O-ring are out of the way, especially because it’s typically a different color than the other elements in the shower head. Depending on the shower model, it could be necessary to either pry or pop out the piece. The pliers might not be suitable in this case but tweezers or a paper clip can work more effectively to remove the flow restrictor. Apply only as much force as needed for a gentle extraction of the piece.
6. Reassemble the Shower Head
With the flow restrictor removed, you simply need to reassemble the shower head. Simply reinstall the components you took out in the previous steps such as the filter screen and O-ring. Make sure they’re placed back in place just as you found them to ensure that your shower head works correctly.
Things to Consider When Removing the Flow Restrictor
- Don’t throw away the flow restrictor after extracting it from the shower head. It’s possible that it might be needed at a later date.
- Take some time to clean the shower head when reassembling it if you notice a significant amount of grime.
- Not all shower head models have the flow restrictor in the same location. Depending on its design particularities, it might be necessary to refer to the product’s manual to find the exact spot of this component.
- Pay close attention when handling any plastic parts because any slight damage can have a serious impact on the way the shower head works.

Leave a Reply