
Aluminum is a versatile metal with lots of other incredible qualities. These qualities make it the perfect material for construction projects and home furnishings. In its natural form, aluminum looks sleek and modern and it has a silvery surface, but if you want to paint over it to synchronize with other items in the home you need to follow an easy 5 step process. If you want to give your aluminum object or surface a fresh coat of paint, here are the five steps to get it right:
1. Clean Thoroughly and Let The Aluminum Dry
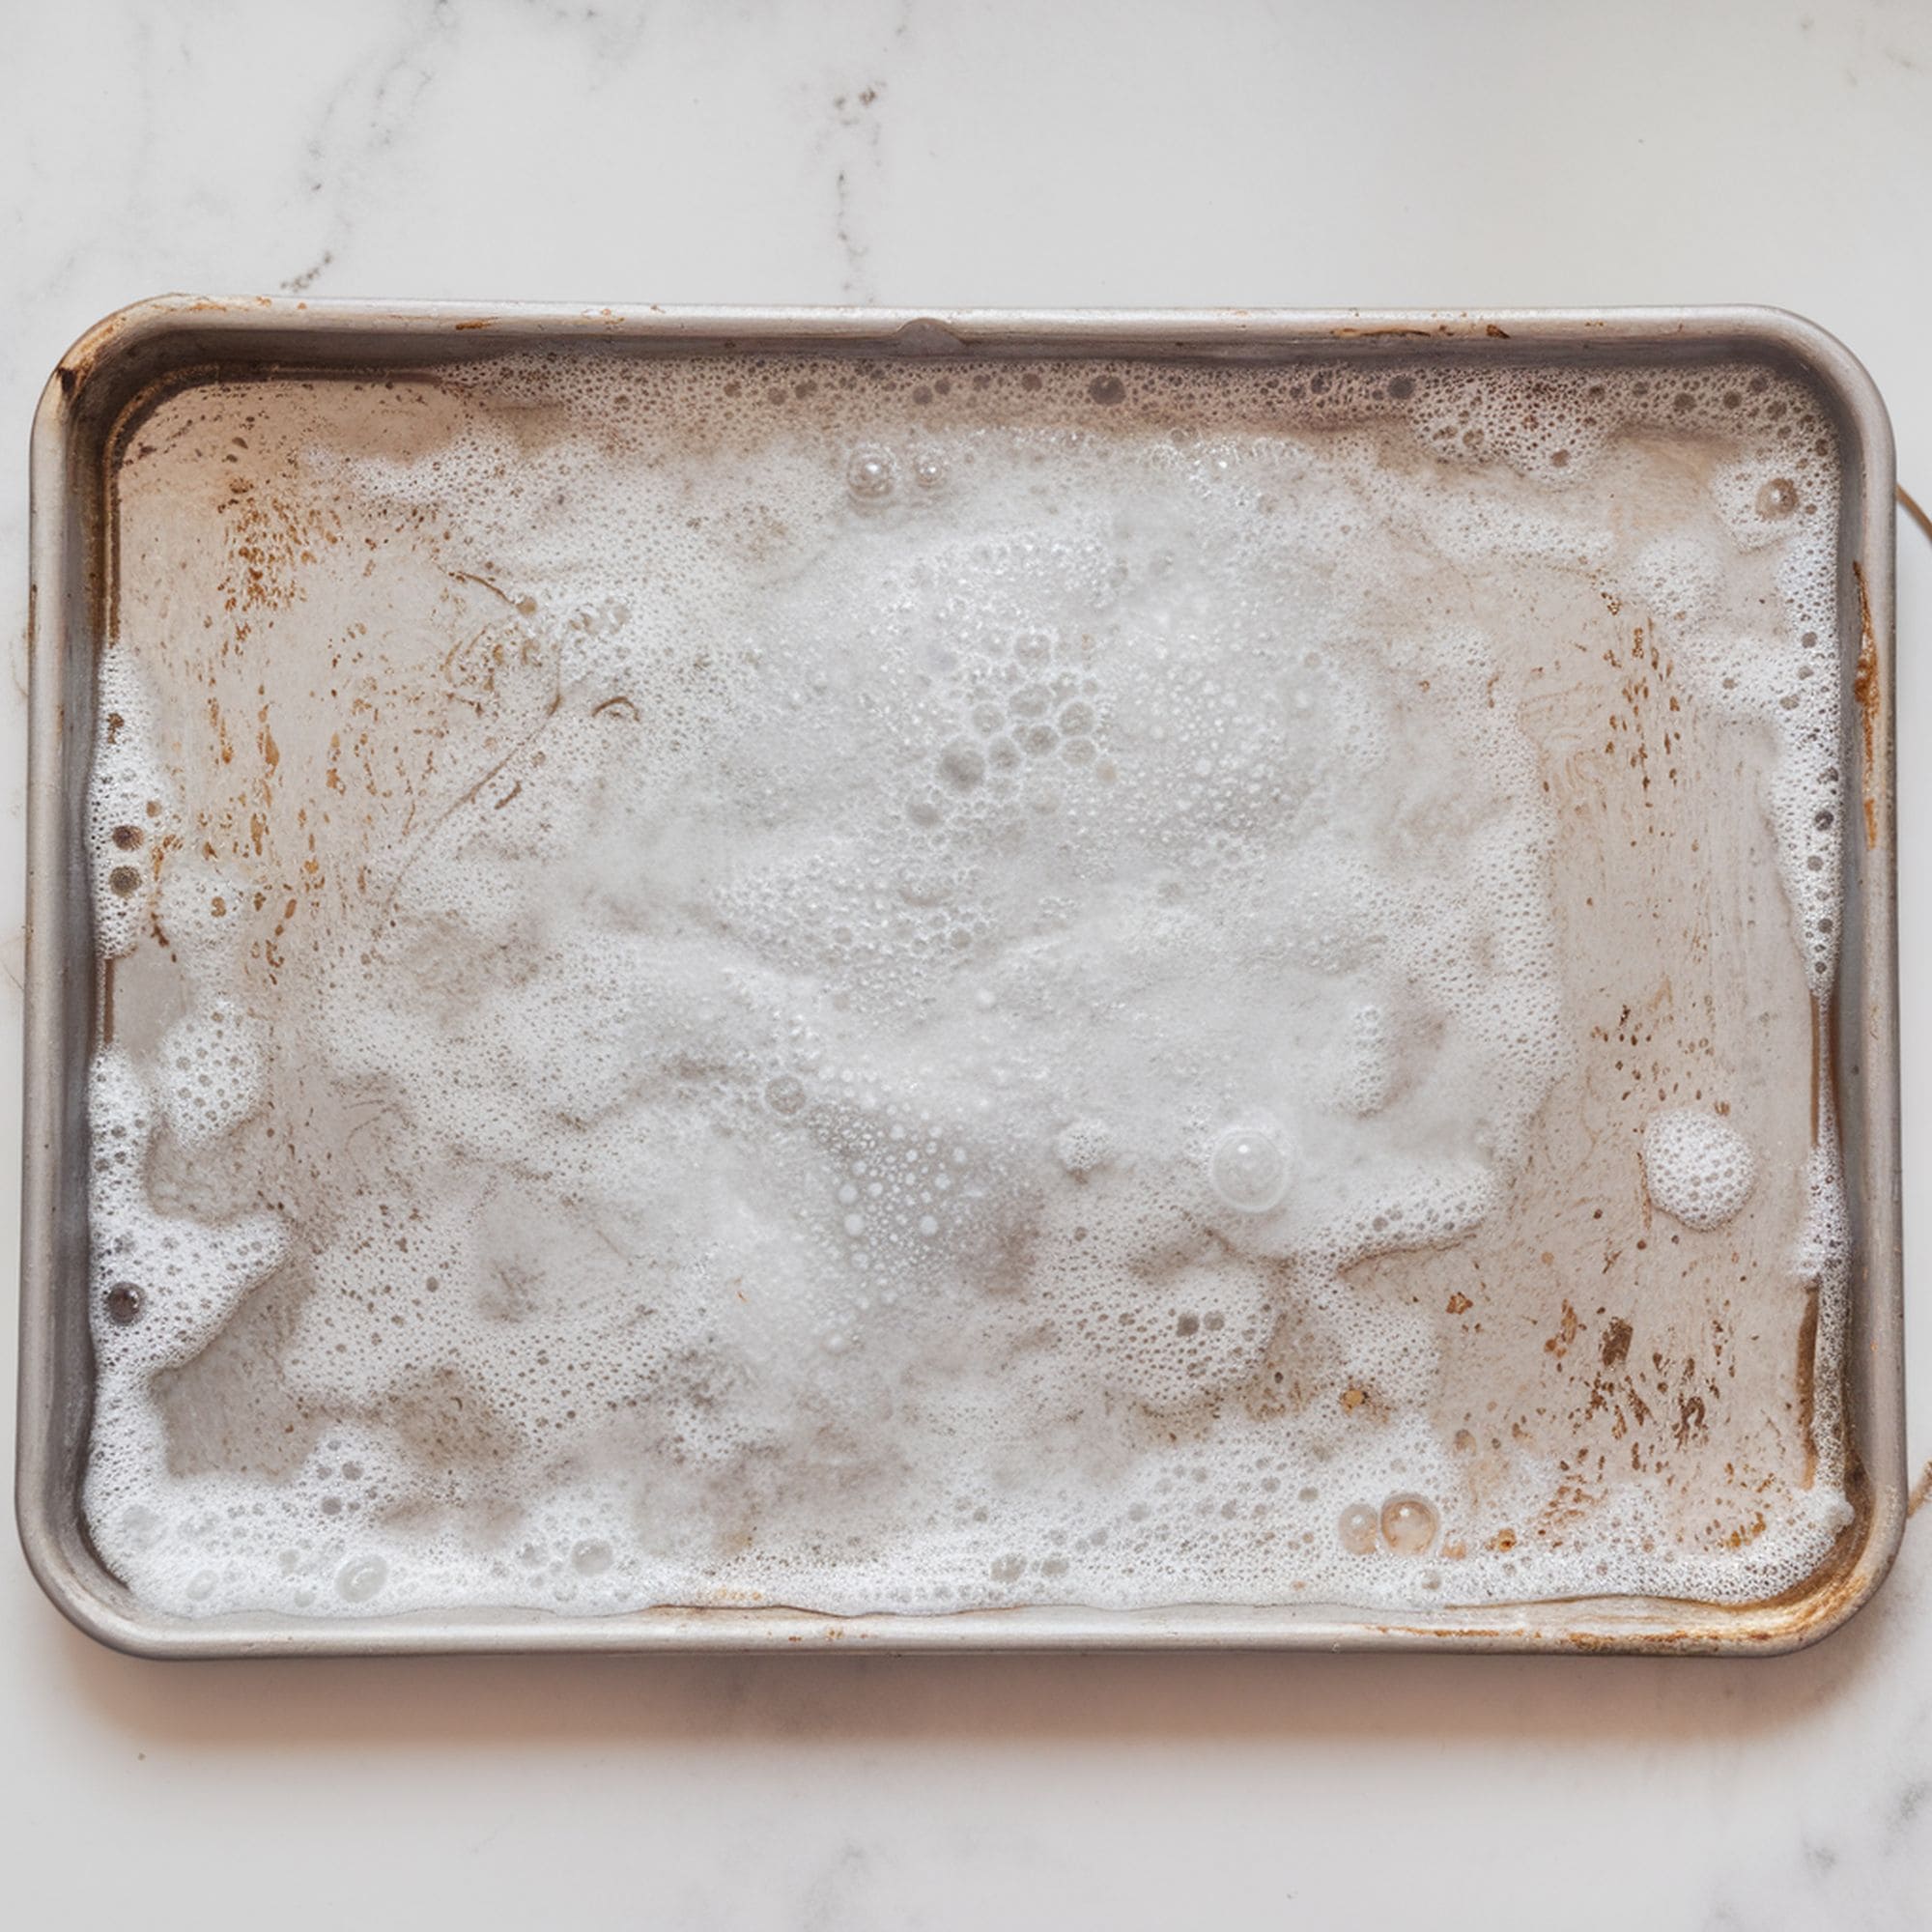
First, you need to prepare the aluminum surface for painting, and this process starts by cleaning it properly. You can use a bucket of warm water with degreasing cleaner or grease-cutting dish detergent. This is to ensure that all dirt and grease are removed from the material. You may need to easily scrub it with a wire brush if the aluminum surface has some rust or flaking layer of paint. After cleaning thoroughly, set the aluminum up to dry very well.
2. Sand the Surface in a Two-Stage Process
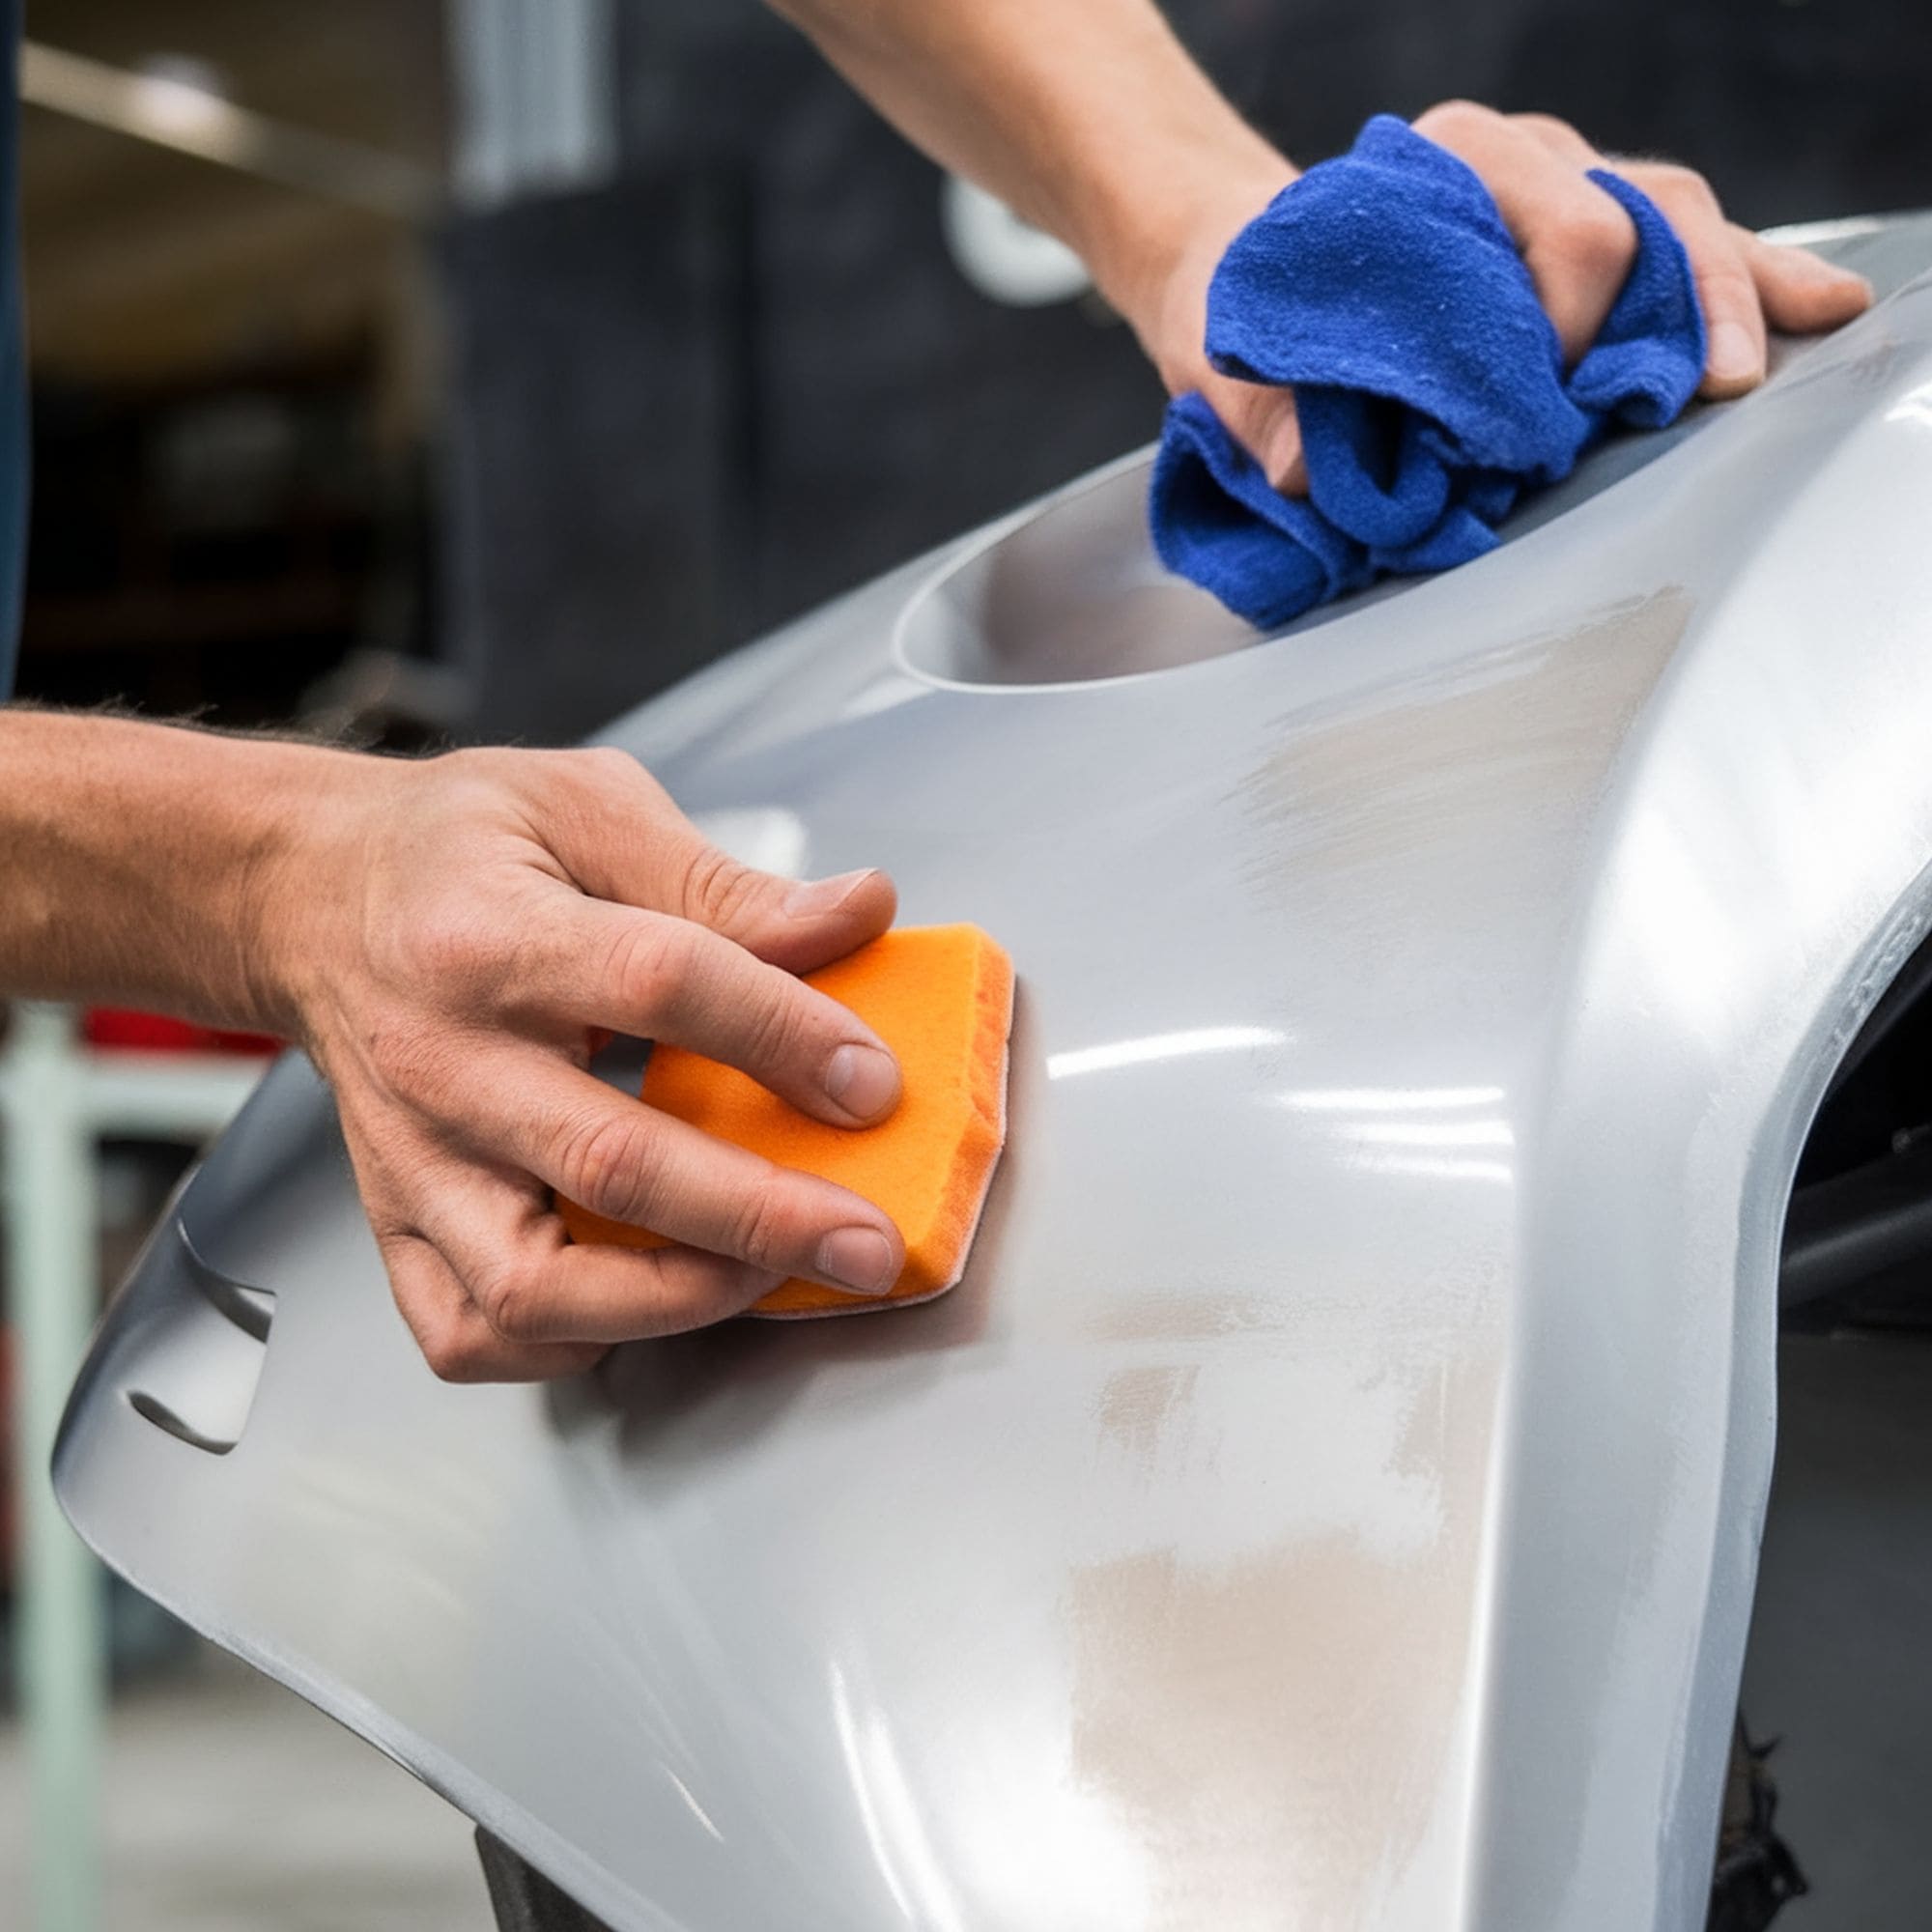
Sanding is the next important step when you want to prepare an aluminum material for a paint job. In this step two separate processes of sanding are necessary if you want your paint to fully adhere to the surface. In the first stage, you have to use a sand block or sandpaper to rough up the sides, corners, and crevices on the object (you may need a power sander if the item is big). In the second stage after sanding with coarse sandpaper, finish the process by using fine-grit sandpaper until the surface feels smooth and make sure you wear protective gear while doing this to avoid getting fine specs of aluminum in your lungs. Afterwards, wash again and dry completely to get rid of sanding dust.
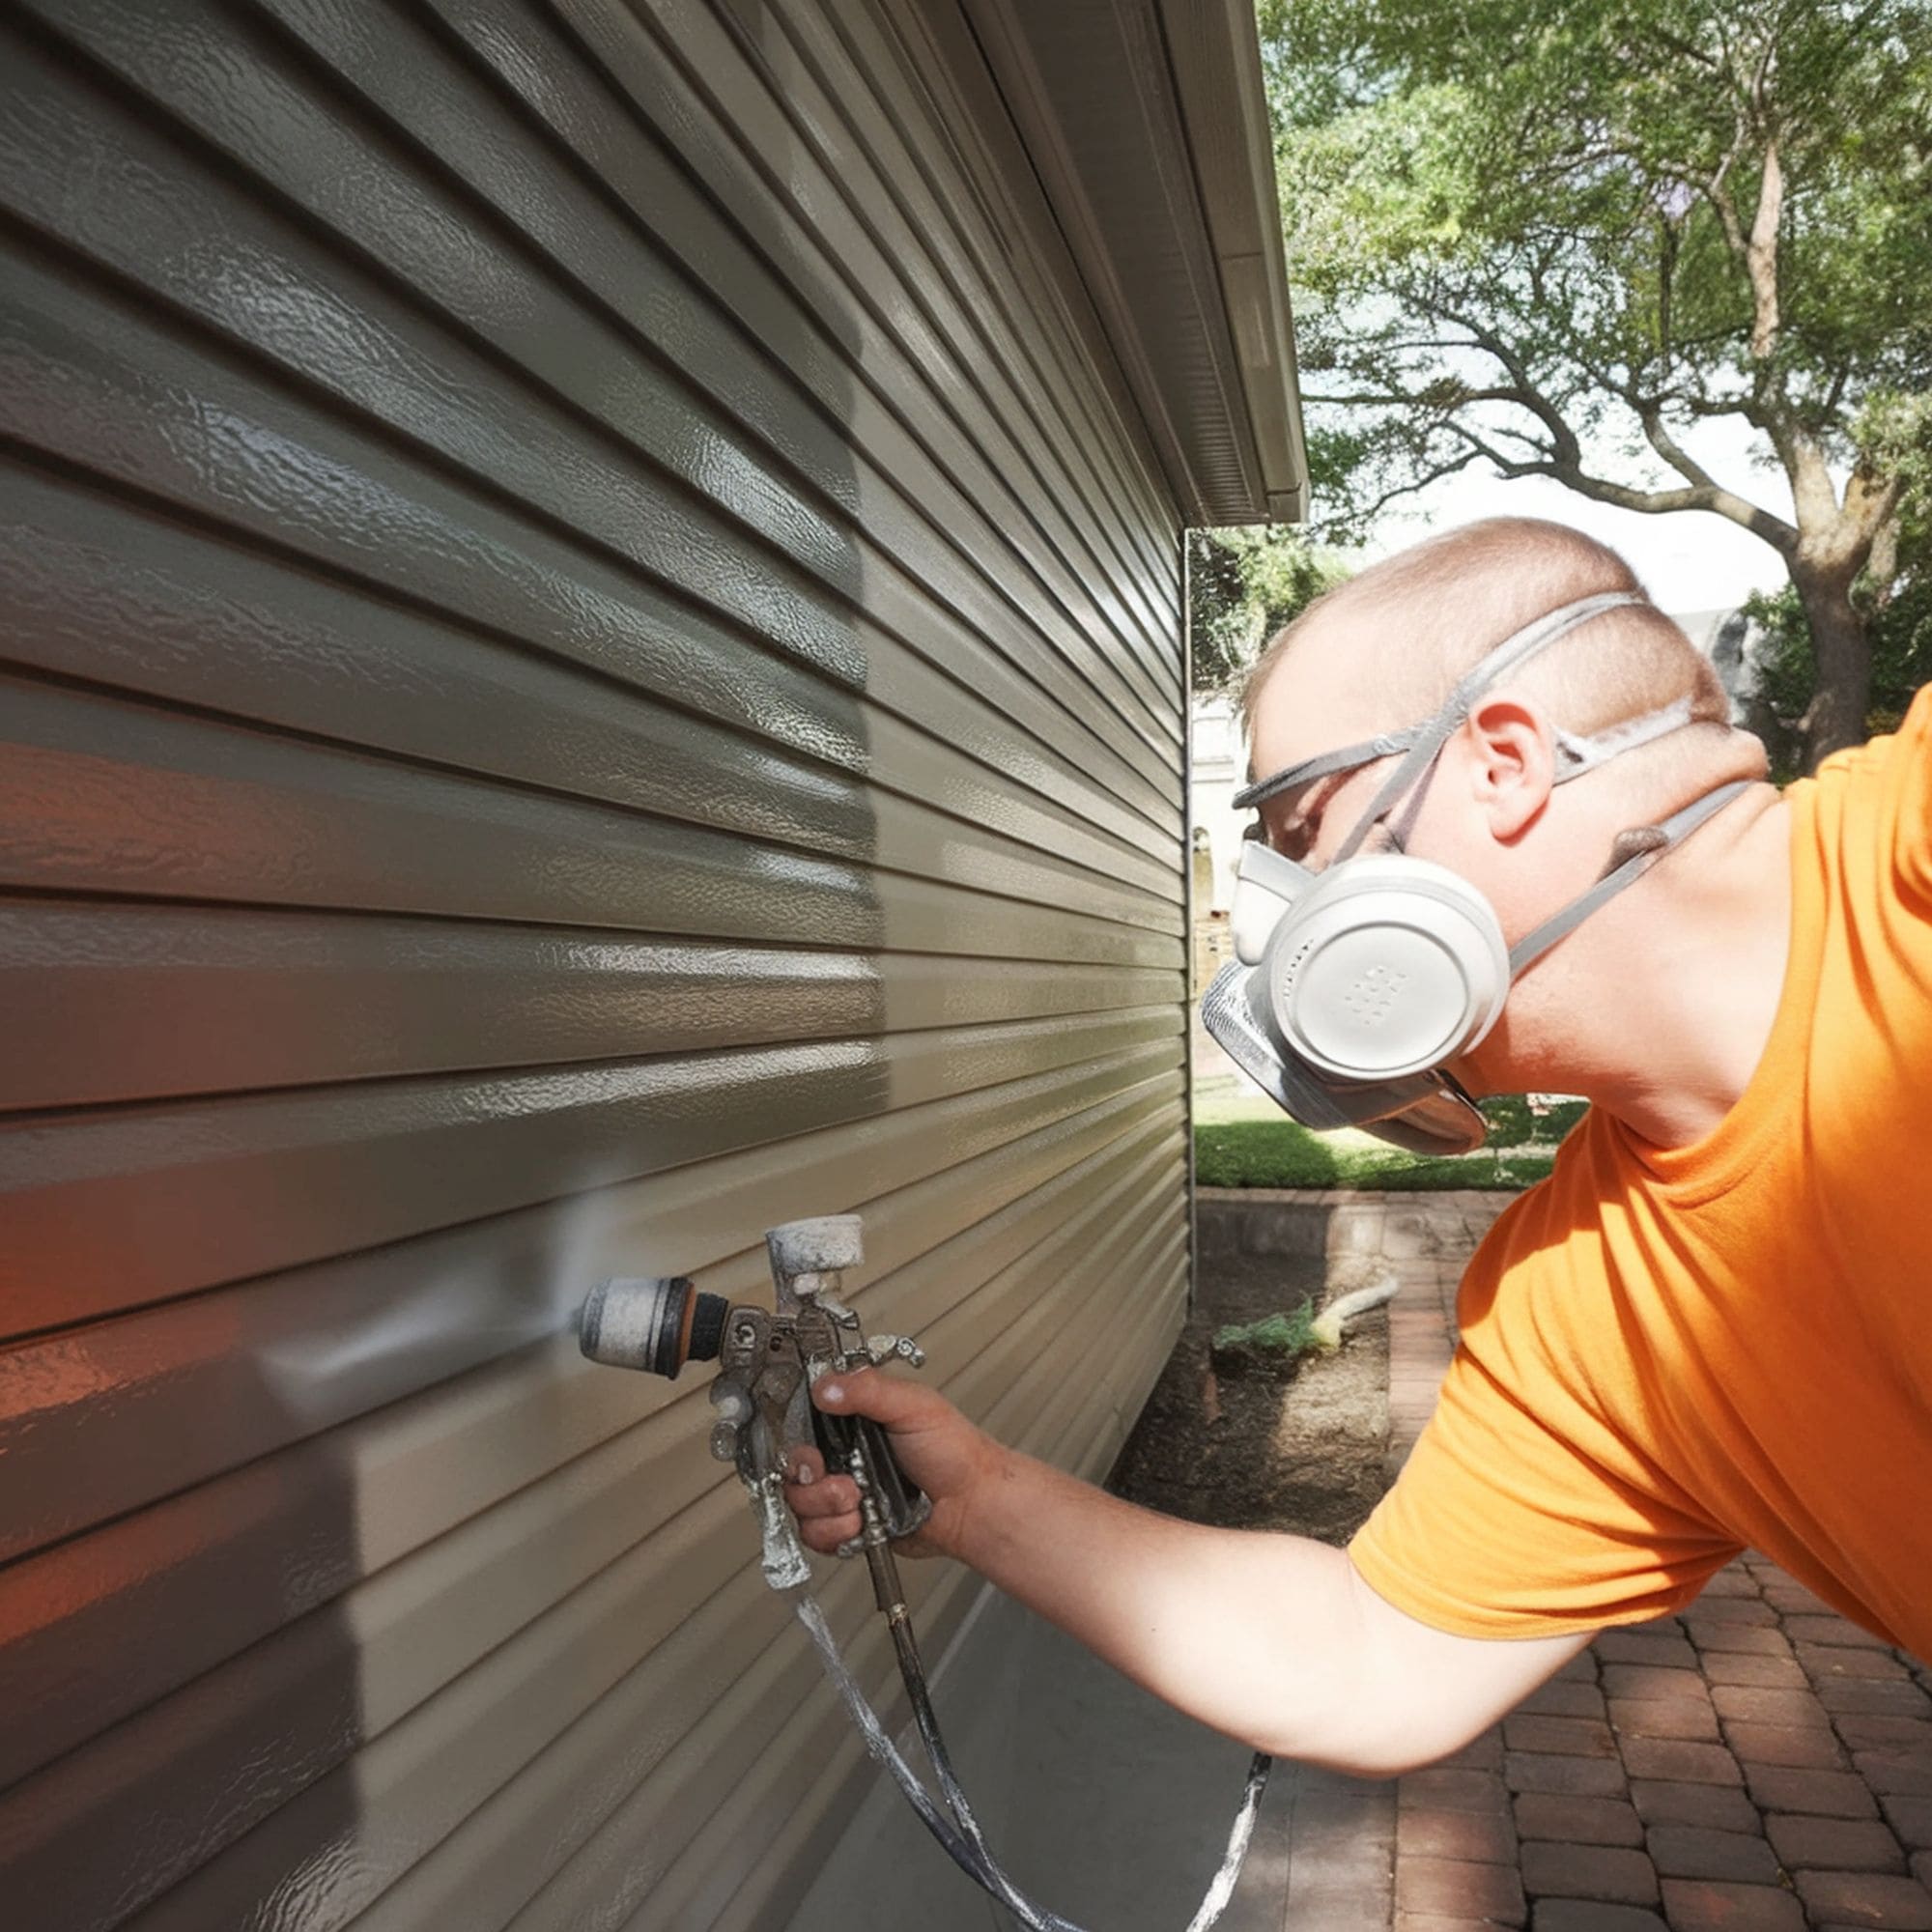
3. Apply Self-Etching Primer, Let it Dry and Sand Again

There are self-etching primers that can micro-etch the surface of your aluminum item/surface to optimize it for bonding with the soon-to-be-applied paint. Using the directions on the packaging of the primer, start spraying it on the aluminum. We recommended that you spray it in thin successive coatings than all at once. Wait for the recommended amount of time then sand the piece once again with 400-grit sandpaper. You can get primer from any auto specialty shop, home improvement store or Amazon.
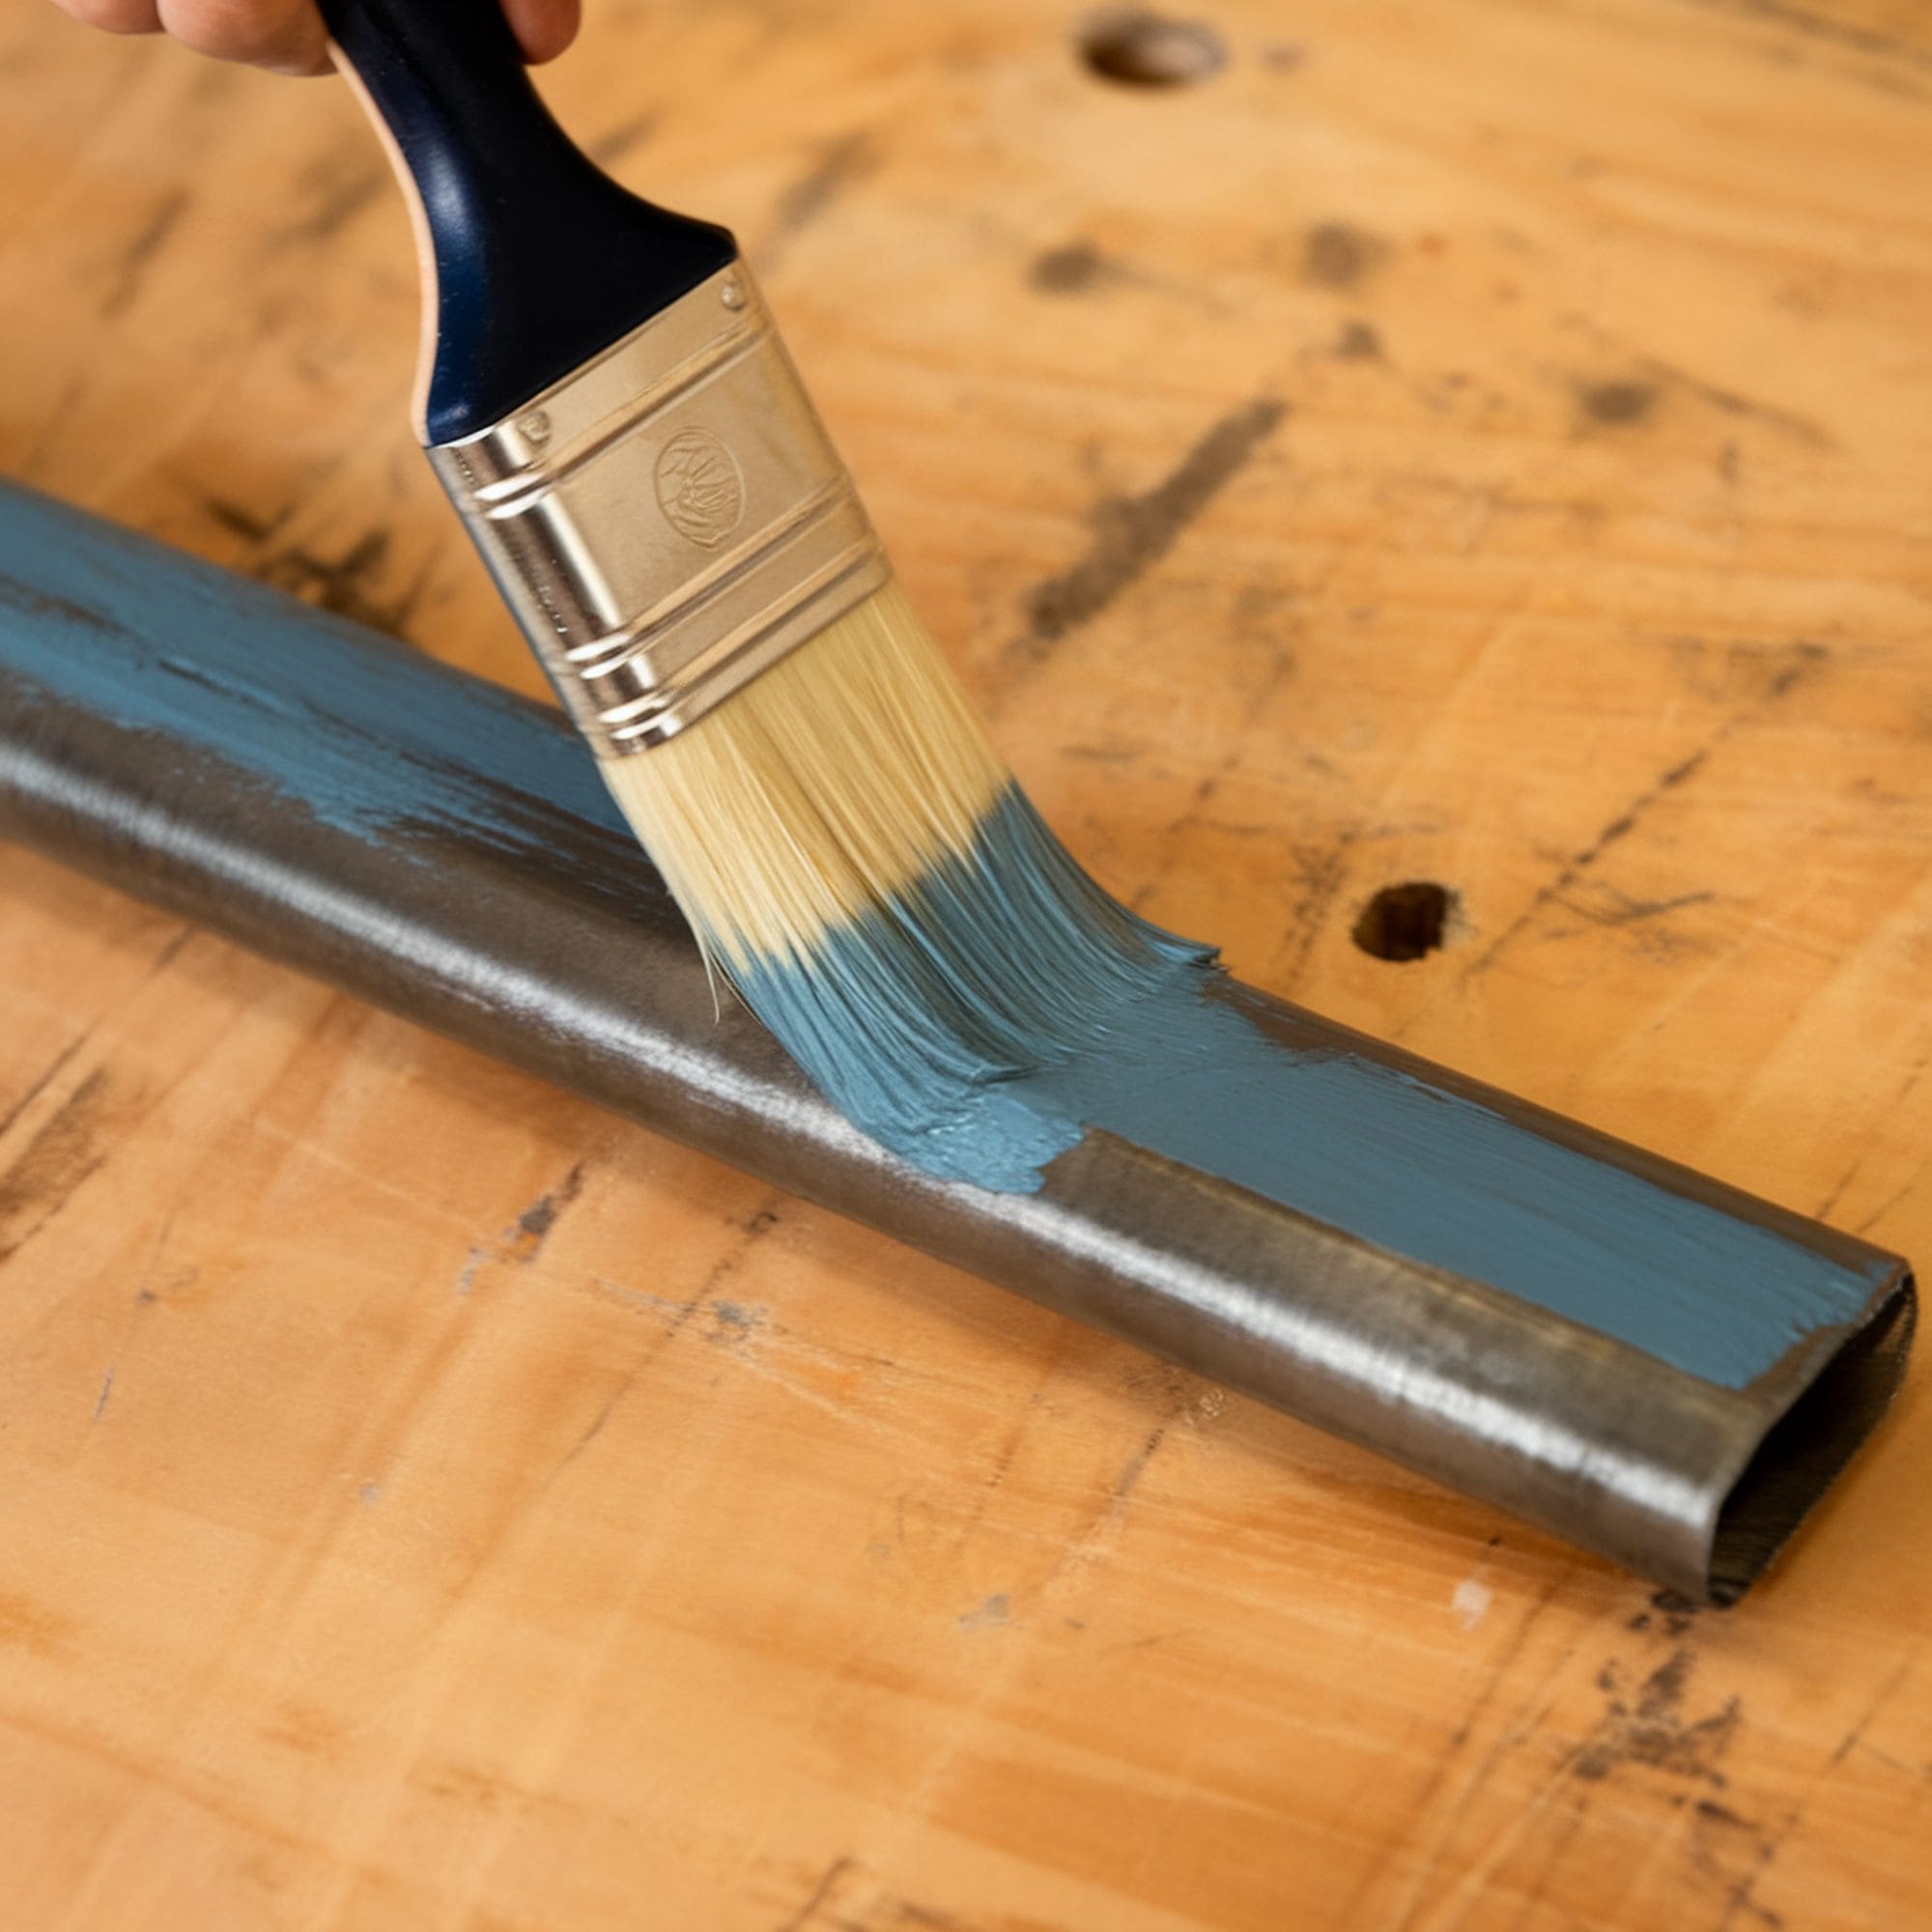
4. Apply the Paint
This is the last and most important step, so you have to make sure you get it right at this stage and ideally on your first try. Make sure you have quality paint for the job. You should use either acrylic or latex paint that is manufactured for metals. You also need to check to ensure that the paint is going to resist in the outdoors. That generally means it’s a quality and durable paint. Now simply start applying the paint and depending on the size of the project, you can either spray directly from the aerosol can or you can use a brush. Apply thick layers of paint if you want to protect against corrosion and other damage.
5. Apply Enamel Sealer

This is the final stage of the process. It should be done after the applied paint has dried completely. At least two coats of enamel sealer are important to protect your newly painted aluminum items from chipping, scratching, or fading. You should let the sealer cure properly before using the aluminum object again or putting something on it.
Painting aluminum is actually not that hard. If you follow these five steps you will do it the right way and we’re sure you’ll do a great job.

Leave a Reply