
1. What is a Gallery Grid?
The trend of gallery walls may not be that appealing for those with a strong sense of organization. If you prefer a more structured and balanced approach to decorating your wall with artworks, perhaps gallery grids will be more up your alley. As opposed to gallery walls that usually involve an eclectic touch and draw attention to the interesting placement choices, the grid is more about displaying wall art in a tailored manner.
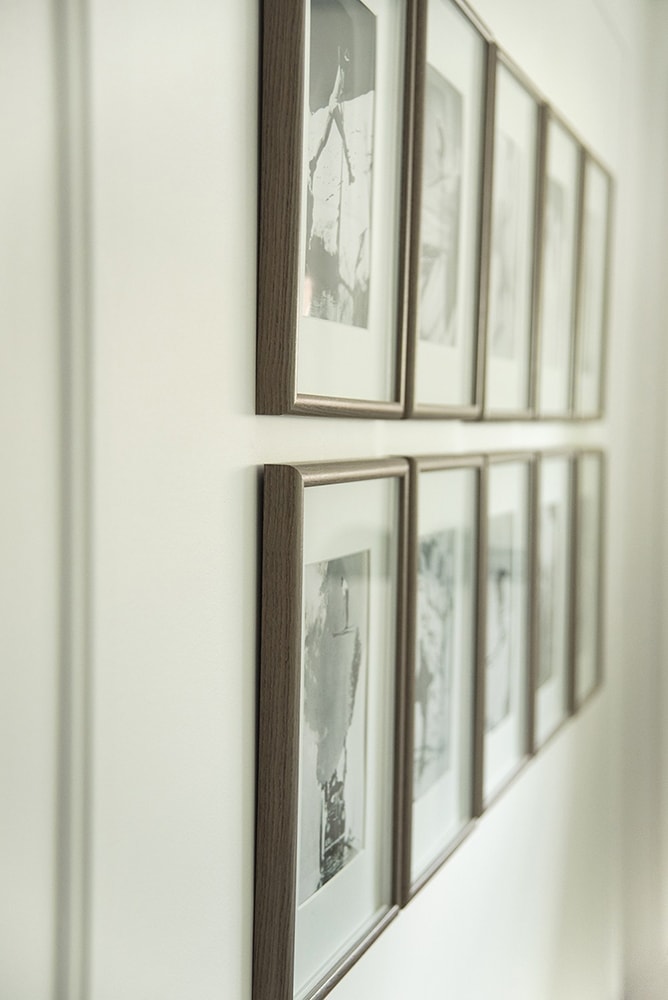
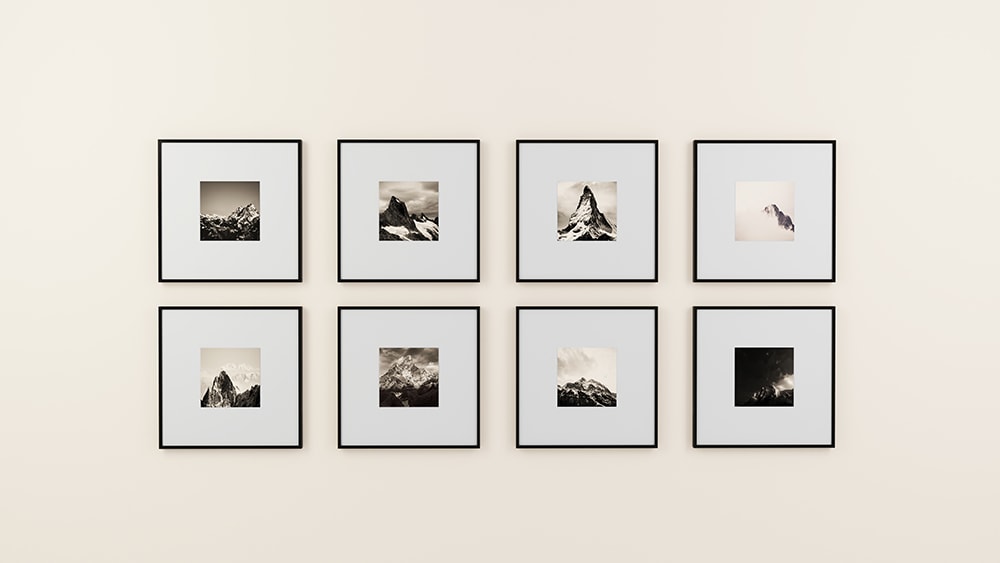
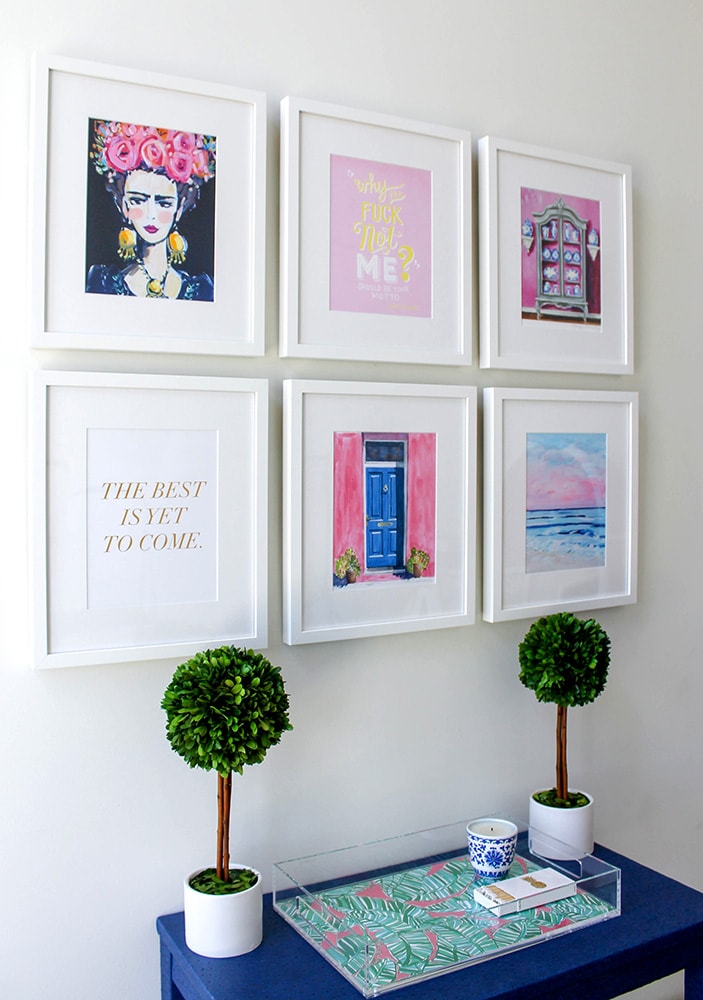
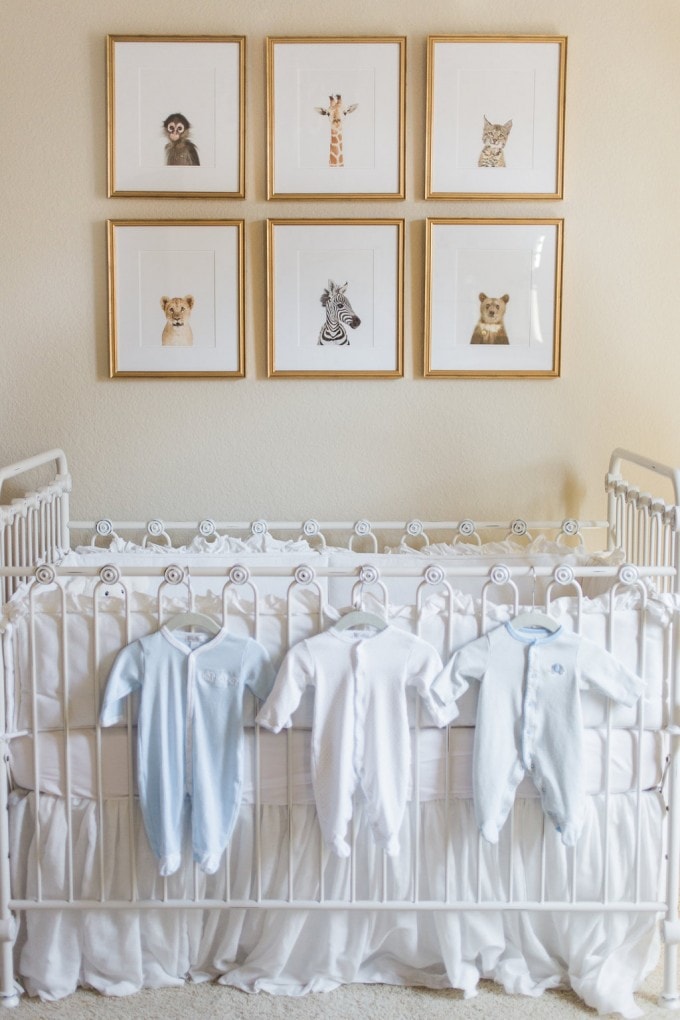
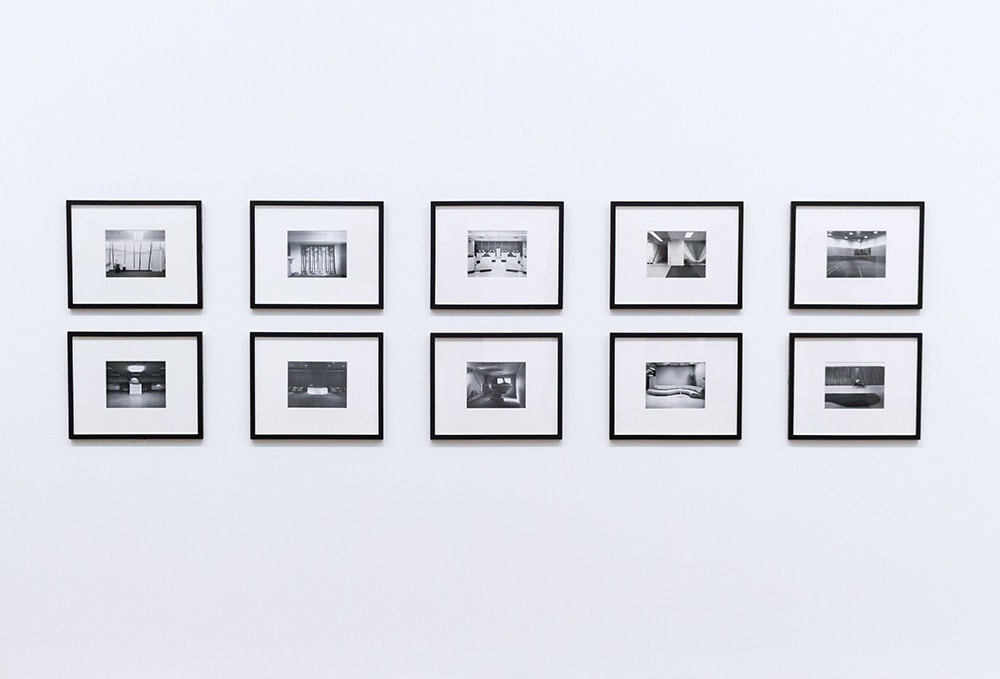
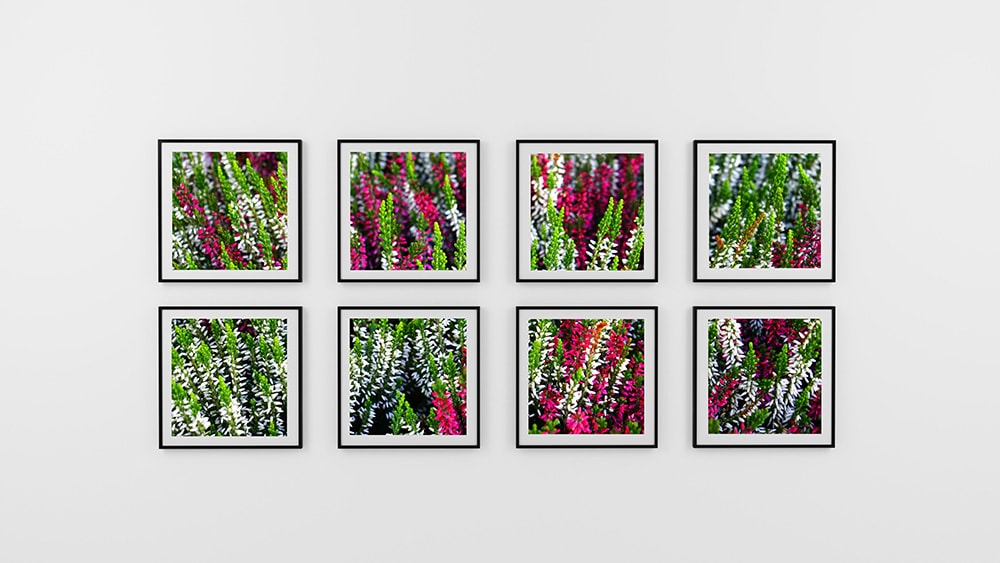
You can show off any type of artwork with the help of gallery grids. The focus here is on the way you hang the artworks. Usually, there are two gallery grid styles you can try – vertical or horizontal. Another aspect to keep in mind is the number of rows as you can go with multiple choices. Two rows will form a fairly attractive gallery grid giving any wall in the living room a neat aspect. The key is to hang the prints evenly and to stick to precise geometrical shapes such as squares or rectangles.
2. Reasons to Consider a Gallery Grid
Before we take a closer look at the process for creating your own gallery grid, it’s important to find out some of the best reasons for incorporating this trend in your home. There’s actually a scientific basis for choosing gallery grid over standard gallery walls. The structured design of a grid is much more pleasing to the eye and the brain finds repeating patterns less overwhelming compared to random frame placement.
The eclectic look of gallery walls can easily start to feel like it’s out of control. All those different artworks thrown together in weird combinations act as a powerful stimulus. On the other hand, when your eyes glance upon a neatly arranged gallery grid, the simple formed pattern is so much easier to recognize by your brain.
This is a strong reason in favor of making your own gallery grid considering how repeating patterns are usually seen as more aesthetically pleasing. Gallery grids will always have an even number regardless of the number of prints involved. The arrangement will also include a coordinating color scheme and maybe even a specific theme that maximizes pattern recognition.
3. Prepare Your Supplies
Building a gallery grid will require a few tools. You will most likely have most of them already, but if not, a simple trip to the hardware store will do. Some of the essential supplies to get started are nails, hammer, pencil, level, and measuring tape. Once you’ve gathered these things, it’s time to figure out which wall should be selected to display your gallery grid. Before you start thinking about particular arrangements, make sure you’ve decided on the right room and the best wall to install the grid.
4. Select the Content
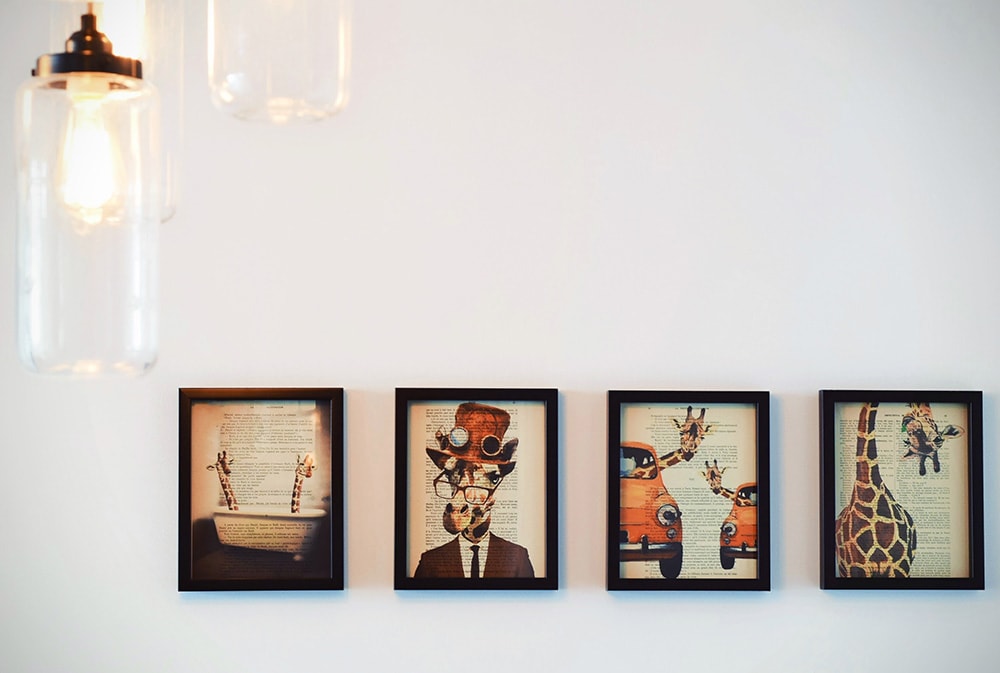
This is probably the most important step to ensure you bring your ideal gallery grid to life. Try to figure out what kind of art do you want to have featured. It’s recommended to stick to a common theme for the artwork pieces because that will tie the look together. It could be a color-drive theme or you could make an arrangement based on a specific topic.
It’s not absolutely mandatory to keep your content in the same style, but avoiding mismatches has a pleasing visual effect. Your gallery grid will look much better if you only select cohesive content. If you wish to add a collection of family photographs, one trick you should try is to keep a black and white theme so that even if the prints are from different places, they will still feel like they belong together.
5. Arrange the Grid
As we’ve already mentioned there are two grid orientations to choose from – vertical and horizontal. You will have to decide which one works best for your project. The shape can also play a role in the final result. The grid can have as many rows and columns you prefer. Just make sure you always stick to an even number of frames. Obtaining a symmetrical look is critical if you want a true gallery grid.
6. Make Precise Measurements
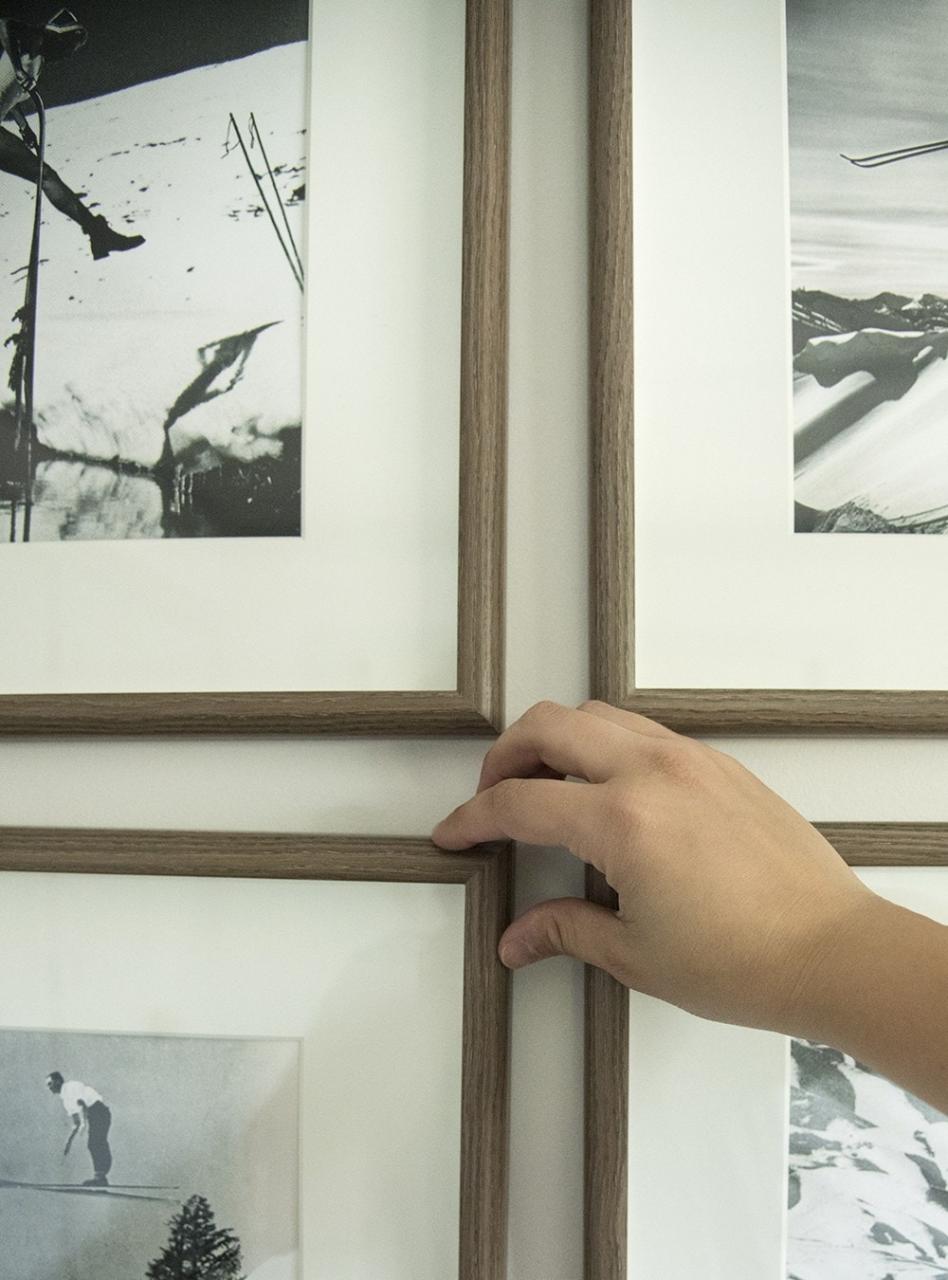
Now that you have a good plan for your gallery grid, it’s important to be very precise when putting up your arrangement. Only by doing careful measurements you will be able to enjoy a polished final look. The gallery grid won’t look right if the pieces are not evenly spaced. It doesn’t matter what layout you’ve decided on, just make sure you measure the area you want to fill with a tape.
7. Print and Frame
After you’ve gotten your artworks or photographs printed, the next step is to frame them. There are lots of options on the market when it comes to purchasing frames. While getting them individually is one solution, there are some kits out there that contain multiple pieces. A set of frames such as this one from Amazon can save on costs if you plan on making a large gallery grid. Don’t forget to purchase some bumper pads to make sure that all your frames will stay perfectly aligned and won’t shift anywhere.
That’s it, you’re done! The final step left is to just sit back and admire your work. Enjoy the timeless design of the gallery grid.

Leave a Reply