
Quick Recipe Version (TL;DR)
Quick Ingredients
- 4 large eggs
- 120 g Chinese garlic chives (about 2 cups), cut into 1-inch pieces
- 1.5 tbsp neutral oil (peanut, canola, or grapeseed), divided
- 2 tbsp water or unsalted chicken stock
- 1 tsp light soy sauce, divided
- 1/4 tsp fine sea salt, divided
- 1/8 tsp ground white pepper, plus a pinch to finish
- 1 tsp Shaoxing wine (optional)
- 1/2 tsp cornstarch (optional, for extra-tender eggs)
- 1/2 tsp toasted sesame oil (to finish)
Do This
- 1. Beat eggs with water, cornstarch (if using), 1/2 tsp soy, 1/8 tsp salt, white pepper, and Shaoxing wine until smooth and slightly frothy.
- 2. Heat a wok or 10-inch nonstick skillet over medium-high; add 1 tbsp oil until shimmering (1–2 minutes).
- 3. Stir-fry chives with 1/8 tsp salt for 30–45 seconds until bright and slightly tender; transfer to a plate.
- 4. Add remaining 1/2 tbsp oil; pour in egg mixture and let it set 3–5 seconds.
- 5. Push from edges toward center to form large, soft curds for 20–30 seconds.
- 6. Return chives; drizzle remaining 1/2 tsp soy and sesame oil; toss 10–15 seconds until eggs are just set.
- 7. Plate immediately and finish with a pinch of white pepper.
Why You’ll Love This Recipe
- Fast and fragrant: dinner-ready in 15 minutes with big aroma from garlic chives.
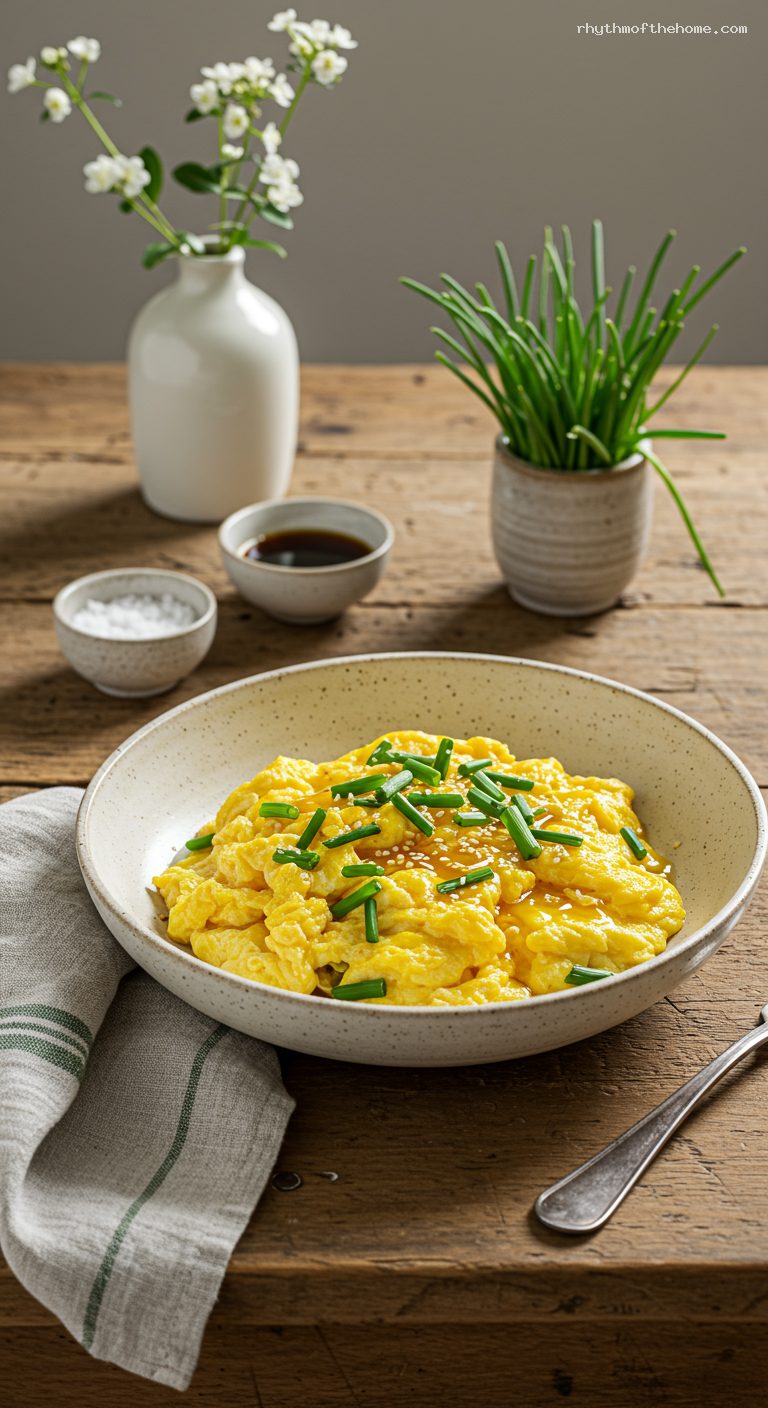
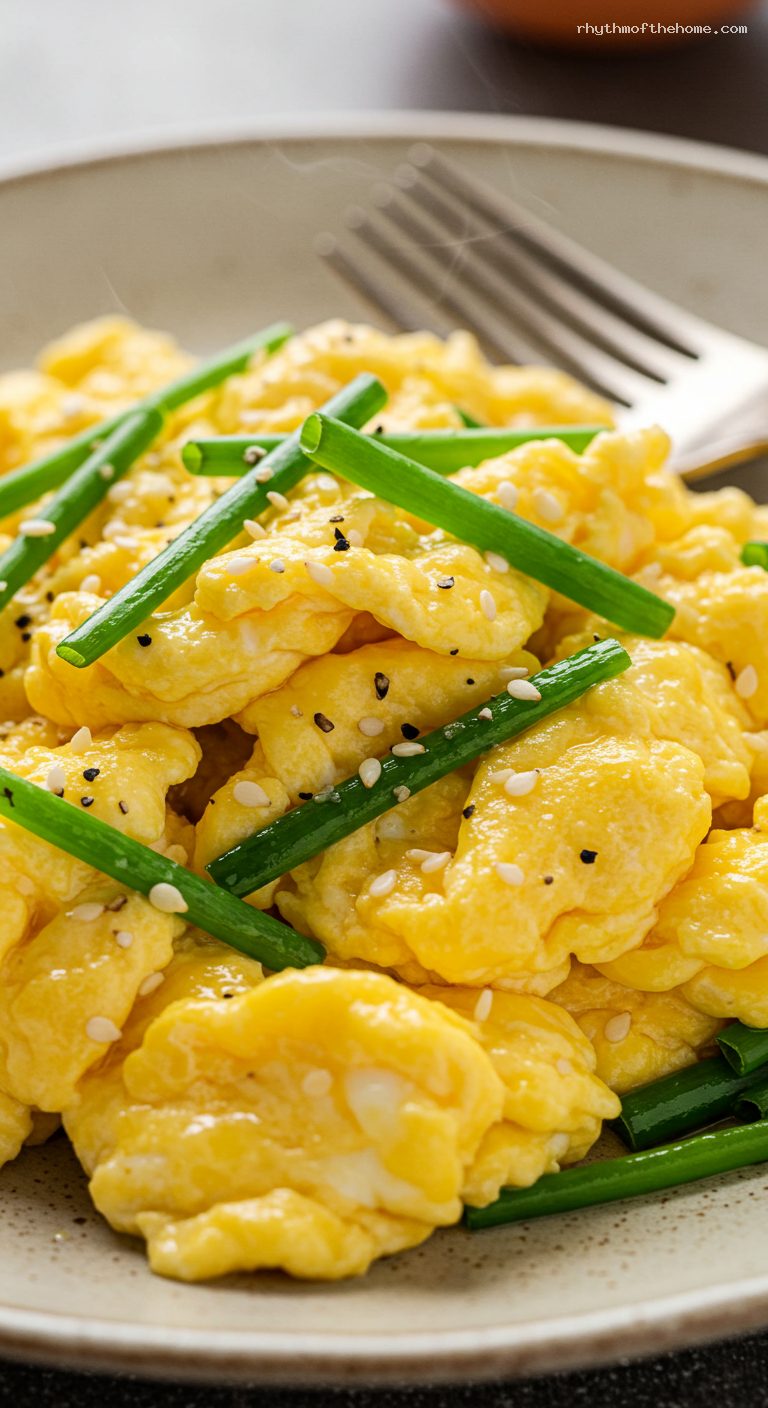
- Fluffy, silky eggs with just-set curds and crisp-tender chives for contrast.
- Short ingredient list with pantry staples: light soy, white pepper, sesame oil.
- Versatile: serve with rice, tuck into a wrap, or pair with congee.
Grocery List
- Produce: Chinese garlic chives (also labeled garlic chives or Chinese chives)
- Dairy: Eggs (4 large)
- Pantry: Neutral oil, light soy sauce, ground white pepper, toasted sesame oil, fine sea salt, Shaoxing wine (optional), cornstarch (optional)
Full Ingredients
Egg Mixture
- 4 large eggs
- 2 tbsp cold water or unsalted chicken stock
- 1/2 tsp cornstarch (optional, for extra-tender, velvety eggs)
- 1/2 tsp light soy sauce
- 1/8 tsp fine sea salt
- 1/8 tsp ground white pepper
- 1 tsp Shaoxing wine (optional)
Chives & Cooking
- 120 g Chinese garlic chives, trimmed and cut into 1-inch pieces (about 2 cups)
- 1.5 tbsp neutral oil (peanut, canola, or grapeseed), divided
- 1/8 tsp fine sea salt (to season the chives)
To Finish
- 1/2 tsp light soy sauce
- 1/2 tsp toasted sesame oil
- Pinch of ground white pepper
Step-by-Step Instructions
Step 1: Prep the chives
Rinse the Chinese garlic chives, pat very dry, and cut into 1-inch pieces. Drying well prevents watery eggs and helps the chives sear quickly.
Step 2: Beat the eggs until airy
In a mixing bowl, whisk the eggs with water (or stock), cornstarch (if using), 1/2 tsp light soy sauce, 1/8 tsp salt, 1/8 tsp white pepper, and Shaoxing wine (if using). Whisk vigorously for 30–45 seconds until the mixture is fully homogeneous and slightly frothy. The water and cornstarch help create soft, custardy curds.
Step 3: Heat the pan properly
Set a well-seasoned wok or 10-inch nonstick skillet over medium-high heat. Add 1 tbsp oil and heat until shimmering, 1–2 minutes. If you have an infrared thermometer, aim for a surface temperature around 375°F; otherwise, look for a fast shimmer and thin wisps of heat.
Step 4: Flash-cook the chives
Add the chives and 1/8 tsp salt. Stir-fry briskly for 30–45 seconds until they turn vibrant green and just begin to soften while staying snappy. Transfer the chives to a plate and keep the pan on the heat.
Step 5: Start the scramble
Add the remaining 1/2 tbsp oil to the hot pan. Pour in the egg mixture. Let it sit undisturbed for 3–5 seconds, then use a spatula to push the eggs from the edges toward the center, forming large, soft folds. This should take 20–30 seconds.
Step 6: Combine and finish seasoning
Return the chives to the pan. Drizzle in the remaining 1/2 tsp light soy sauce and the toasted sesame oil. Gently toss and fold for 10–15 seconds until the eggs are barely set, glossy, and still a touch soft. Remove from heat immediately; the residual heat will finish them.
Step 7: Serve right away
Transfer to a warm plate. Dust with a pinch more white pepper. Serve hot with steamed rice or congee.
Pro Tips
- Dry the chives thoroughly so the eggs don’t get watery and the chives sear instead of steam.
- Whisk well: a smooth, slightly frothy egg mixture makes plush curds. For ultra-silky eggs, strain the mixture through a fine sieve.
- Cook hot and fast: eggs should set in under a minute. Pull from the heat when they’re 95% done.
- Cornstarch + water is optional but helpful for velvety, restaurant-style eggs.
- Use a nonstick skillet or a well-seasoned wok to prevent sticking and to form large, tender folds.
Variations
- Shrimp and Chive: Stir-fry 100 g small peeled shrimp with a pinch of salt and Shaoxing wine for 30–45 seconds before the chives, then proceed as written.
- Blossom Season: If you find flowering chives, mix them 50/50 with regular chives for a subtle garlicky-floral note.
- Soy-Free: Season the eggs with 1/4 tsp salt and a pinch of MSG instead of soy; finish with sesame oil and white pepper as directed.
Storage & Make-Ahead
This dish shines when cooked and served immediately. Leftovers can be cooled and refrigerated in an airtight container for up to 2 days; reheat gently over low heat with a few drops of water. For prep-ahead, wash and dry chives up to 24 hours in advance and cut just before cooking. You can whisk the egg mixture up to 4 hours ahead and keep it covered in the fridge; whisk briefly before cooking.
Nutrition (per serving)
Approximate: 260–270 calories; 12–13 g protein; 22–23 g fat; 2–3 g carbs; 570 mg sodium. Values will vary based on brands and optional ingredients.

Leave a Reply