
Quick Recipe Version (TL;DR)
Quick Ingredients
- 6 large eggs, 200 g sugar, 150 g cake or all-purpose flour, 30 g cocoa powder, 45 g butter, 1 tsp vanilla, pinch salt
- 1 large jar (650–700 g) sour cherries in light syrup, plus 120 ml reserved juice
- 150 g sugar (for filling and syrup), 2 tbsp cornstarch
- 180 ml water, 90 ml kirsch (cherry brandy), divided
- 900 ml cold heavy cream (36–40% fat)
- 60 g powdered sugar, 2 tsp vanilla extract
- 100 g dark chocolate (60–70%) for shavings, 10–14 whole cherries for garnish
Do This
- 1. Preheat oven to 180°C / 350°F. Line and grease two 23 cm (9-inch) round cake pans.
- 2. Whip eggs, sugar, and vanilla until very thick and pale. Sift flour, cocoa, and salt over and gently fold in, then fold in melted butter. Divide into pans and bake 22–28 minutes. Cool completely.
- 3. Simmer drained cherries with sugar, cornstarch, reserved juice, and some kirsch until glossy and thick. Cool fully.
- 4. Boil water and sugar for syrup, cool, then stir in kirsch.
- 5. Whip cold cream with powdered sugar and vanilla to medium-firm peaks.
- 6. Split each cake into 2 layers (4 total). Brush each cut side with kirsch syrup, then layer: cream, cherries, cream. Frost top and sides with remaining cream, add chocolate shavings and whole cherries.
- 7. Chill at least 4 hours before slicing so the flavors meld and the cake sets.
Why You’ll Love This Recipe
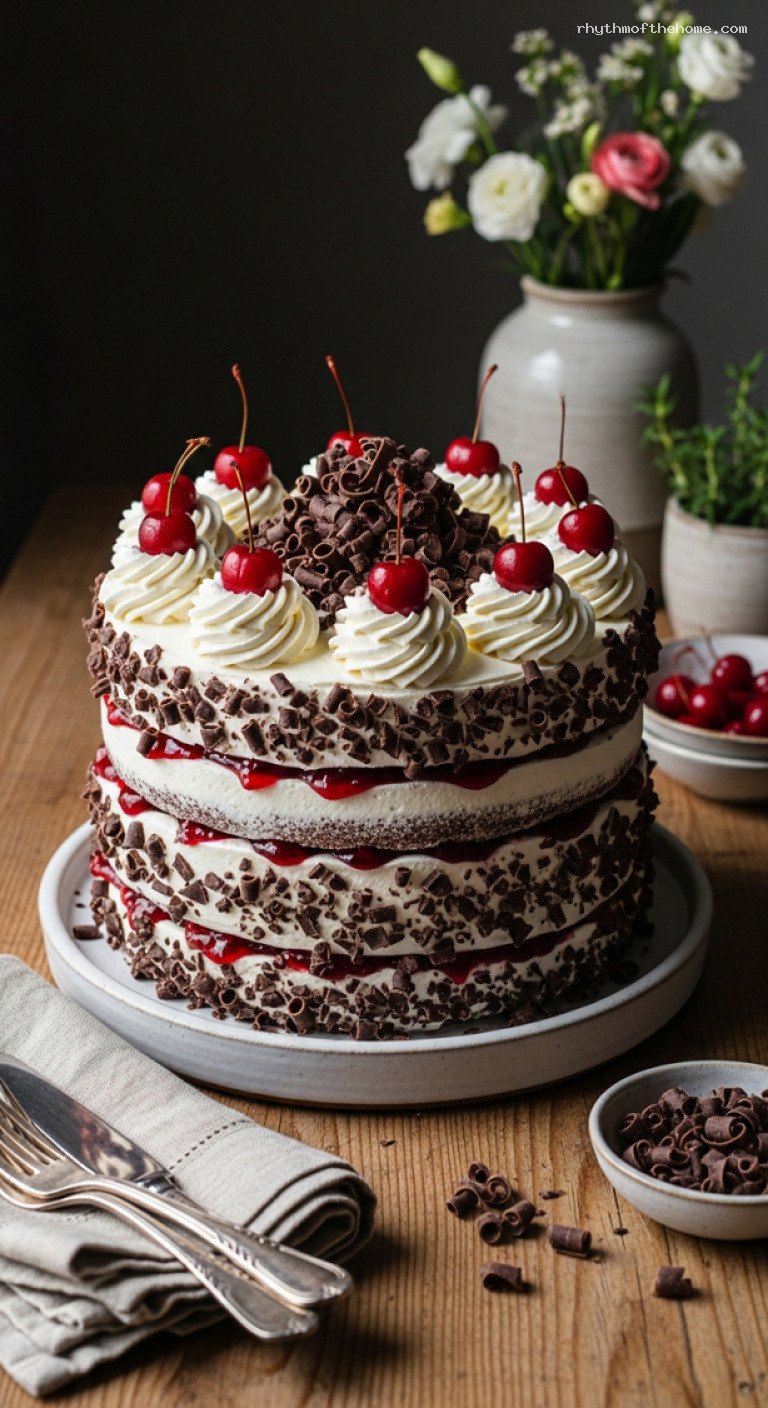
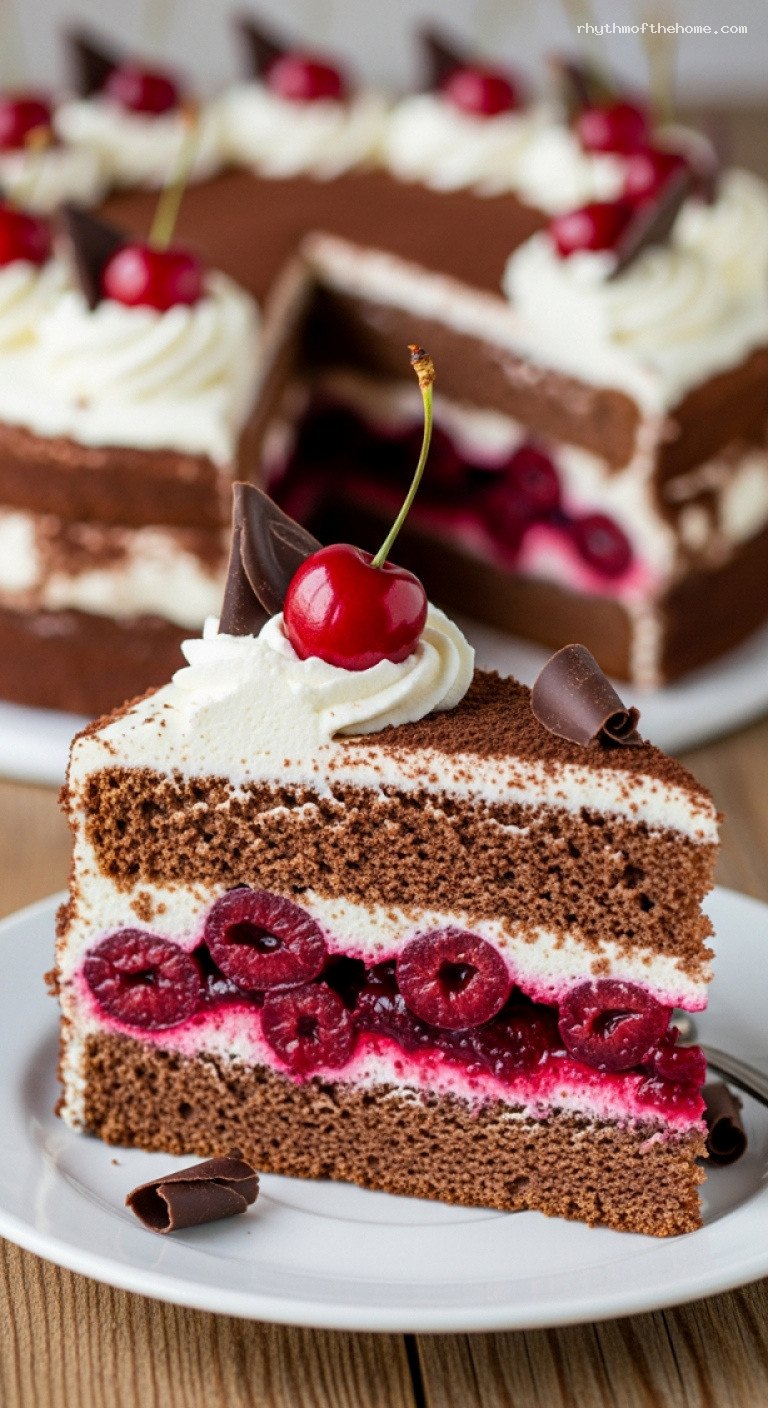
- Classic Black Forest flavor: deep chocolate sponge, tart cherries, real kirsch, and clouds of lightly sweetened cream.
- Not too heavy: a European-style sponge that stays light and airy, even with generous layers of filling.
- Beautiful yet doable: clear, step-by-step instructions turn this showstopper into a manageable home project.
- Make-ahead friendly: the cake actually tastes better after resting, making it ideal for celebrations.
Grocery List
- Produce: Fresh cherries for garnish (10–14, with stems if possible)
- Dairy: Heavy cream (900 ml), unsalted butter (at least 45 g)
- Pantry: Eggs (6), granulated sugar, powdered sugar, cake or all-purpose flour, unsweetened cocoa powder, cornstarch, vanilla extract, fine salt, dark chocolate bar (100 g), sour cherries in light syrup (1 large jar 650–700 g), kirsch (cherry brandy), water
Full Ingredients
Chocolate Sponge Layers (Genoise)
- 6 large eggs, at room temperature
- 200 g granulated sugar (1 cup)
- 1 tsp vanilla extract
- 150 g cake flour or well-sifted all-purpose flour (about 1 1/4 cups), plus extra for dusting pans
- 30 g unsweetened cocoa powder (about 1/3 cup), sifted
- 1/2 tsp fine salt
- 45 g unsalted butter (3 tbsp), melted and cooled to lukewarm
Cherry Filling
- 1 large jar sour cherries in light syrup (650–700 g / 23–25 oz)
- 120 ml reserved cherry liquid from the jar (1/2 cup)
- 75 g granulated sugar (about 1/3 cup)
- 2 tbsp cornstarch
- 2 tbsp kirsch (cherry brandy)
- Optional: 1 tsp fresh lemon juice, to brighten the flavor if cherries are very sweet
Kirsch Soaking Syrup
- 180 ml water (3/4 cup)
- 75 g granulated sugar (about 1/3 cup)
- 60 ml kirsch (1/4 cup)
Whipped Cream Filling and Frosting
- 900 ml heavy cream, very cold (3 3/4 cups)
- 60 g powdered sugar (1/2 cup), sifted
- 2 tsp vanilla extract
- Optional: 1 tbsp kirsch
Decoration
- 100 g dark chocolate (60–70% cacao), well chilled, for shavings or curls
- 10–14 whole cherries (fresh, maraschino, or cocktail cherries), drained and patted dry
Step-by-Step Instructions
Step 1: Prepare pans and preheat the oven
Preheat your oven to 180°C / 350°F with a rack in the center. Grease two 23 cm (9-inch) round cake pans with a thin layer of butter or neutral oil. Line the bottoms with circles of parchment paper, then lightly grease the parchment as well. Dust the sides of the pans with a little flour, tapping out the excess. This helps the delicate sponge release cleanly after baking. Make sure your eggs are at room temperature (take them out 30–45 minutes ahead) and that your butter for the sponge is melted and cooled to just lukewarm so it will fold in smoothly without deflating the batter.
Step 2: Make the light chocolate sponge batter
In a large heatproof mixing bowl (or the bowl of a stand mixer), combine the 6 eggs, 200 g sugar, and 1 tsp vanilla. Place the bowl over a saucepan of barely simmering water, making sure the bottom does not touch the water. Whisk constantly until the mixture is warm to the touch and the sugar has mostly dissolved, 3–5 minutes. Remove from the heat.
Using a stand mixer with whisk attachment or a hand mixer, beat the warm egg mixture on high speed until it is very thick, pale, and tripled in volume, about 6–8 minutes. When you lift the whisk, the batter should fall in a thick ribbon that briefly sits on the surface before disappearing.
In a separate bowl, whisk together the flour, cocoa powder, and salt. Sift one-third of the dry mixture over the egg foam and gently fold it in with a large spatula, using broad, careful strokes so you do not knock out the air. Repeat twice more with the remaining dry ingredients.
Finally, drizzle the lukewarm melted butter around the edge of the bowl (not in one spot) and gently fold it through until just combined. The batter will be airy and pourable; do not overmix.
Step 3: Bake and cool the sponge layers
Divide the batter evenly between the two prepared pans (you can weigh them for accuracy, or eyeball). Smooth the tops very gently with an offset spatula. Bake for 22–28 minutes, or until the cakes are risen, the tops spring back lightly when touched, and a toothpick inserted in the center comes out clean or with just a few moist crumbs.
Remove the pans from the oven and immediately run a thin knife around the edges to loosen the cakes slightly. Let them cool in the pans for 10–15 minutes. Then invert each cake onto a wire rack, peel off the parchment, and turn them right side up. Allow the cakes to cool completely to room temperature before slicing and assembling, at least 45–60 minutes.
Step 4: Prepare the cherry filling and kirsch syrup
While the cakes cool, make the cherry filling. Drain the jar of sour cherries, reserving 120 ml (1/2 cup) of the liquid. In a small saucepan, whisk together the reserved cherry liquid, sugar, and cornstarch until smooth with no lumps. Add the drained cherries and place over medium heat. Bring to a gentle simmer, stirring frequently, until the mixture thickens and becomes glossy and the cherries are suspended in a syrupy sauce, about 4–6 minutes. Remove from the heat and stir in 2 tbsp kirsch and, if you like, 1 tsp lemon juice. Transfer to a shallow bowl and let cool completely.
For the soaking syrup, combine 180 ml water and 75 g sugar in a small saucepan. Bring just to a boil, stirring to dissolve the sugar, then simmer 1–2 minutes. Remove from the heat and let cool to room temperature. Once cool, stir in 60 ml kirsch. Set aside.
Step 5: Whip the cream for filling and frosting
Chill your mixing bowl and beaters or whisk attachment in the fridge for at least 10 minutes; cold equipment helps the cream whip better. Pour the cold heavy cream into the chilled bowl. Add the powdered sugar and vanilla (and 1 tbsp kirsch, if using). Start whipping on low speed until slightly thickened, then increase to medium-high.
Whip until the cream forms medium-firm peaks: when you lift the whisk, the peak should stand up but the tip just barely curls over. Avoid beating to stiff, grainy peaks, which can quickly turn into butter and be harder to spread smoothly. If you are not assembling immediately, refrigerate the whipped cream; give it a brief re-whip on low speed just before using if it loosens slightly.
Step 6: Level, soak, and fill the cake layers
Once the cake layers are completely cool, use a long serrated knife to level the tops if they are domed. Carefully split each cake horizontally into two even layers, for a total of four thin layers. A rotating cake turntable makes this easier, but it is not essential.
Place one layer, cut side up, on your serving plate or a cardboard cake round. Using a pastry brush or spoon, generously brush the surface with some of the kirsch syrup until it feels lightly moistened but not soggy. Spread a thin layer of whipped cream over the soaked sponge, about 1 cm (3/8 inch) thick. Spoon one-third of the cooled cherry filling evenly over the cream, avoiding the very edges so it does not spill out. Add another thin layer of cream on top of the cherries to help “glue” the next sponge layer in place.
Top with the second sponge layer (cut side up), press very gently, and repeat: brush with syrup, cream, cherries, cream. Repeat once more with the third layer. Place the final layer on top, cut side down, and brush its top with syrup as well (you may not need all the syrup; stop if the cake seems very moist). Reserve enough whipped cream for the outer frosting before using too much between layers.
Step 7: Frost, decorate, and chill
Use an offset spatula to apply a thin “crumb coat” of whipped cream over the top and sides of the cake, sealing in any loose crumbs or bits of cherry. Chill the cake for 15–20 minutes to set the crumb coat, then add a thicker, smooth layer of cream all over, swirling decoratively on top if you like.
For the chocolate shavings, use a vegetable peeler to shave the edge of the cold dark chocolate bar into curls or shards onto a plate. Gently press a generous amount of shavings around the lower sides of the cake and sprinkle more over the top, leaving a circle in the center free for cherries if desired.
Pipe or spoon small mounds of whipped cream around the outer edge of the top of the cake and place a whole cherry on each mound. Add any remaining chocolate shavings to the center. Chill the assembled cake, uncovered, for at least 4 hours (or up to overnight) to allow the flavors to meld, the syrup to soak in, and the cream to firm slightly. Slice with a long, sharp knife, wiping the blade between cuts for clean layers.
Pro Tips
- Beat the eggs long enough: the genoise structure comes entirely from whipped eggs. If the mixture is not very thick and ribbony, the cake will be dense and may not rise properly.
- Fold very gently: use a wide spatula and a light hand when incorporating the flour and butter to avoid deflating the batter.
- Cool components fully: the cherry filling, syrup, and cakes must be completely cool before assembly, or the whipped cream can melt and slide.
- Control the kirsch: if you prefer a lighter boozy note, use all the kirsch in the filling and cream and less in the syrup; for a bolder flavor, brush on a bit of plain kirsch in addition to the syrup for the adult version.
- Neater slices: chill the cake thoroughly and use a long serrated knife, cutting with a gentle sawing motion rather than pressing straight down.
Variations
- Alcohol-free version: Replace all kirsch with extra cherry juice (from the jar) plus a squeeze of lemon and a few drops of almond extract for a subtle “cherry pit” aroma.
- Extra-chocolatey: Brush the layers first with a little cooled strong coffee before the kirsch syrup, and sprinkle mini chocolate chips between the cream and cherries for texture.
- Individual mini cakes: Bake the sponge in a rimmed sheet pan and cut into rounds with a cookie cutter to create small, single-serve Black Forest cakes layered in rings or assembled free-form.
Storage & Make-Ahead
This cake must be kept refrigerated because of the whipped cream. Store it covered in the fridge (a cake dome or an inverted large bowl works well) for up to 2 days; after that, the sponge may become too soft and the cream less airy. For best flavor and texture, remove the cake from the refrigerator about 20–30 minutes before serving so the chocolate and cherries are not ice-cold.
You can break up the work: bake the sponge layers a day ahead, wrap them well in plastic once cooled, and keep at room temperature. The cherry filling can also be made up to 2 days in advance and refrigerated. Whip the cream and assemble the cake on the day you plan to serve it, ideally at least 4 hours before serving so it has time to set.
Nutrition (per serving)
Approximate values for 1 of 12 slices: about 600–650 calories; 45–50 g fat; 50–60 g carbohydrates; 4–6 g protein; 1–2 g fiber; 35–40 g sugar. Values will vary based on exact ingredients, brands, and how generously you use the whipped cream and chocolate shavings.

Leave a Reply